• 26Oct

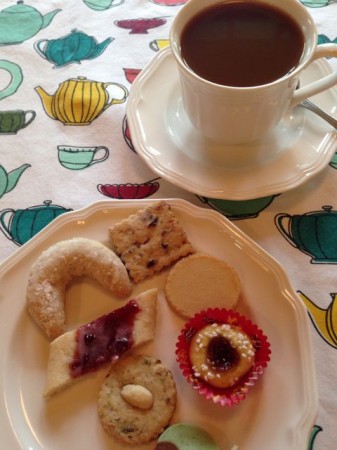
    “Sju sorter kakor” – that’s Swedish for “seven kinds of cookies.”  Seven kinds of cookies is a centuries old tradition in Sweden.  Any hostess worth her salt always offers her guests seven kinds of cookies.

    Cookies05

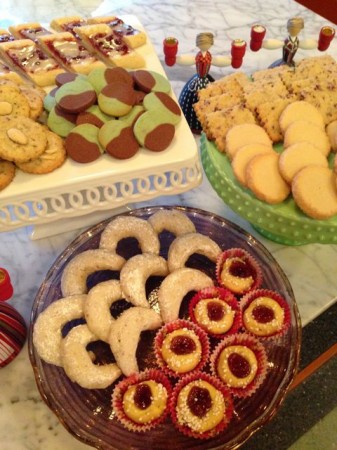
    Now I love to make cookies, but it’s a lot of work to make seven different batches of cookie dough.  Last Christmas when I was in cookie making mode, I noticed how similar all the cookie doughs were for the different cookies I was making.  I wondered if I could make one big batch of dough and turn it into seven different kinds of cookies.  The hardest part was narrowing my list down to just seven!  Once I’d decided on the seven cookies I would do, I mixed up the dough and began the experiment.  I ended up with over 13 dozen delicious cookies. Here ere are the results.

    Basic Cookie Dough

    1 lb butter at room temperature

    1 cup sugar

    2 eggs

    1 tsp vanilla

    1 tsp salt

    5 – 5 1/2 cups flour

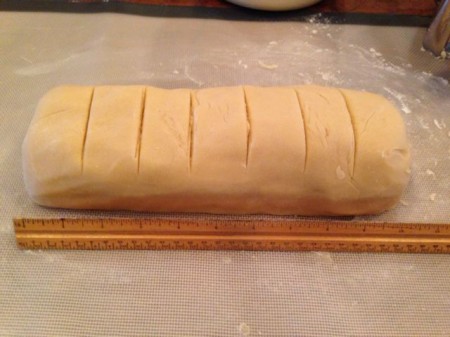
    In a large bowl, cream butter and sugar until light and fluffy.  Add eggs, vanilla and salt and beat until incorporated.  Slowly add flour until you have a soft dough.  It’s better to have it a little soft, to make it easier to incorporate the additional ingredients.  Turn dough out onto a lightly floured board and knead a few times until smooth.  Form into a large log 10 1/2″ long.

    Cookies01

    Make a mark along the top every1 1/2″.

    Cookies02

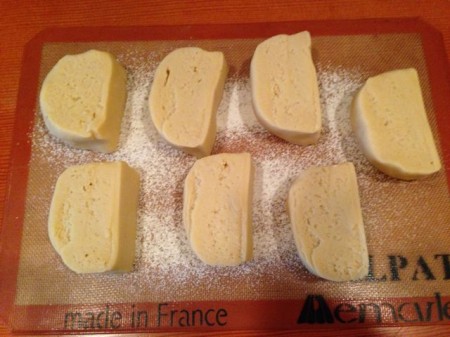
    Cut the dough into seven pieces and set on a lightly floured Silpat or piece of parchment paper.

    Cookies03

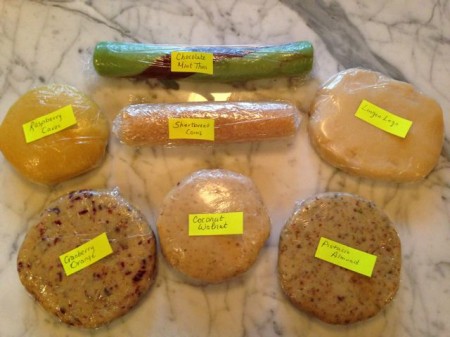
    Now it’s time to add additional ingredients to the dough or shape it for seven different kinds of cookies!  As you’re working with the different doughs, you might want to add more flour if you think it’s too soft—but not too much.  The dough will firm up in the fridge.  I labeled my doughs after I wrapped them so I didn’t get confused later.

    1. Raspberry Caves – To one piece of dough add 2 tablespoons fresh orange zest.  This adds additional moisture to the dough, so work in 2 – 3 tablespoons of flour until dough feels smooth.  Form into a ball, press to flatten a bit, wrap in plastic wrap and refrigerate.

    2. Cranberry Orange Squares – To one piece of dough add 1 tablespoon fresh orange zest, 1/4 cup finely chopped dried cranberries and 1/4 cup finely chopped pecans.  Hint: Add a tablespoon of flour to the dried cranberries to keep them from sticking to the knife when choppin.  Add additional flour to the dough if necessary.  Form dough into a disk, wrap in plastic wrap and refrigerate.

    3. Coconut Walnut Crescents – To one piece of dough add 1/4 cup finely chopped walnuts and 1/4 cup finally chopped coconut.  Form into a ball, press to flatten a bit, wrap in plastic wrap and refrigerate.

    4. Pistachio Almond Cookies – To one piece of dough add 1/4 cup finely chopped pistachios and 1/4 teaspoon almond extract.  Form dough into a disk, wrap in plastic wrap and refrigerate.

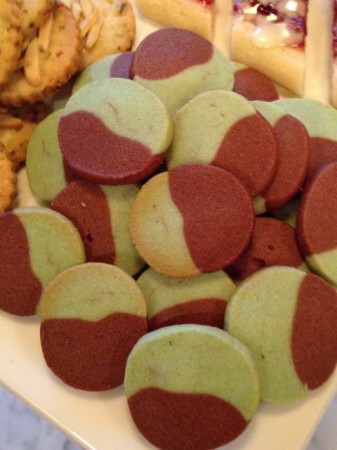
    5. Chocolate Mint Thins – Divide one piece of dough in half.  To the first half add 2 teaspoons of cocoa powder.  Once cocoa powder is incorporated, roll dough into a log 6″ long.  To the second half add 1/4 teaspoon peppermint extract and 2 – 3 drops of green food coloring.  Form into a log 6″ long.  Wrap the two logs around each other and roll a bit more until the log is about 8″ long.  Wrap in plastic wrap and refrigerate.

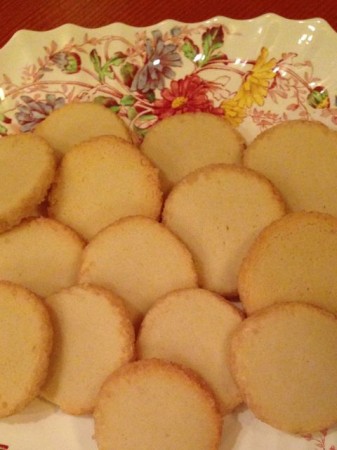
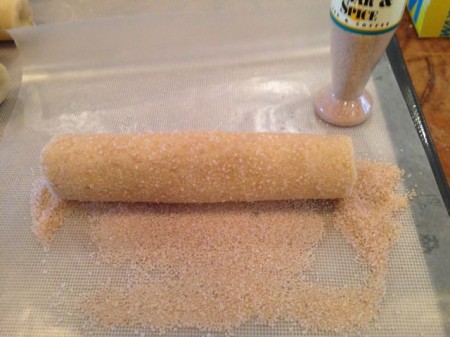
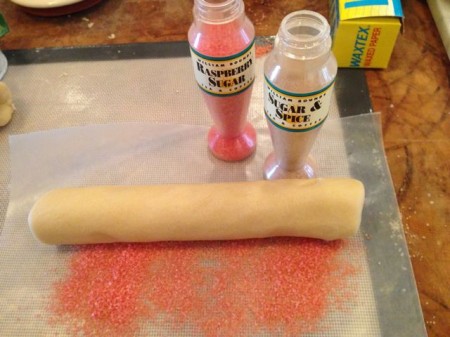
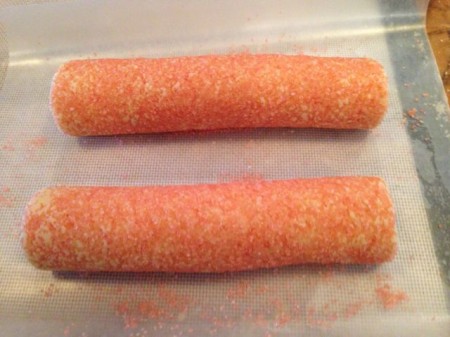
    6. Sanded Shortbread Coins – Roll one piece of dough into a log 6″ long.  Roll in 2 tablespoons of sanding or colored sugar.  Wrap in plastic wrap and refrigerate.

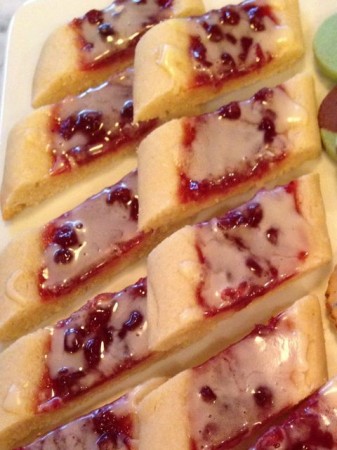
    7. Lingonberry Logs – Shape the last piece of dough into a ball, flatten slightly, wrap in plastic wrap and refrigerate.

    At this point you can start making your cookies or leave the dough(s) in the refrigerator for up to three days.

    Cookies04

    When you’re ready to bake, preheat the oven to 350 degrees.  All the cookies will be baked at this temperature.  I use Silpats on my cookie sheets.  If you don’t have Silpats, use parchment paper.

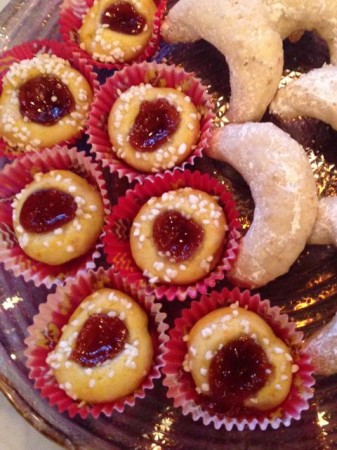
    Raspberry Caves – This is one of my favorite Swedish cookies.  If you want to make a big batch of just these, I’ve blogged about it before.  You can find the recipe here.  Divide the dough into 18 pieces.  Roll each piece into a ball and place into a small fluted paper.  Brush the top of each cookie with a little cream.  Sprinkle with pearl sugar.  With the end of a wooden spoon make a hole in each ball.  Put a small amount of seedless raspberry jam in each indentation.  Bake for 15 minutes.

    Cookies07

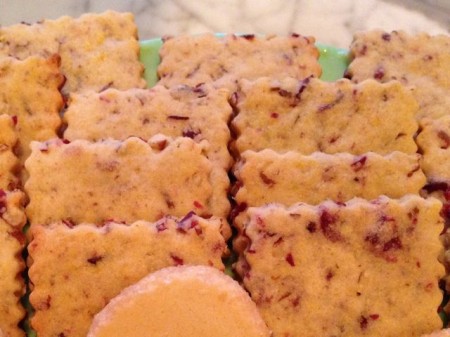
    Cranberry Orange Squares – Roll the dough into a 7″ x 10 1/2″ rectangle.  Cut into 24 1 3/4″ squares.  Bake for 10 minutes.

    Cookies11

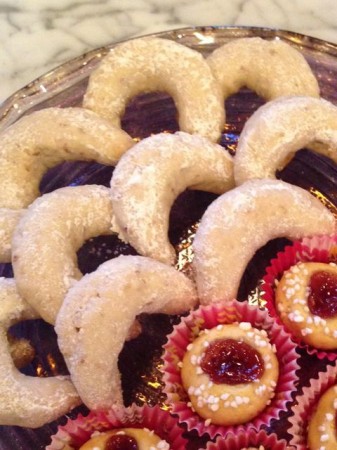
    Coconut Walnut Crescents – Divide dough into 12 pieces.  Roll each piece into a rope about 4″ long that is a bit thicker in the middle than on the ends.  Form into a crescent.  Bake for 10 minutes.  Let cool about 2 minutes and press tops into powdered sugar.

    Cookies06

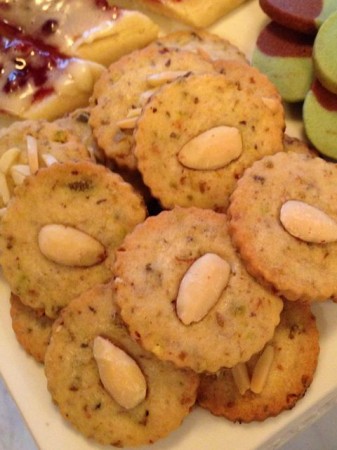
    Pistachio Almond Cookies – Roll dough 1/4″ thick.  Cut with a 1 3/4″ round cookie cutter.  Press a blanched almond into the top of each cookie.  Bake 10 minutes.  Makes 24.

    Cookies09

    Chocolate Mint Thins – Cut dough into scant 1/4″ slices.  Bake 10 minutes.  Makes 36.

    Cookies08

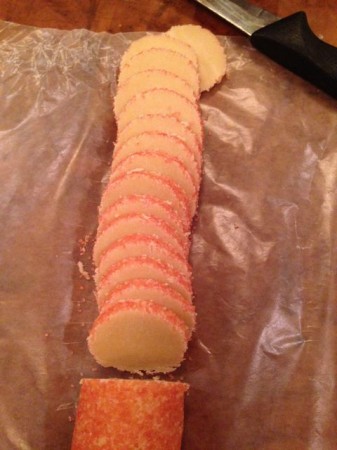
    Sanded Shortbread Coins – Slice log into 1/4″ slices.  Bake 10 minutes.  Makes 24.

    Cookies12

    Lingonberry Logs – Divide dough in half.  Roll each into a 9″ log. Press a shallow trough down the length of the log.  Fill with lingonberry jam.  Bake 15 minutes.  While cooling, make a glaze from 1/4 cup powdered sugar, 1/2 teaspoon almond extract and 1 – 2 tablespoons of cream.  After the cookies have cooled for 10 minutes, drizzle with glaze and cut into 1″ pieces on a slight diagonal.  Makes 20.

    Cookies10

    Brew up some strong coffee and enjoy!
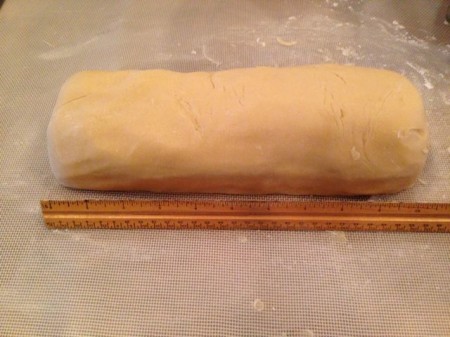
    plate1


    Tags:
  • 25Oct
    Categories: musings Comments: 2

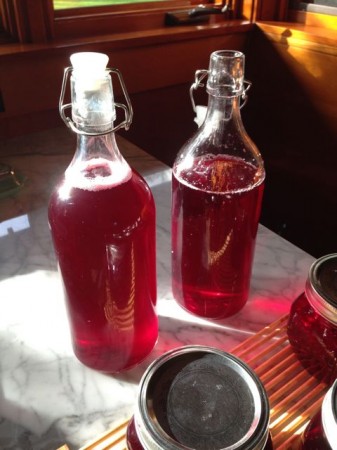
    In Sweden last summer I learned to make “saft,” a fruit concentrate that you add to water to make a yummy drink.  I made rhubarb saft and currant saft.  Both were delicious.  But now that it’s cranberry season here at home, I decided I should try my hand at making some cranberry saft!

    saft1

    It was mighty tasty!

    A few people have asked for the recipe, so here it is.

    Cranberry Saft

    8 cups cranberries

    4 cups sugar

    4 cups water

    Combine sugar and water in a saucepan and heat until sugar dissolves.  Add berries and bring to a boil.  Boil 15 minutes.  Pour into a jelly bag and let drain several hours.  Voila!  Saft!

    Add your syrup to still or sparkling water for a refreshing drink.  I find a 1 to 4 ratio of syrup and water suits my taste, but experiment and see what you like.

    This will keep several weeks in your refrigerator.

  • 08Oct
    Categories: musings Comments: 2

    Nås, our village in Sweden is known for it’s potatoes.

    onp2

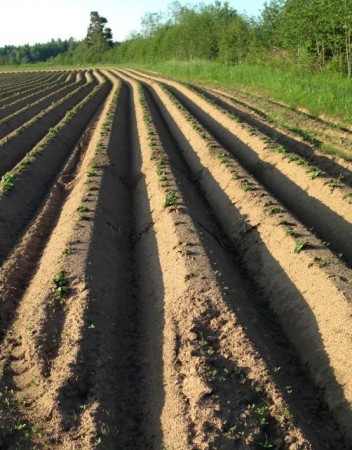
    The West Dala River runs through our village and the sandy soil is perfect for producing potatoes.

    pt1

    When we got to Sweden in June, the little plants were just poking up through the soil.

    ng1

    Nås is so far north that there’s about 20 hours of sunlight a day in June.  This is the same field two weeks later!

    ng3

    Here in Long Beach, we have very sandy soil, too, which means potatoes are a great crop to grow here, too.

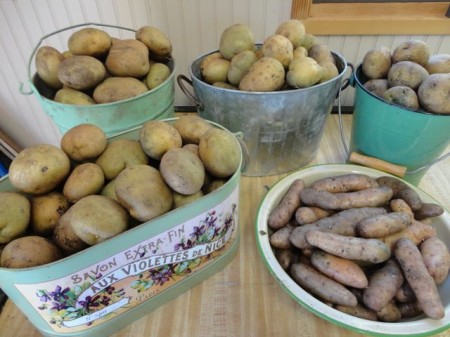
    Since we were going to be gone for two months this summer, I didn’t plant a garden this year—except for potatoes.  They were left to their own devices while we were gone except for a timer on the sprinkler.  Thank goodness they thrive on neglect!  A few days ago I dug them all up.

    pot4

    I guess we’ll be eating a lot of potatoes!

    Tags:
  • 19May
    Categories: musings Comments: 3

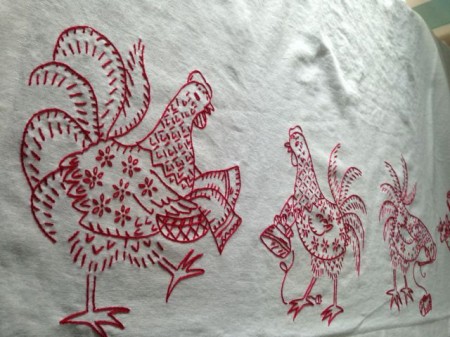
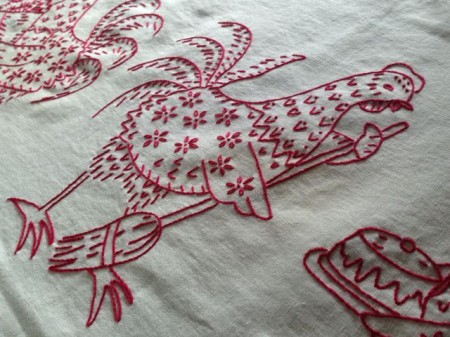
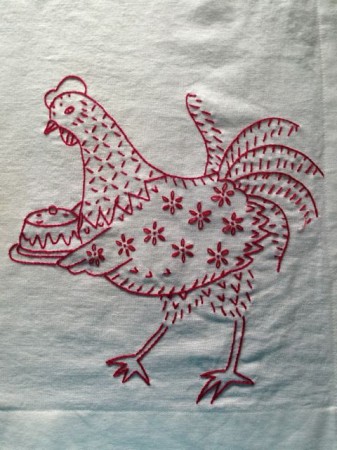
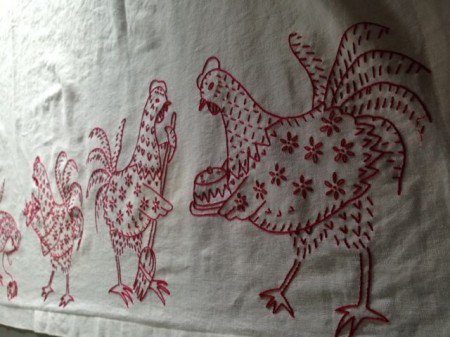
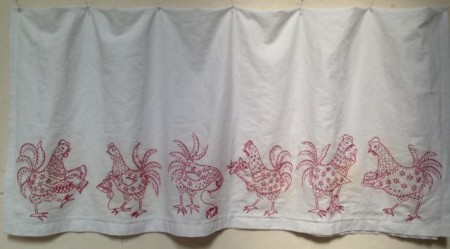
    I wanted to embroider something to hang in my kitchen window in our Swedish house, and when I found these chickens doing their days-of-the-week chores, I knew they were the ones!

    ach8


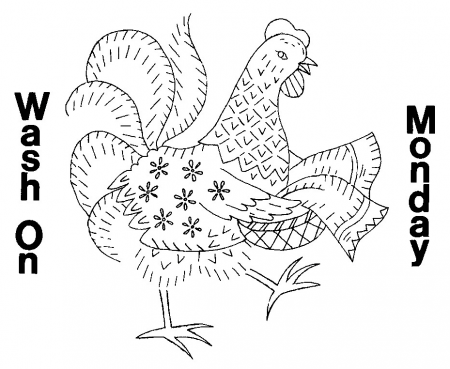
    These industrious gals have it all figured out–washing on Monday.

    ach6

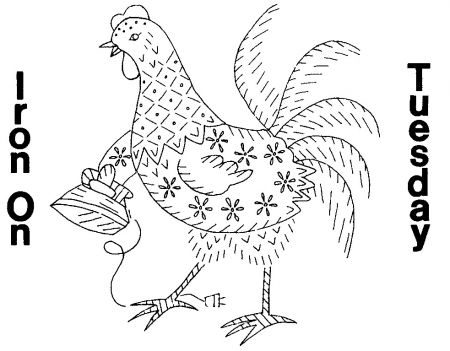
    Ironing on Tuesday.

    ach7

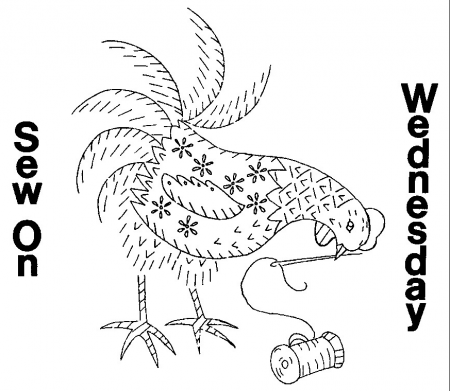
    Mending on Wednesday.

    ach5

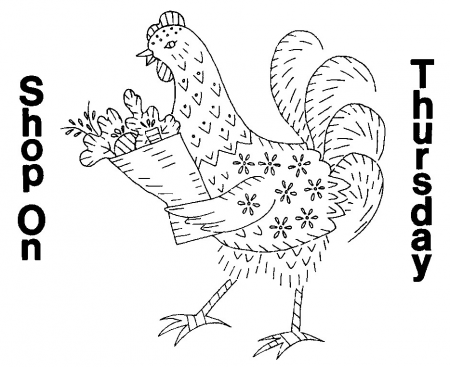
    Shopping on Thursday.

    ach4

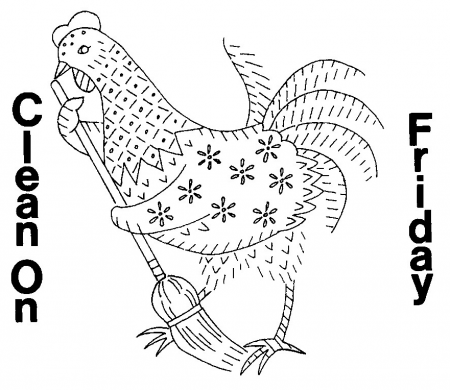
    Cleaning on Friday.

    ach3

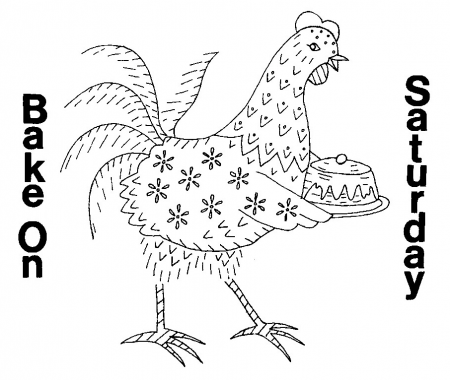
    And baking on Saturday!

    ach1

    If only it were that easy!

    ach2


    I can’t wait to get them hung up in the window!

    crt1

    I found these patterns online, on Pinterest.

    Screen Shot 2014-05-18 at 5.48.00 PM

    It says they are a TriChem pattern.

    Screen Shot 2014-05-18 at 5.47.50 PM

    I checked their site, and they aren’t listed.

    Screen Shot 2014-05-18 at 5.47.38 PM

    I assume they are an older, discontinued pattern.

    Screen Shot 2014-05-18 at 5.47.16 PM

    Although I don’t know why.

    Screen Shot 2014-05-18 at 5.46.28 PM

    I think they’re adorable!

    Screen Shot 2014-05-18 at 5.46.49 PM

    If there was a Sunday, I couldn’t find it!


  • 09Mar

    One of my mom’s health care providers, Sayonara, thought it would be fun to give me a housewarming party for the new house in Sweden!

    shw34

    She enlisted Mom and Sally’s help and they put together a wonderful party at Mom’s house.

    aaw4

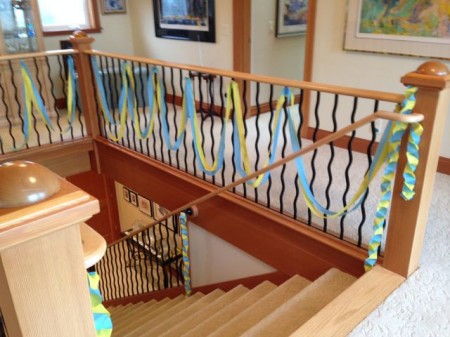
    Sy decorated the entry with the Swedish colors.

    aaw2

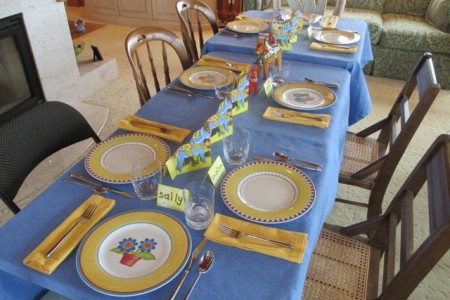
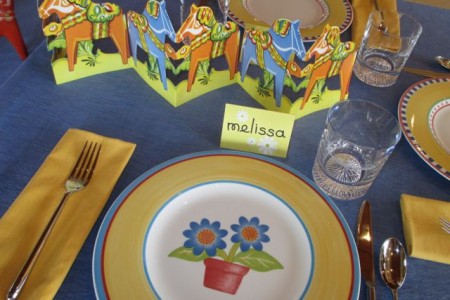
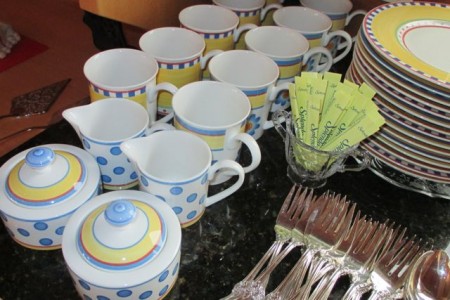
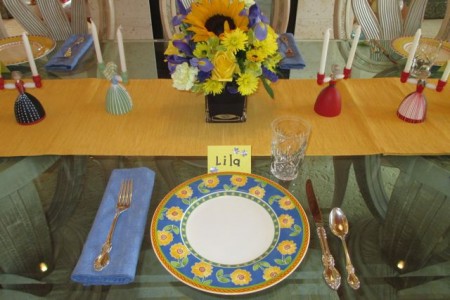
    And the Swedish theme continued with the table settings, of course!

    shw07

    Sally has the perfect blue and yellow dishes for just such an occassion!

    shw04

    And she has table linens to match.

    shw01

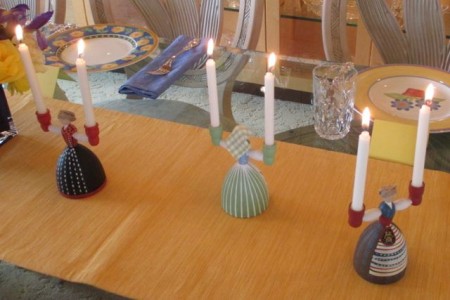
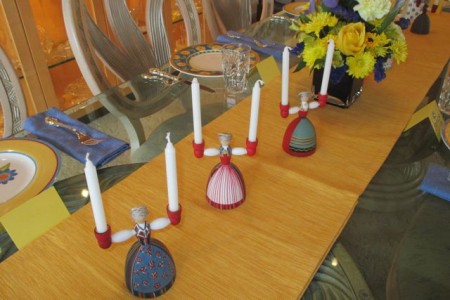
    I was able to provide something Swedish for the center of the tables, like fold out Dala horses and…

    shw03

    …these charming little candle holders.

    shw25

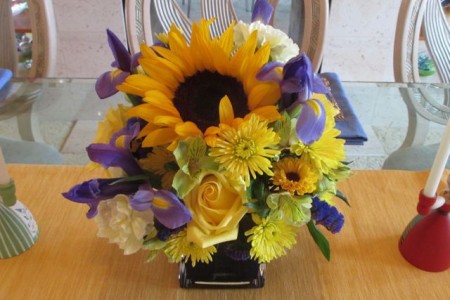
    This is our dear, dear friend Peggy.

    shw32

    She sent a bouquet of flowers in the perfect colors!

    shw05

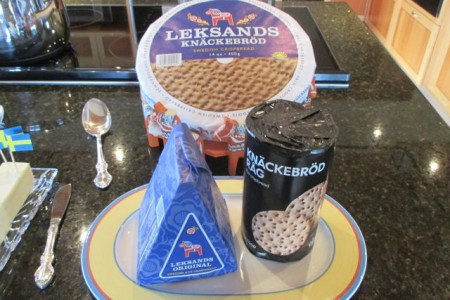
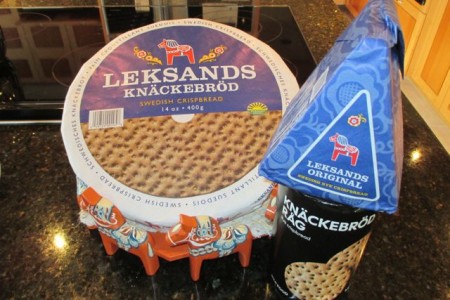
    Luckily, there are enough Scandinavians in the Northwest that it’s easy to find special Swedish foods…

    shw09

    …like this Leksands Knäckebröd, which is produced not far from our house in Sweden!

    shw10

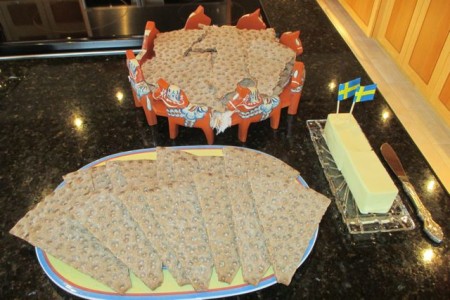
    Mmm. Hard bread!

    shw18

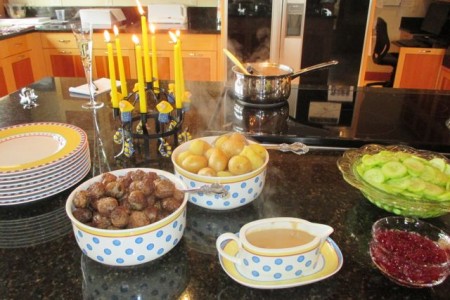
    Sally did a perfect Swedish meal–meatballs, cream sauce, lingonberries, boiled potatoes with dill and Swedish cucumber salad.

    shw28

    Melissa made the trip from Bend, which was very special.

    shw22

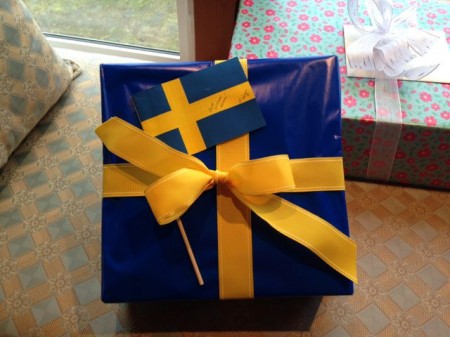
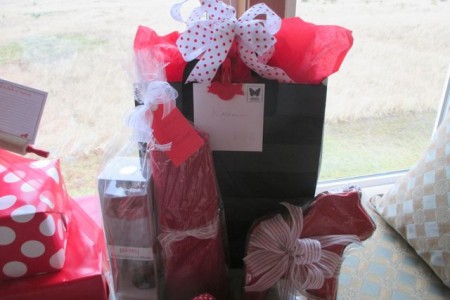
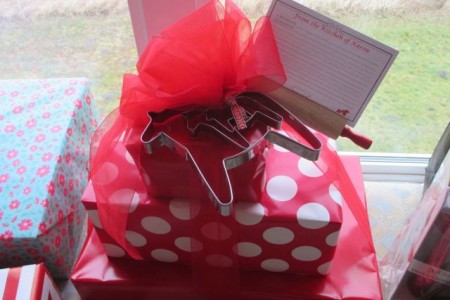
    The gifts were beautifully wrapped.  How perfect is this for a Swedish party?

    aaw3 

    There was lots of red and white to reflect the theme of the kitchen in Sweden.

    shw17

    shw16

    shw15

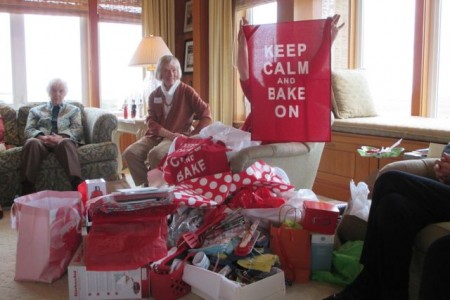
    Everyone was sooooo generous.  I’ll have the best stocked kitchen in the neighborhood.

    shw30

    And I’ll be able to entertain with the traditional seven kinds of cookies!

    shw20

    I made traditional Swedish “cooked” coffee to go with dessert.  That’s boiled coffee for the uninitiated.

    shw21

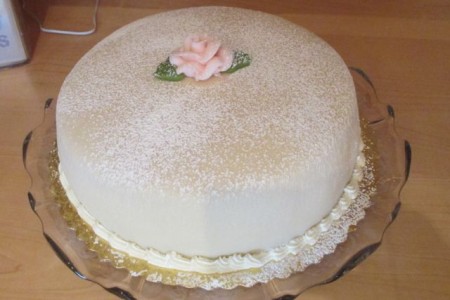
    There’s a bakery in Kirkland that specializes in Princess Cakes!

    shw26

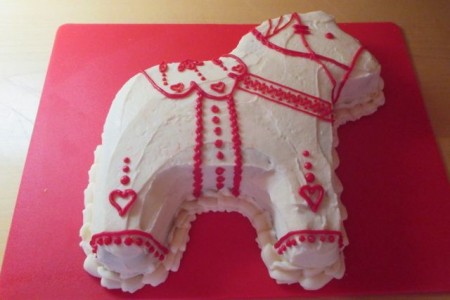
    And Karen Rollman made this adorable (and delicious) Dala horse cake.

    ck1

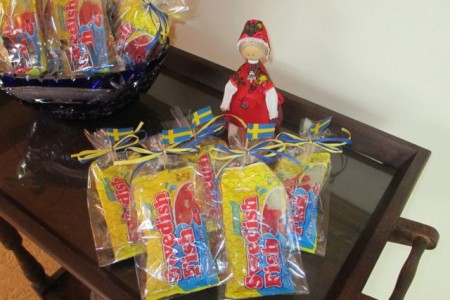
    Everyone went home with a goodie bag filled with Swedish candies.

    shw11

    It was such a fun afternoon, and so sweet of my friends to honor me in this way.  Thank you, all.


  • 18Dec
    Categories: musings Comments Off on Seven Kinds of Cookies – Date Pinwheels

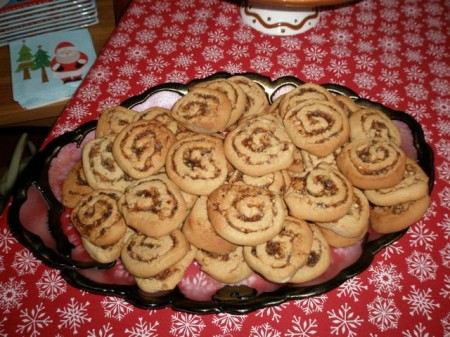
    Here’s another favorite from Bob’s side of the family.  His mom made them every Christmas.  They have a brown sugar dough and a filling of dates and walnuts.  Yum!

    dp1


    Date Pinwheels

    Ingredients for Cookies:

    4 cups flour
    1/2 teaspoon salt
    1/2 teaspoon baking soda
    4 sticks butter
    2 cups brown sugar
    3 eggs, beaten

    Ingredients for Filling:

    2-1/4 cups chopped dates
    1 cup sugar
    1 cup finely chopped walnuts
    1 cup water

    Put first three ingredients in a bowl.  Stir with a whisk to combine.

    In a stand mixer fitted with a paddle, cream butter and brown sugar about 2 minutes.  Add the eggs and mix until well blended.

    Add the dry ingredients in three or four parts to butter mixture.  Mix until a nice ball comes together.

    Divide the dough into three equal balls.  Wrap in plastic wrap and refrigerate at least one hour.

    While dough is chilling, prepare filling by combining dates, sugar, walnuts and water in a saucepan.  Bring to a simmer and cook for 10 minutes.  Remove from heat and cool.

    On a lightly floured board, roll out one ball of cookie doing into a 12″ x 8″ rectangle.

    Spread a third of the date filling evenly on the dough.

    Beginning with the long side, roll the dough up jelly roll style.

    Wrap in plastic wrap and refrigerate overnight.  Repeat with the other two balls of dough.

    With a sharp, thin knife, slice rolls into 1/4″ thick slices.

    Place 1″ apart on a cookie sheet.

    Bake at 375 degrees for 8 – 10 minutes.

    Yield – 144 delicious cookies!

  • 12Dec

    Today we leave Sweden and travel to Scotland for out latest cookie — Scottish Shortbread.

    shy1

    While not Swedish, they are a perfect, buttery cookie to go along with our others.  And, besides, they’re a tradition in Bob’s family.  This is his Scottish grandmother’s recipe and has been passed down through his dad.  And, now, I’m happy to say, his boys are sharing it with their kids, too!

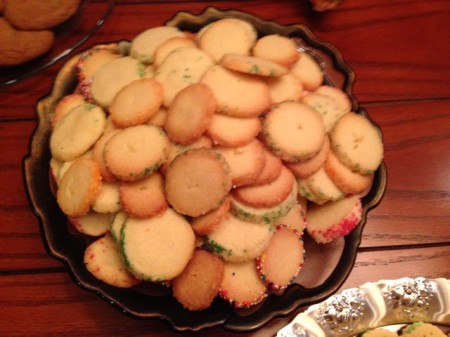
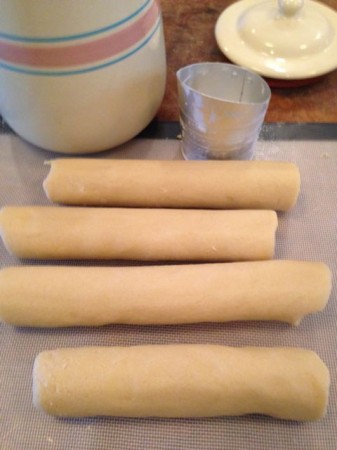
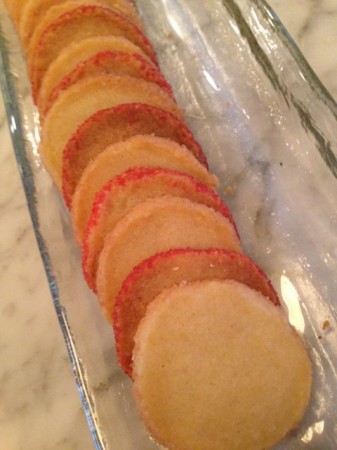
    This simple cookie has only three ingredients — butter, sugar and flour!  The final product can take on many shapes, but this year, we did “coins.”  Start by dividing the dough into fourths and rolling out a log 1-1/2″ to 2″ in diameter.

    sht1

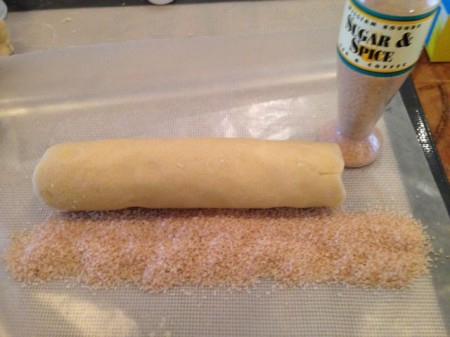
    We like to roll these in colored sugar.

    sht2

    Just sprinkle some on a piece of waxed paper…

    sht3

    …and roll!

    sht4

    You can use lots of different colors.

    sht5

    Roll each log up in waxed paper and refrigerate for a few hours or overnight.  Then, slice them with a sharp knife into little coins.

    sht6

    Bake until they just start to brown.  I overcooked some of mine.  ;-(

    But, we still plan to eat them!

    sht7

    Scottish Shortbread

    Ingredients:
    4 sticks butter
    1 cup sugar
    4 cups flour

    In a stand mixer fitted with a paddle, cream butter and sugar about 2 minutes.

    Add flour in three or four parts to butter mixture.  Mix until a nice ball comes together.

    Knead lightly and divide into four pieces.  Roll each piece into a log approximately 1-1/2″ to 2″ in diameter.

    Roll in colored sugar, wrap in waxed paper and refrigerate two hours or overnight.

    Slice into “coins” and bake at 350 degrees for 10 – 12 minutes.

    Yields 100 cookies.

  • 10Dec
    Categories: musings Comments Off on Seven Kinds of Cookies – Swedish Spritz

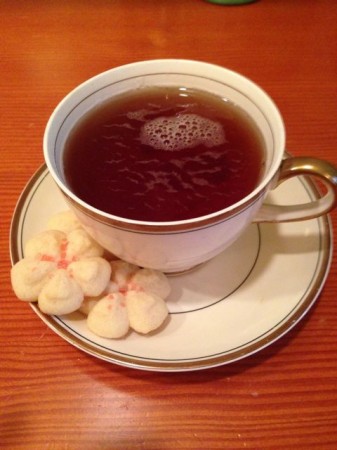
    It’s Day Two of Seven Kinds of Cookies–the traditional number of cookies served with coffee in Sweden.  So, what’s more appropriate than Swedish Spritz.

    tea2

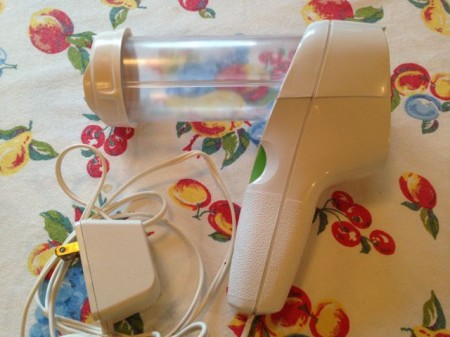
    These cookies require a special press or gun.

    spr08

    I got mine in 1974!  Can you tell by the avocado green and big daisy?

    spr09

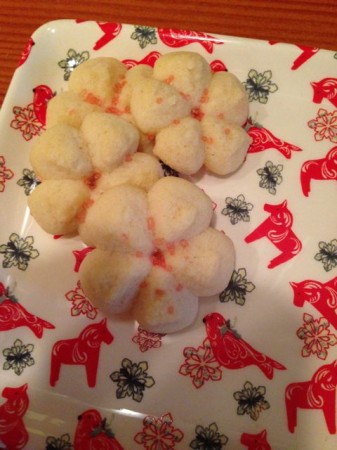
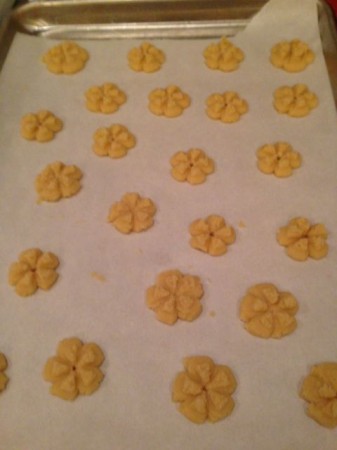
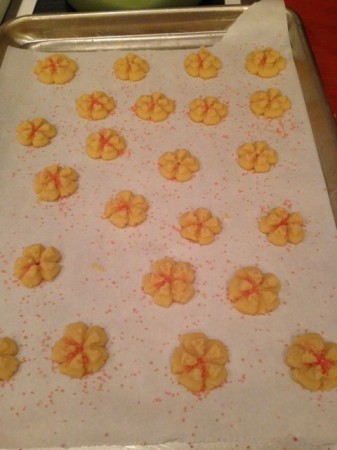
    It’s a basic, shortbread dough that’s pressed through the gun onto your cookie sheet.  BIG TIP!  Sometimes they don’t want to stick to the cookie sheet.  The best way to improve this is to refrigerate you cookie sheets!  Then, it will work like a dream.

    spr06

    Sprinkle your cookies with colored sugar and bake.

    spr07

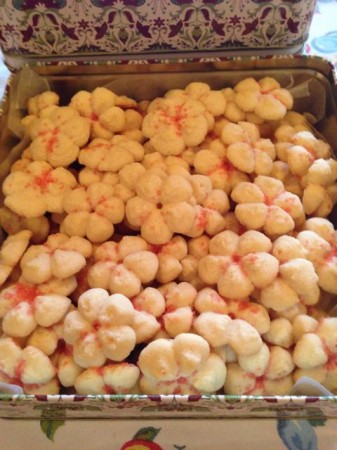
    That’s all there is to it.  Enjoy!
    tea3


    Swedish Spritz

    Ingredients:
    4 sticks butter
    1 cup sugar
    2 tsp vanilla or almond extract
    2 eggs
    4-1/2 cups flour
    1 tsp salt

    In a stand mixer fitted with a paddle, cream butter and sugar about 2 minutes.  Add the extract and eggs.  Mix until well blended.

    In a separate bowl, combine flour and salt.  Whisk together to mix, then add in three or four parts to butter mixture.  Mix until a nice ball comes together.

    Fill your cookie press and press out onto a chilled cookie sheet.

    Sprinkle with colored sugar.

    Bake 6-8 minutes in a 400 degree oven.

    Enjoy!

    Yield–a lot!

    tea1

  • 05Dec

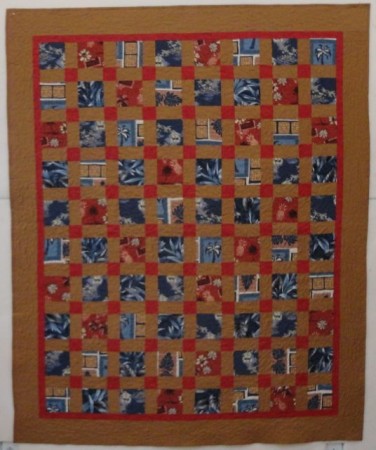
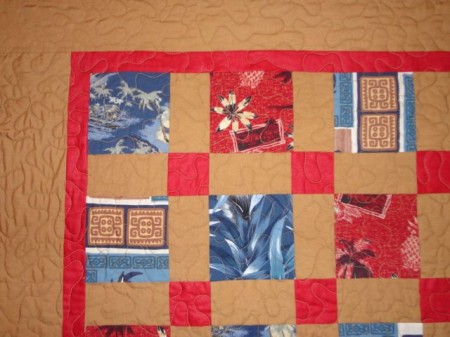
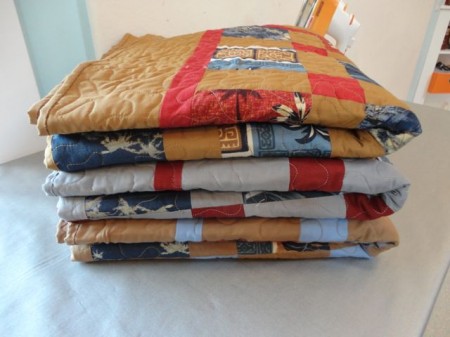
    A good friend of my sister’s lost her husband a few years ago.  She still had three of his Hawaiian shirts in her closet, and when she saw a quilt made out of old shirts, she knew she wanted to use the Hawaiian shirts for quilts for her three children.  Since she’s not a quilter, Sally put the SOS out to me.  The timing was perfect, as we were going to a retreat at The Wild Rose.

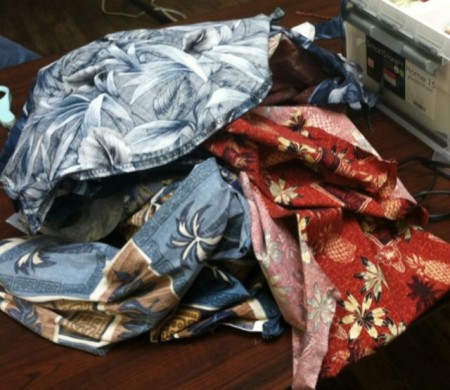
    Sally brought along the shirts and I started unstitching them.

    haw02

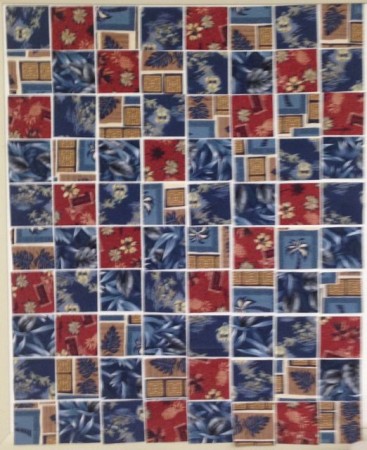
    It was really a bigger job than I thought, but I wanted to make the most of the fabric.  I ended up cutting the shirts into 4-1/2″ squares.  I divided them in thirds and put one stack up on the design wall to balance out the colors.

    haw01

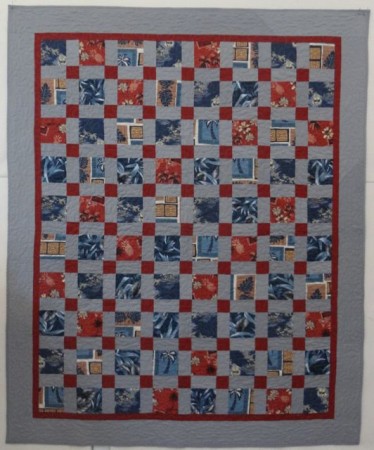
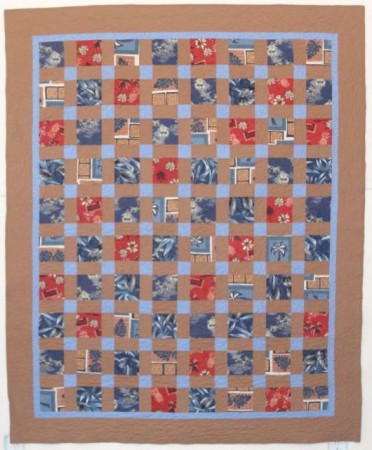
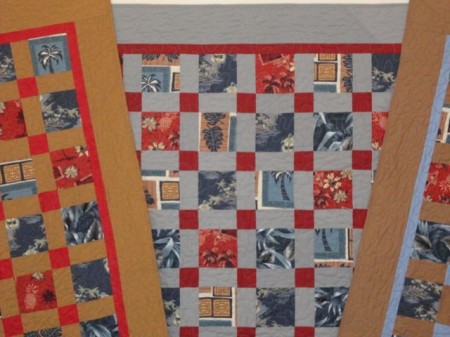
    I wanted the quilts to be similar, but still different, and I wanted the prints to be the “stars” of the show.  So I decided I would use solids and set the blocks together with sashing and cornerstones.

    haw03


    It’s a very simple setting, but I think it served its purpose.

    haw06


    haw05


    I finished them off with a simple stipple.

    haw04

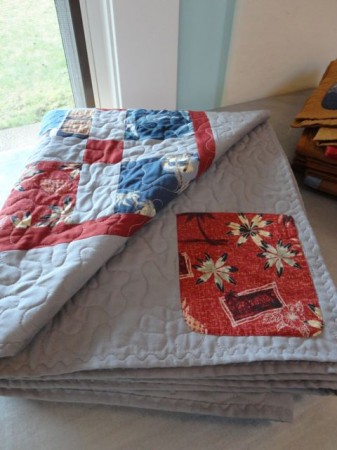
    Each shirt had a pocket, so I stitched one to the back of each quilt.

    haw09

    I was pleased with the way they turned out.

    haw07

    I’m sure the kids will treasure them.

    haw10


    If you want the fabric requirements to make one of your own, they’re below.  This is also a great way to show off fussy cut, novelty prints or even photo transfer blocks.

    Hawaiian Shirt Quilt

    Materials

    1 Hawaiian shirt (I got enough squares from each shirt to do one quilt, but I mixed them up for interest)

    7/8 yard cornerstones and inner border fabric

    2-1/4 yards sashing and outer border

    4 yards backing

    From the Hawaiian shirts cut 80) 4-1/2″ squares

    From the cornerstone/inner border fabric, cut 10) 2-1/2″ strips.  Cut four strips into 2-1/2″ squares for cornerstones. Use remaining squares for inner border.

    From the sashing/outer border fabric cut 18) 2-1/2″ strips; crosscut into 142) 4-1/2″ x 2-1/2″ rectangles for the sashing.  Then cut 7) 4-1/2″ strips for the border

    Cut the backing into two equal pieces.

    I pulled the backing around to the front of the quilts and machine stitched for the binding.


  • 22Aug

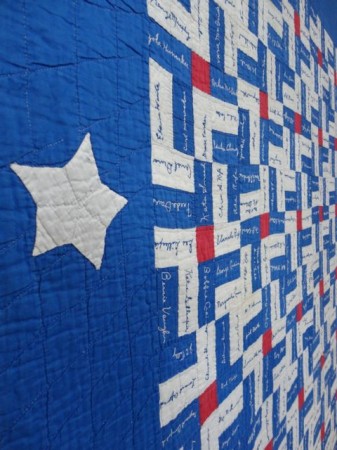
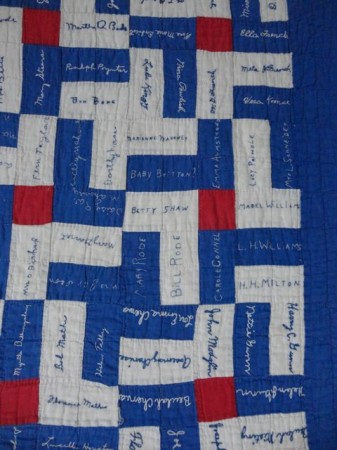
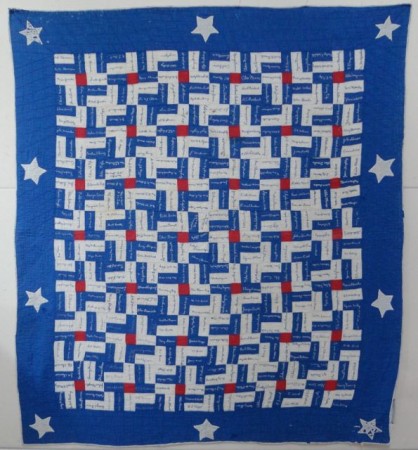
    About a year and a half ago I bought a signature quilt on Ebay.

    Pul6

    I bought it because I was intrigued by the design–and I love signature quilts.

    Pul7

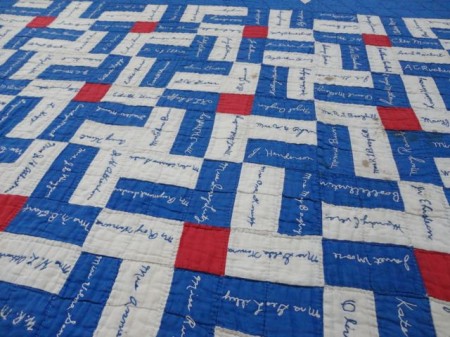
    When I was trying to determine the block pattern I first saw the blue pinwheel in the design, but then the rest of the pattern didn’t really make sense

    Pul4

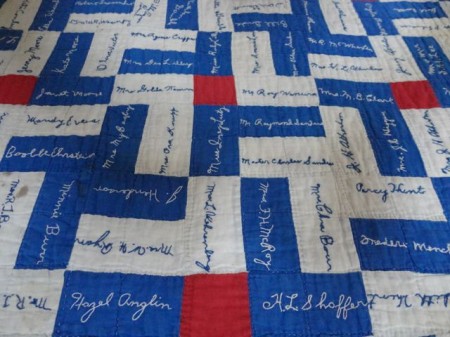
    Finally I realized that it’s a variation of a Rail Fence with three rails sewn around a red center.

    Pul2

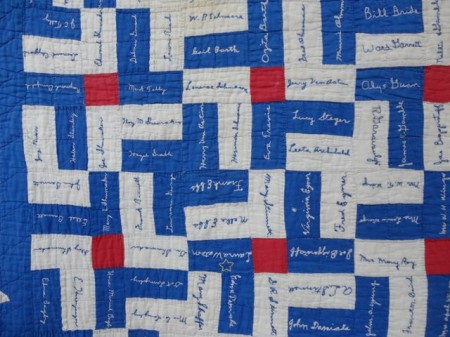
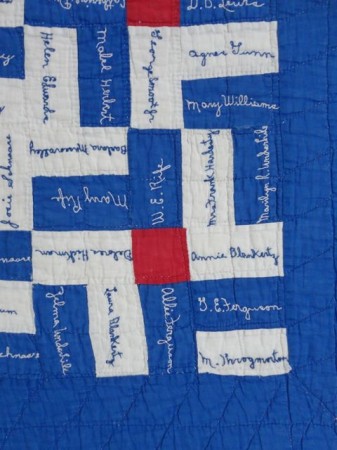
    The seller knew nothing about the quilt.  She had purchased it at an estate sale in California.  I surmised it was a World War II raffle quilt—members of a group like a Ladies Air or Auxiliary solicited people to pay a dime or a quarter to have their name embroidered on the quilt, then the quilt was raffled off.  You could tell by the different writing that many women had participated in creating the embroidered blocks.

    Pul3

    I felt so sad that I didn’t know where this quilt had been made.  BUT, here’s the best part of the story.  My friend Jodi was visiting and I showed her the quilt.  Like me, she loves history and quilts, and she’s a geneologist!  She asked if she could take the quilt home for a bit and do some research, perhaps discover where this quilt was from.

    Pul8

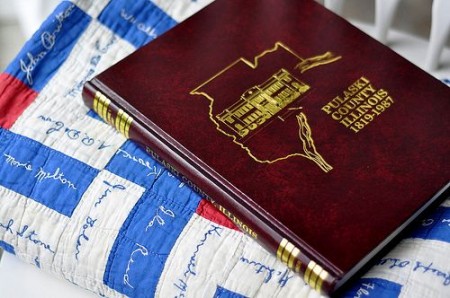
    A few weeks later we met for lunch and so she could return the quilt.  Well, you’ll never believe this.  Not only did she find out where the quilt was from, she had found a book on the history of the area–Pulaski County, Illinois!  She presented me with the quilt and the book.  She had transcribed all the names–all 505 of them!  She had found references to several of the people from the quilt in the history book.  What a treasure.  My first thought was that I should see if there’s a historical museum in the county and send the quilt there, but I remember saying to Jodi, “I’d rather the quilt went to an individual who has a connection with this quilt.”  And that was the end of the story—for awhile.

    ph1                             Photo from Pleasant Home

    Jodi blogged about the quilt and eventually that blog came to the attention of a someone in Pulaski County!  When he read the post, he saw the names of his maternal grandmother and grandfather, his mother, an uncle, a great aunt and uncle, a cousin of his mother’s and his great-grandmother in one of the photos!  What were the chances!?!  Oh, and are you ready for this?  He’s a quilt collector!  I knew this quilt had found it’s home.
    Pul1

    Last week I sent it off and this quilt is now back where it belongs.