Kryddhylla? It’s Swedish for spice rack! I’ve always thought these under-counter spice racks you find in lots of Swedish kitchens are very cool.
You can see a red one behind me here in Skräddar Anna’s kitchen in this picture taken in 1984!
This one’s a little different. It’s in Berit and Gunnar’s house.
I wanted to find one for our Swedish house and was looking for an antique one that would go under our upper cupboards. But if you look at the picture below, you’ll see that blank panel on the very left. It was kind of boring, and kind of bothered me.
It was just there to hide some electrical. Hmmm. Why not put the kryddhylla there!?!
It would be a bit nontraditional to run it vertically, but, hey–why not! I found a source for new ones, that had four containers.
The glass inserts were square.
So they could go into the holder either way!
Five seemed to be right for the space, so we ordered a second one and did some creative carpentry.
And now we have our own kryddhylla! Yeah!
Oh! But on the other side of the cupboards, there’s a skinny space. It didn’t bother me so much.
Before we returned to Sweden for the summer, Torsten and Mikael built the hood over our stoves. It started with Mikael putting a fresh layer of cement over the chimney. This is the hall side of the chimney.
This is the kitchen–with the wood stove covered up and the electric stove temporarily removed.
Traditional Swedish hoods are very different than the prefab hoods we’re used to in the US. Torsten built the steel framework…
…and installed it.
Then Mikeal started building the hood with bricks.
While the work was in progress, this was the only photo Torsten sent me!
Once the bricks were in place, Mickael covered everything with a layer of cement.
And I got my second sneak peek! It’s hard to be half a world away!
Finally, I couldn’t stand it any longer! I had to make a trip back to Sweden.
Everything looked fabulous, including the white tile back splash.
This summer, Bob painted all the cement.
Traditionally these hoods are painted white, and that’s what we did—with the first coat.
But it seemed so stark white that he put a second coat on with a tinge of gray in it.
And it looks fantastic! The vedspis (wood stove) and hood really make this my Swedish dream kitchen.
Once the cabinets were in, it was time to put up the wainscoting, which was painted a pale gray.
I had hoped to find a wallpaper that looked like stenciling, and I did!
Lucky for us, Torsten is a jack-of-all trades.
I couldn’t be happier with the way the wallpaper looks.
You can see how the wallpaper wraps around the room.
Corner and ceiling moldings complete the look nicely.
Our refrigerator didn’t arrive before we left, but Torsten sent a picture. I love the shape and the color! Now to find the perfect skinny cabinet to go next to it!
The window still needs molding, but I had to play with placing a Dala horse on the sill.
Or perhaps he looked better in one of the high cupboards?
I even had a few things to put inside the cupboards.
It’s really looking great, but there are a few things to do, like the hood and tile black splash.
I love the little details, like the porcelain knobs on the kitchen cabinets,
We used similar hardware on the door.
We chose a vintage style for the light switches and…
…outlets.
The faucet, too, has a vintage feel.
After weeks of construction, it was fun to put out the towels I’d made.
While we only took a day and a half off from working on the house while we were in Sweden, don’t think it was all work and no food! From the very first day, we made sure there was coffee and a little something to eat, even if the atmosphere left something to be desired. In Swedish, a coffee break is called a fika (FEE-kah). And in Sweden, fika is taken very seriously.
Luckily, Bertil and Sonja left us a dining room table.
Berit and Gunnar came often to help—and bring fika!
And our neighbor, Byns Mats and Annacari welcomed us with a pensionärer kaka — a special and delicious cake. Good thing I’d brought linens!
For awhile we had to move the table into the bedroom, but that didn’t mean we skipped fika!
My Aunt Evelyn was responsible for keeping my family in contact with our Swedish relatives, and I thought it fitting that I bring her china with me to our Swedish house.
I used it for the first time when Sven-Eric and Anna came for fika.
It was very special.
Fika isn’t always something sweet. Sometimes it’s a sandwich. Don’t you love a country whose cheese puffs are shaped like hearts!?!
And if we had Coke instead of coffee, there was no problem keeping it cold!
One day, when I had to drive to Vansbro to the hardware store, I stopped at the Vansbro Konditori for semlor – wonderful buns filled with almond paste and whipped cream!
Sometimes we brought a Thermos of coffee from Torsten’s, sometimes we got coffee at the mini-mart, and sometimes family or friends brought coffee. Luckily, a few days before we left, we got our electric stove and were finally able to boil our own coffee!
So, as you can see, we worked hard, but, like good Swedes, we didn’t skip fika!
At the end of December, we returned to Sweden with the plan to get the new kitchen done in just under a month! We were down to bare walls and floor. My first job, hammering in all of the nails on the floor to be sure everything was smooth!
I mentioned in an earlier post that the existing window came down too low to allow a counter under it, so we bought a new window.
You can see how much lower the other one was. You can also see that it’s very dark out! Sunrise was at 9:30 and sunset at 3:00!
We covered the walls with new plasterboard and decided to paint the ceiling white. Bob suited up and put on four coats of paint–two of oil based sealer and two latex.
In the meantime, I painted the panels for the wainscoting a pale gray.
I had chosen linoleum tiles for the floor, mostly gray with a few red.
Torsten and Bob did a good job of interpreting the design I sketched out on a piece of plasterboard!
Ever since we’d bought the house in September, I’d been planning the kitchen on Ikea’s nifty kitchen planner.
So off we went to Ikea, plan in hand.
Bob and Torsten looked over installation brochures while we waited for assistance.
Here’s our kitchen – in boxes!
It took two rooms to put them all!
And then the fun began! Torsten and Gunnar figuring it out.
Is it all going to fit?
The Ikea system uses rails that are mounted on the wall, and the cabinets hang from them.
You have to love the Swedish instructions, because they tell you to take a “fika” (coffee break) after getting the rails up!
We did as told, then the guys started hanging the cabinets.
Let’s see, put tab “A” in slot “B”.
Like all old houses, are walls weren’t exactly straight, but with some tweaking, everything went up.
It was exciting when the doors started going on.
I couldn’t resist putting a Dala horse in one of the cabinets!
The new stove fit perfectly between the cabinets and the wood stove!
Once the cabinets were in, the wainscoting was next.
I think at one time, every Swedish house had a vedspis – wood stove. Often they had one in the kitchen and one in an upstairs apartment. Many houses still have them, but many have been removed. Our house had one originally, but it had been replaced by the freestanding fireplace which we removed when we dismantled the old kitchen. They are quite different than wood cookstoves in America. I decided right away that I wanted one, and when I mentioned to one of my Swedish relatives, Sven-Eric, that I was going to look for a renovated one, he told me he had two in his barn, and I was welcome to take one! I learned this on my way to the airport, so I didn’t get a chance to look at them. Luckily, Torsten took charge and uncovered them. One was cracked, but one was in good shape. Well, relatively speaking!
Before we returned to Sweden, Torsten and his mason friend, Mikael, got the vedspis put in place for us. First they had to shovel a path to the barn where it was stored.
These wood stoves aren’t freestanding, so a brick base had to be built.
They could see where the original vedspis had been.
This part is for wood storage.
It is cast iron like the stove and has two doors.
Once the base was built, the vedspis was set on top. Nice and level! The top left door is the firebox, the one below is the clean-out and the big one is the oven door, with a built-in thermometer!
More bricks to surround it.
The right side is complete.
Mikael is leaving a space for a water cistern next to the firebox.
Then the bricks get covered with a special cement.
It’s beautiful! If you compare this photo to the first one, you can see that Torsten did a lot of work removing old rust and, undoubtedly, years of grime!
Here’s the wood storage with the doors on.
The stove was in relatively good shape, leading Mikael and Torsten to speculate that it was in an upstairs apartment and not used too much.
You can see the layers of paint on the old chimney–and evidence of a chimney fire!
We had to grind all of the old paint off so it can be re-cemented. Ugh. It was a nasty job.
We found an old copper cistern on an online auction site.
The heat from the firebox heated the water, so you always had hot water to wash your dishes!
Did you know there is really something called Stove Black—and it does just what the name says?
You can see what a difference it made!
The cement will be painted white, as will the hood which will be built over this and the electric stove.
And it makes the kitchen so cozy when you have a fire!
I love the glass doored cabinets in our Swedish kitchen. The trouble is, I had nothing to put in them! On a trip to Anthropology, I saw some cute cut-out letters and thought that would be a simple solution, but what letters? Our initials seemed kind of weird.
Then it hit me–why not write “kitchen,” but in Swedish. The word is kök–just three letters. And there were seven cupboards–three above window. I went to the craft store and had to get creative to get the two dots above the “o”.
I bought some red paint and gave everything a couple of coats.
I found this scrapbook paper and decided to do some decoupage.
The cutting out was a bit tricky.
But the decoupage was fun!
Bob made some great bases for me–and eventually figured out how to mount the dots above the “o”!
Of course, when I got back to Sweden, I found I could have bought letters there–with the appropriate characters.
The letters worked out great!
It was tricky getting a photo without glare on the glass.
But, the letters served the purpose–filling up some space!
I found an inexpensive airfare to Sweden in March and decided to take a quick trip over there to look for some furniture for our Swedish house, primarily a bed so we’d have someplace to sleep this summer. Instead, with Torsten’s help and encouragement, we remodeled the dining room!
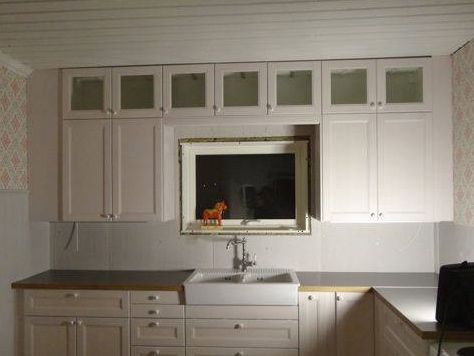
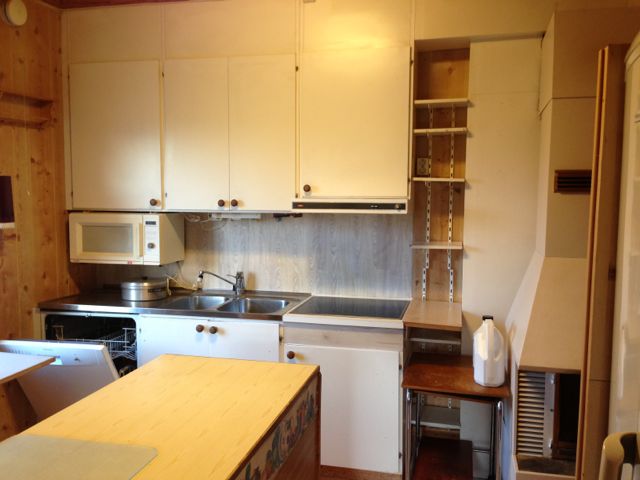
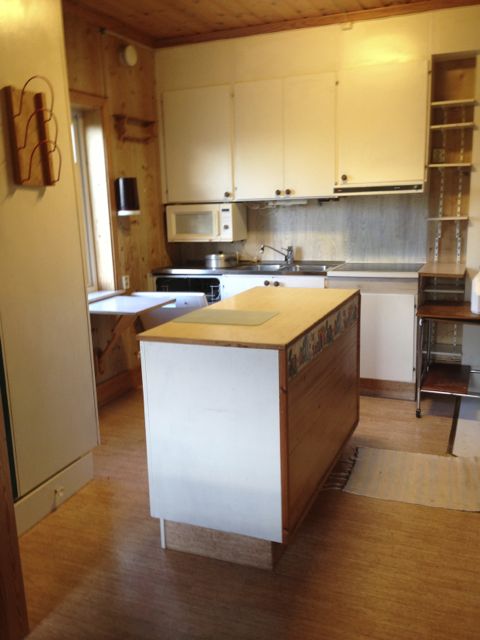
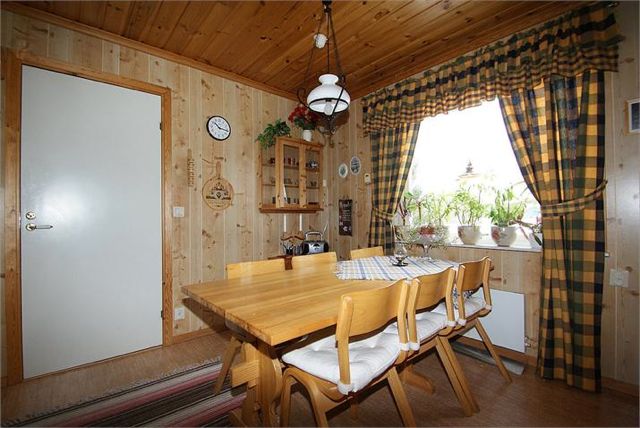
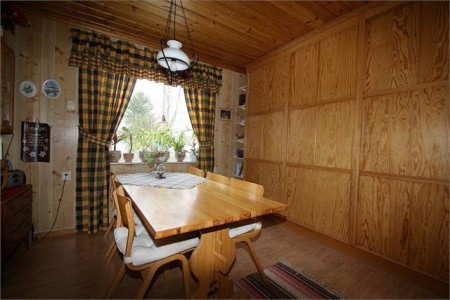
Here’s what it looked like in the real estate listing photos.
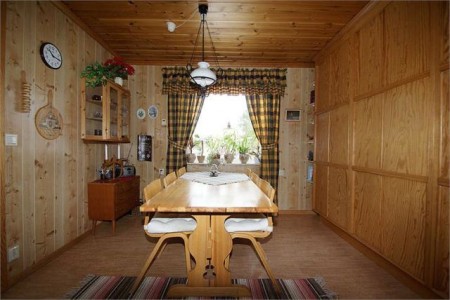
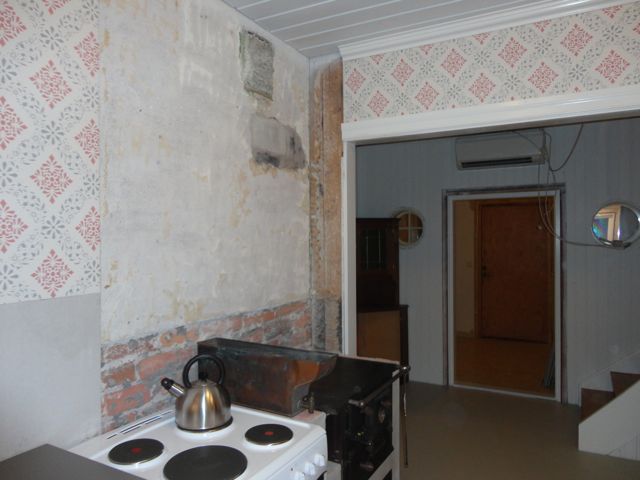
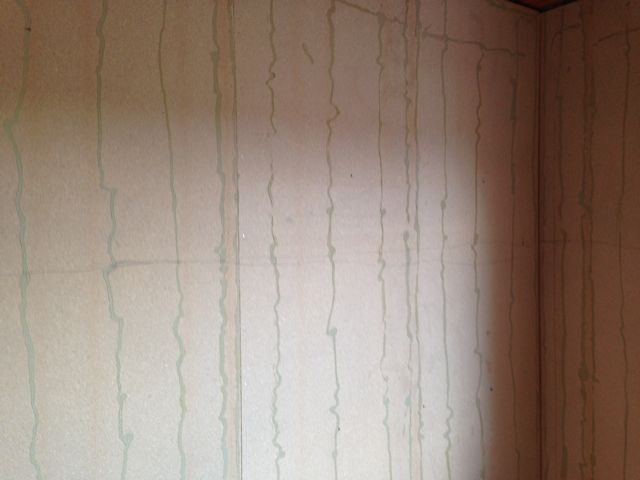
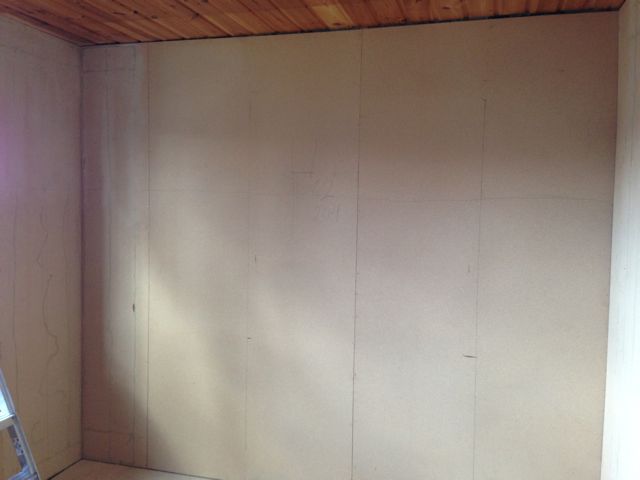
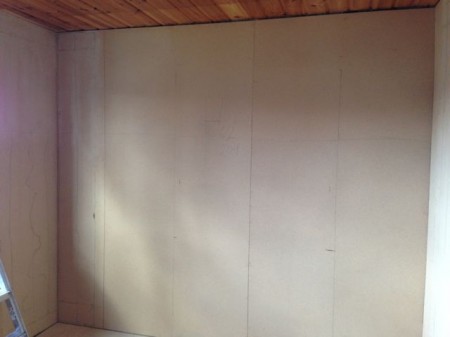
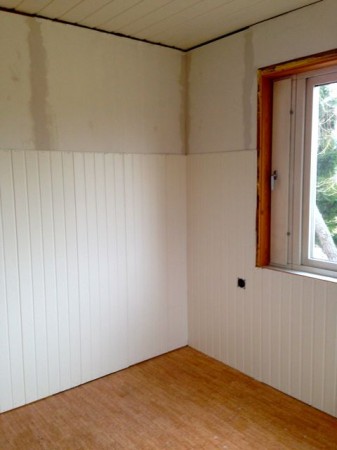
The ceiling was natural knotty pine, the walls had plywood panelling….
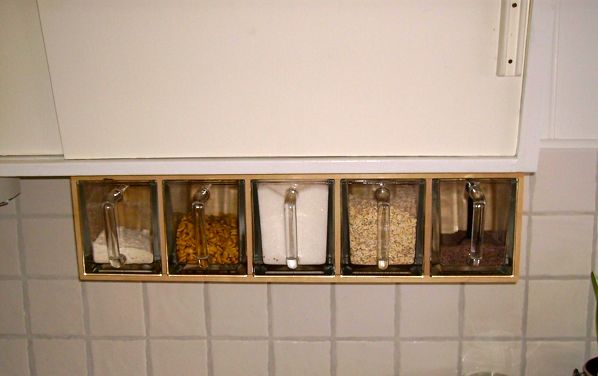
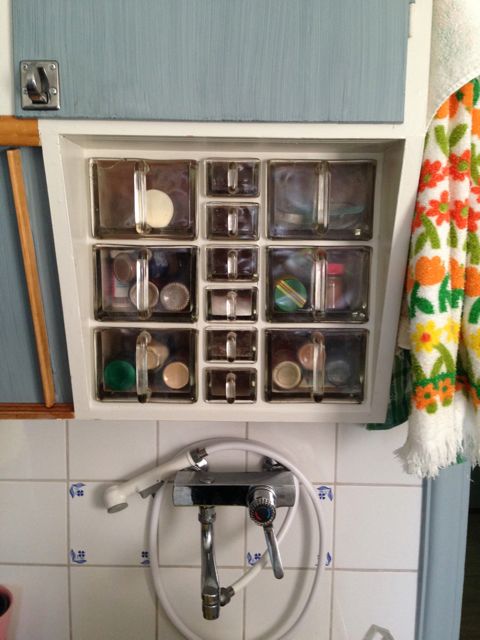
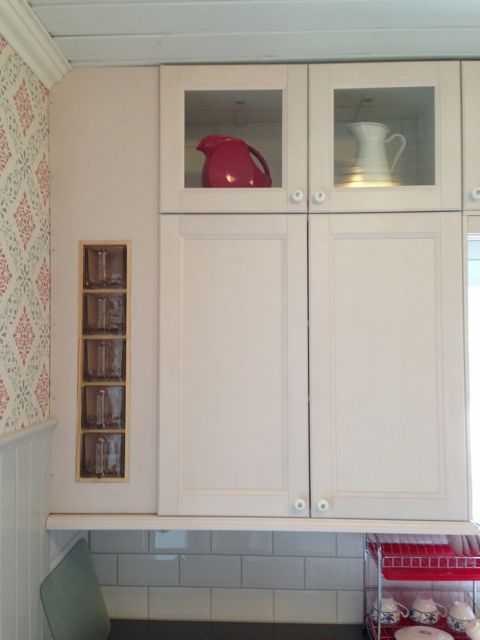
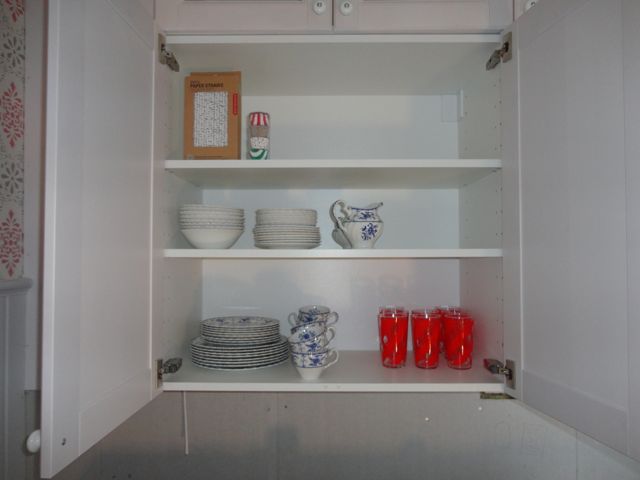
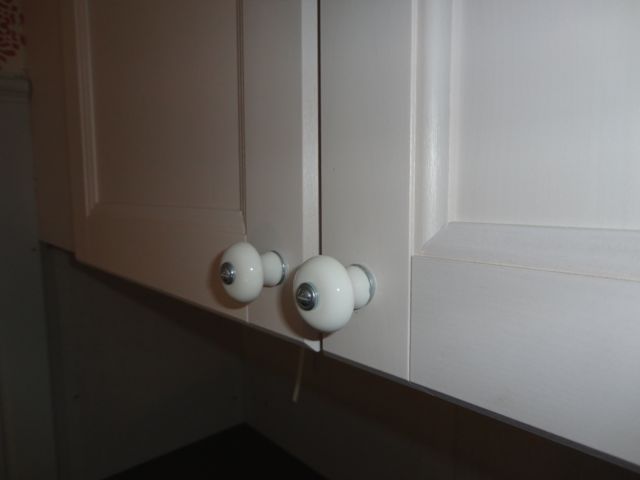
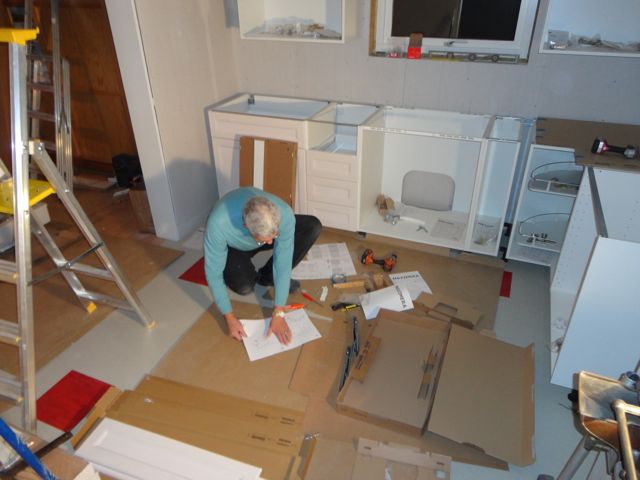
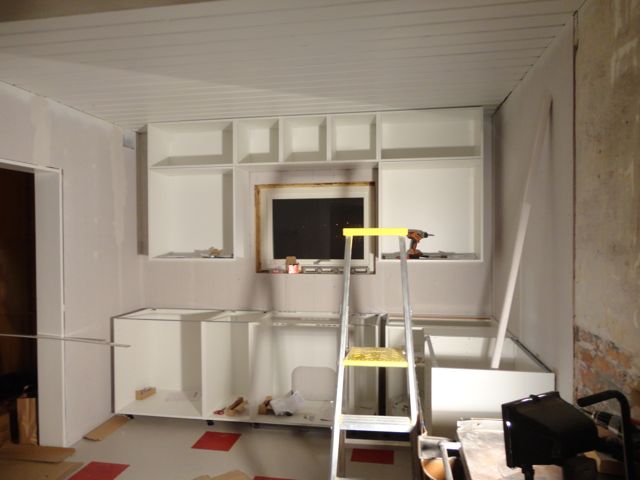
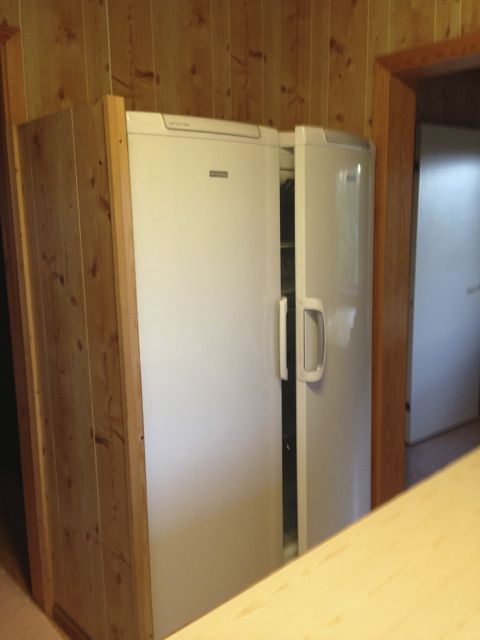
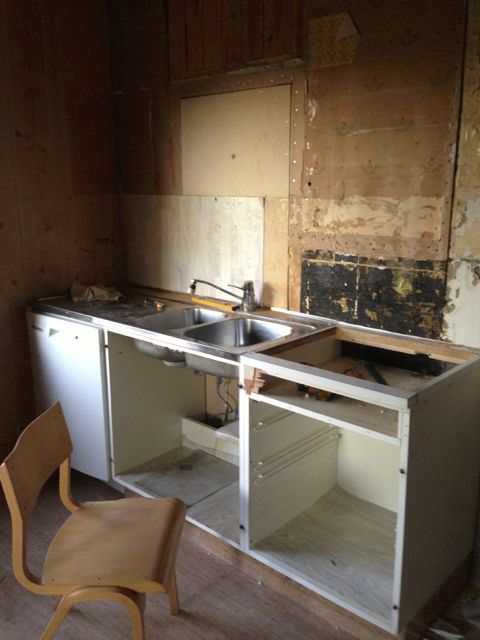
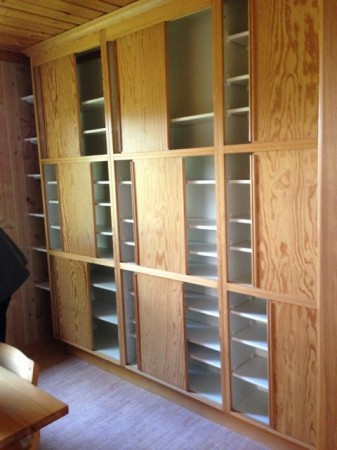
…and there was a wall of built-ins along one side of the room.
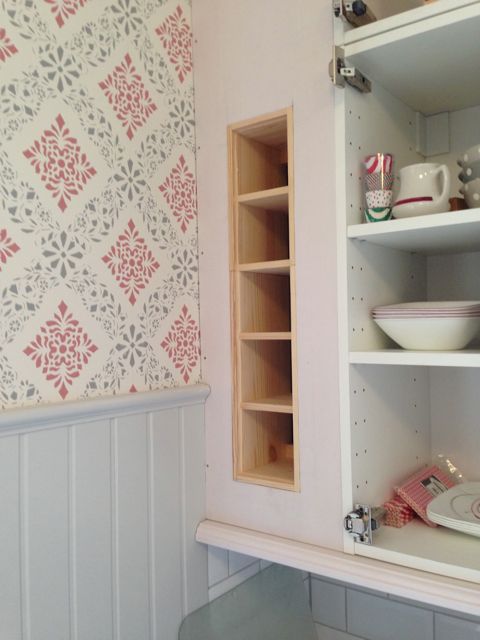
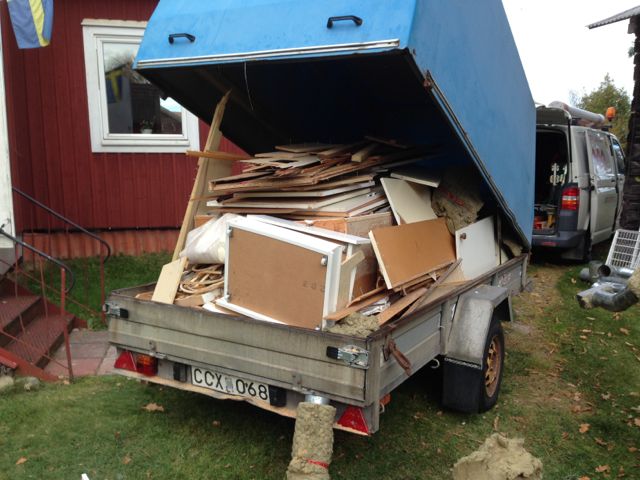
It isn’t a very big room, so we removed the built-ins. Since you can never have enough storage, we’ll find someplace else in the house to use them.
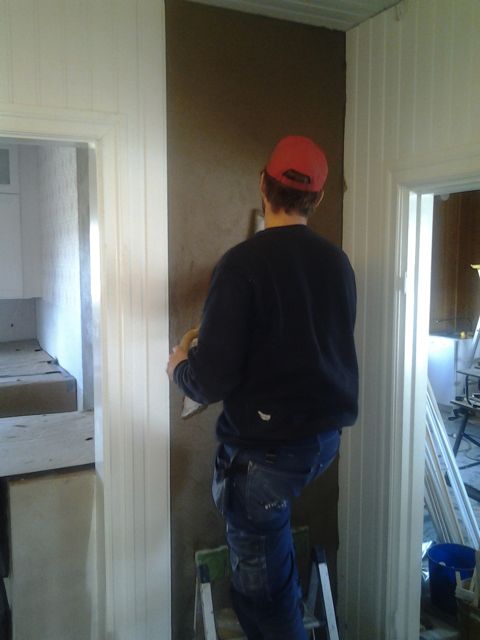
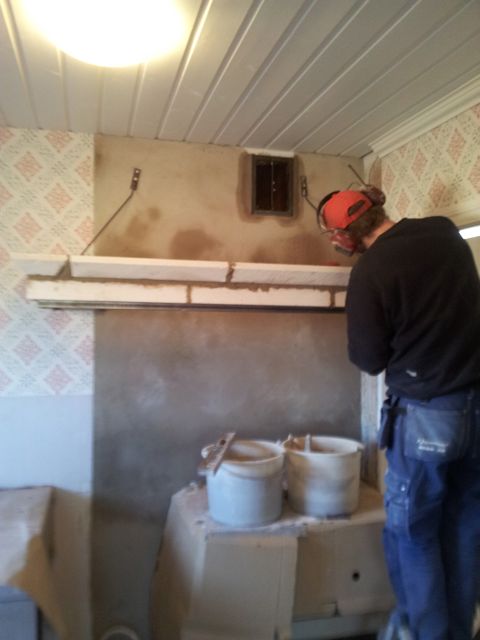
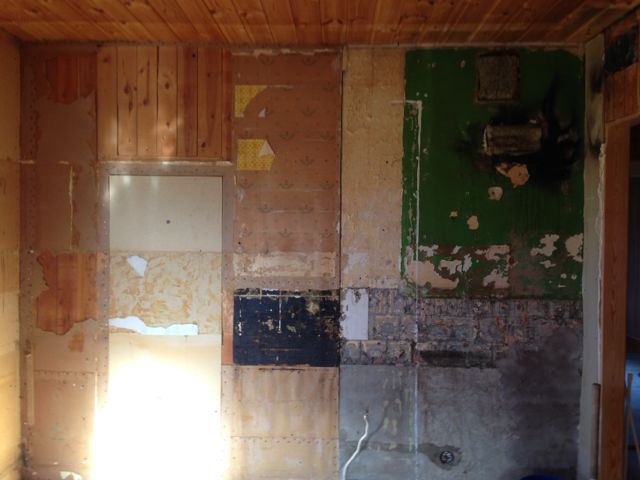
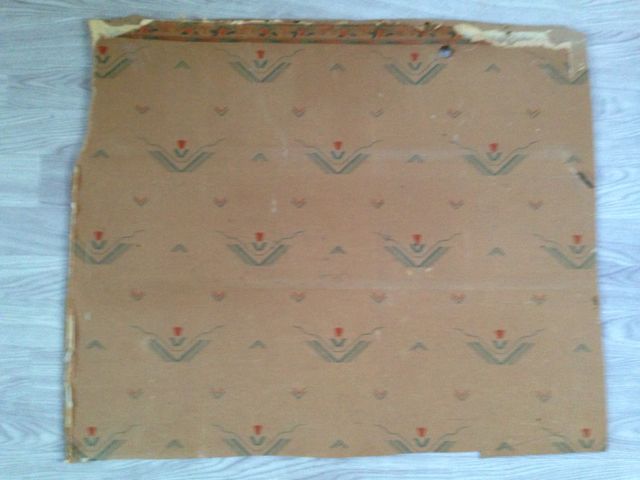
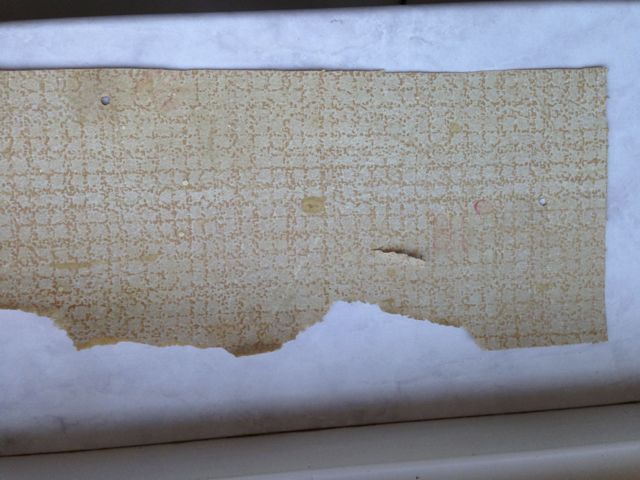
Then I pulled the moldings and plywood paneling off the walls. The old glue was quite dry, so they came off easily, but it took a lot of sanding to get rid of the glue that was left on the particle board.
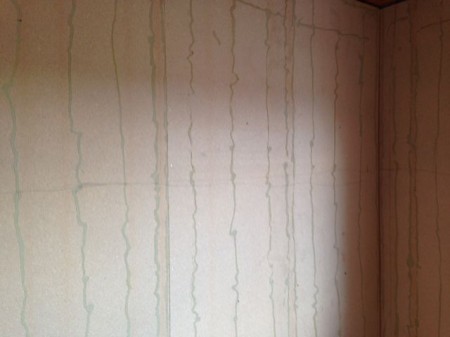
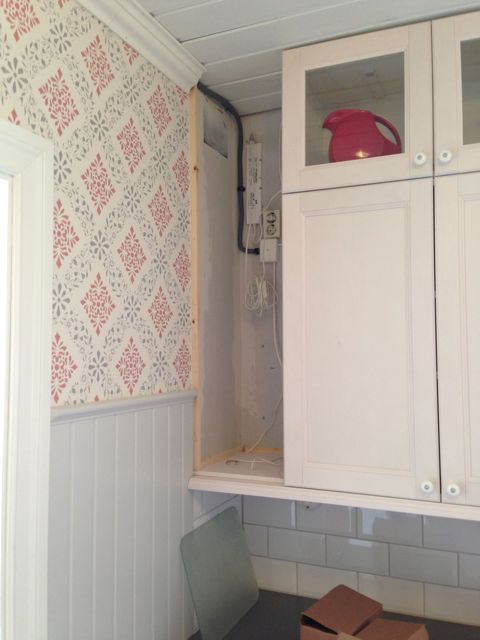
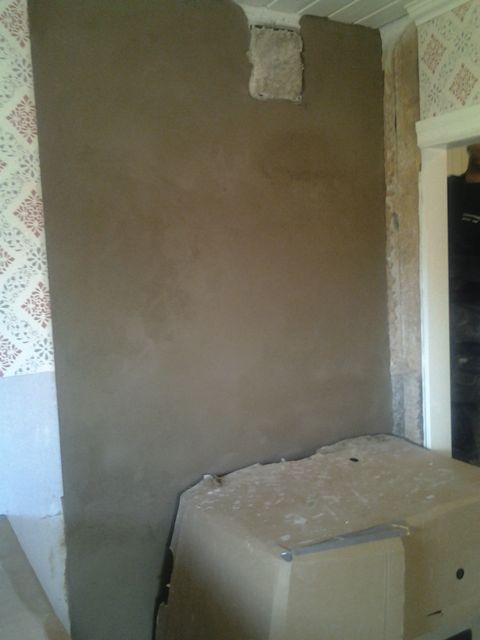
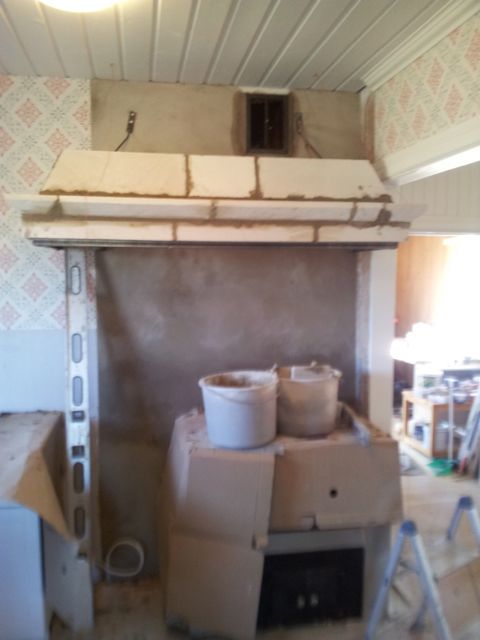
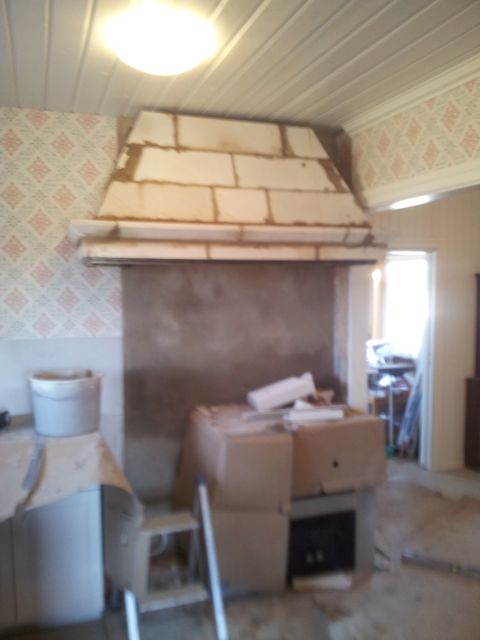
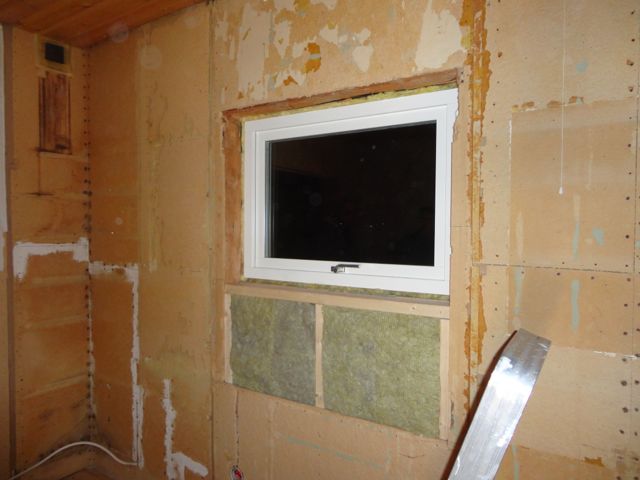
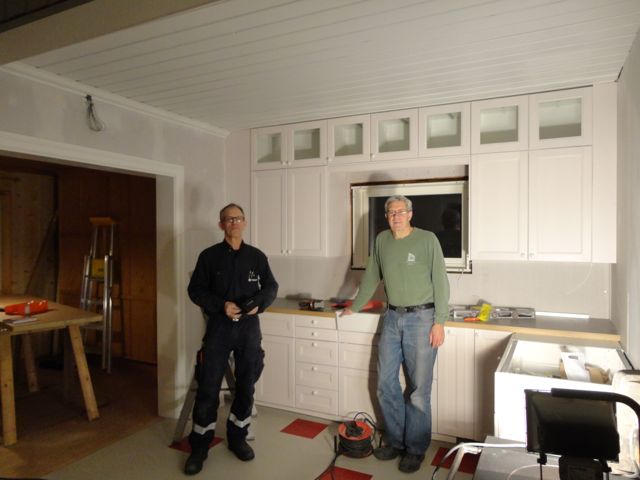
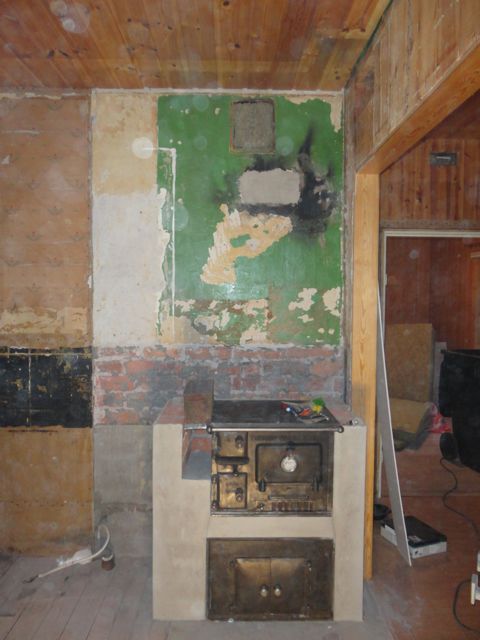
Now we had a bare wall where the cabinets used to be.
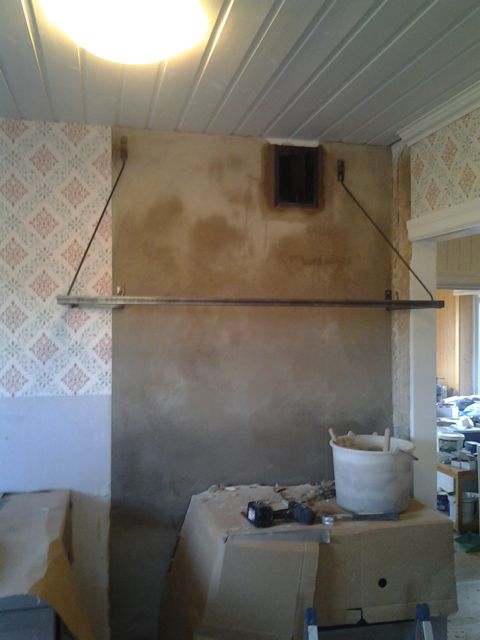
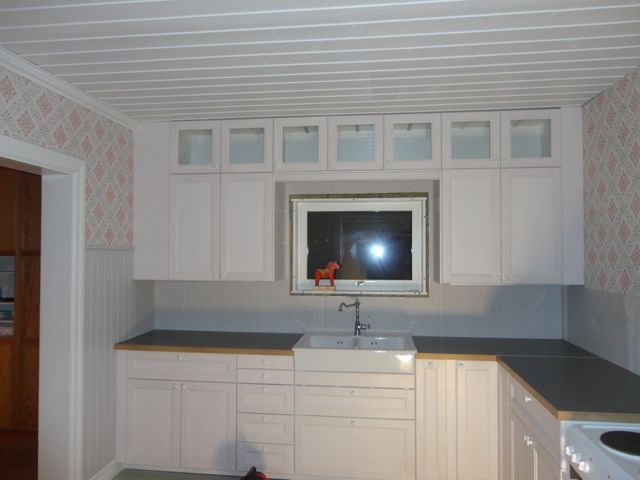
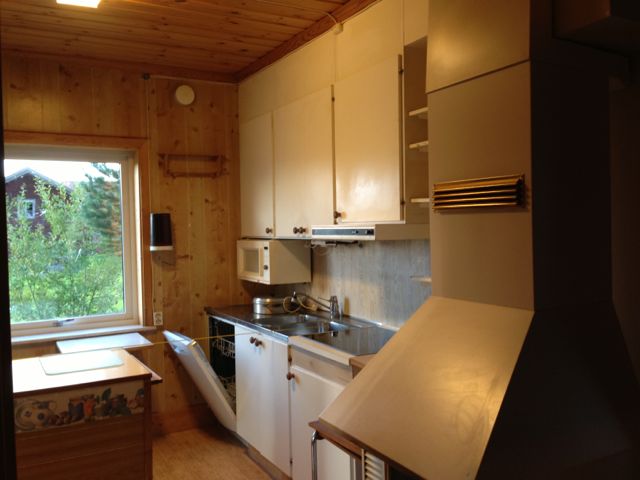
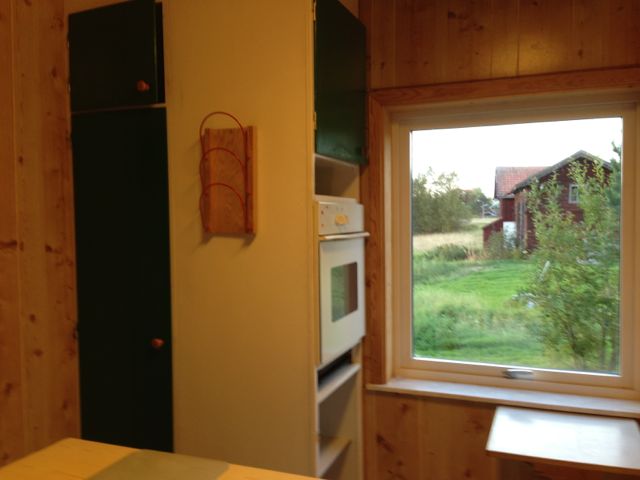
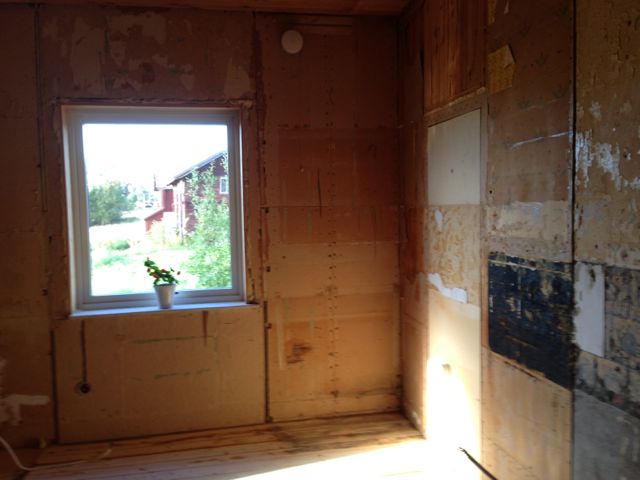
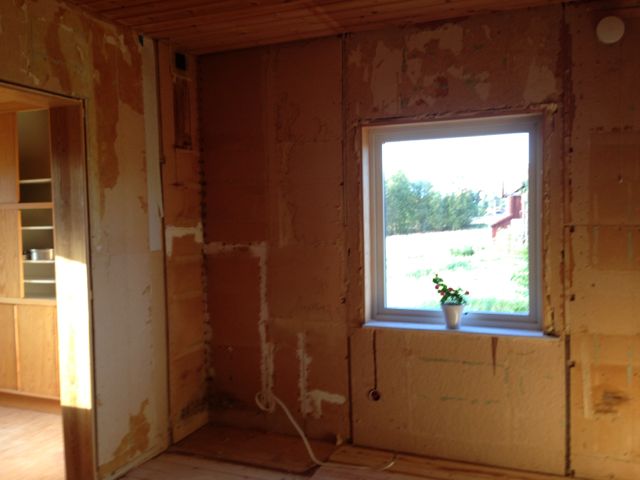
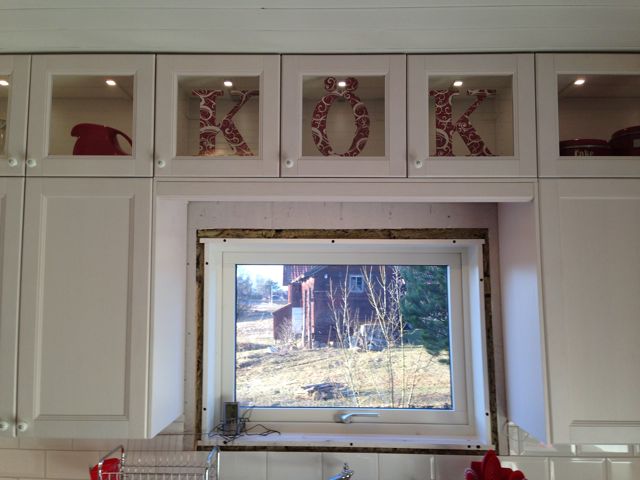
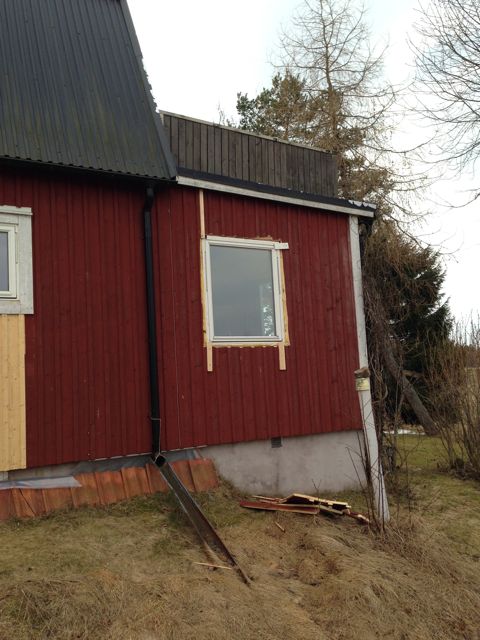
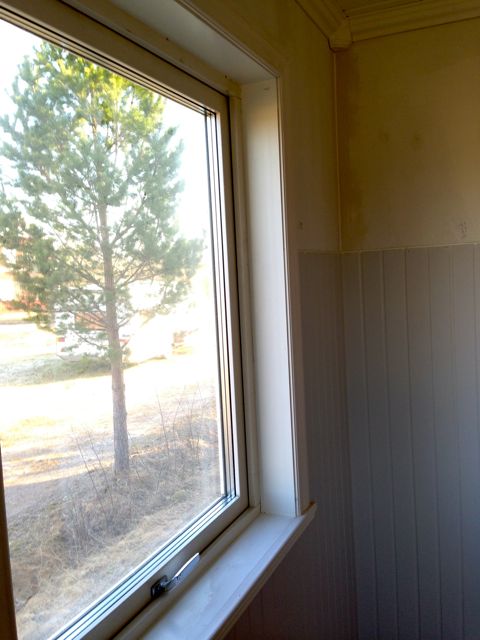
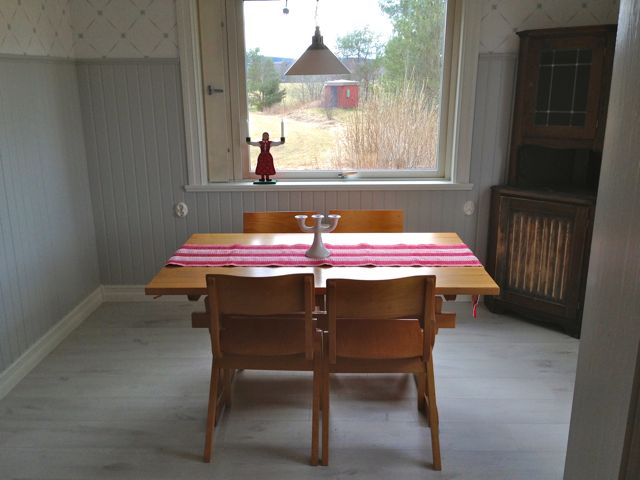
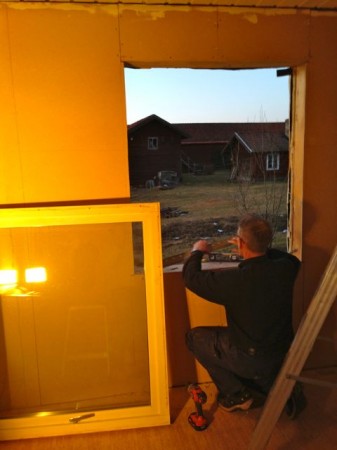
And we just happened to have an extra window that we took out of the kitchen when we put a smaller one in there. So, Torsten cut a hole in the wall and, voila! A new view!
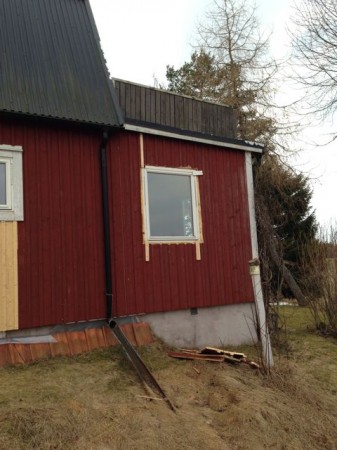
It even makes the outside of the house look better.
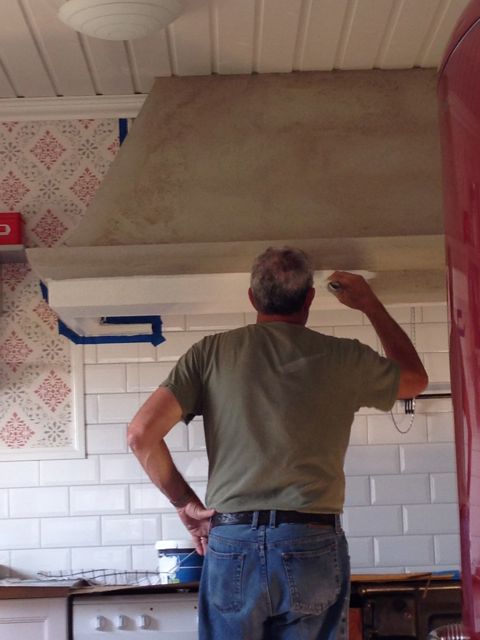
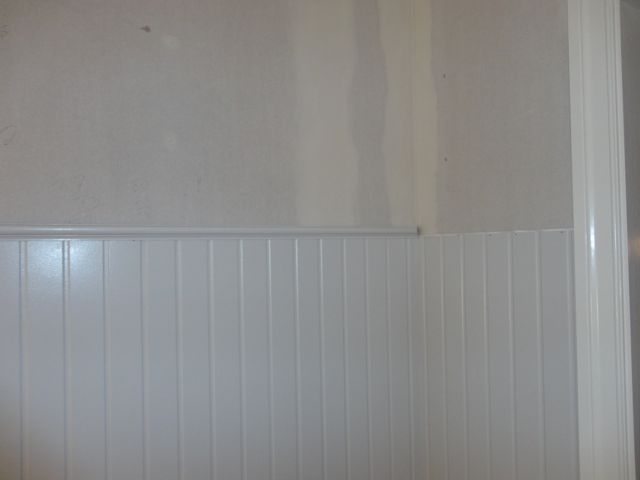
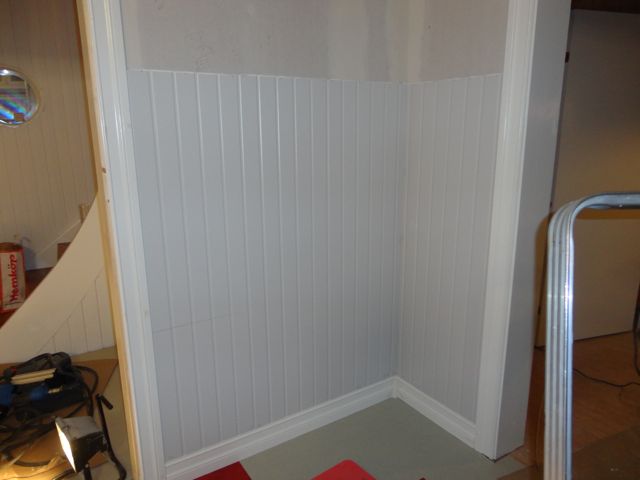
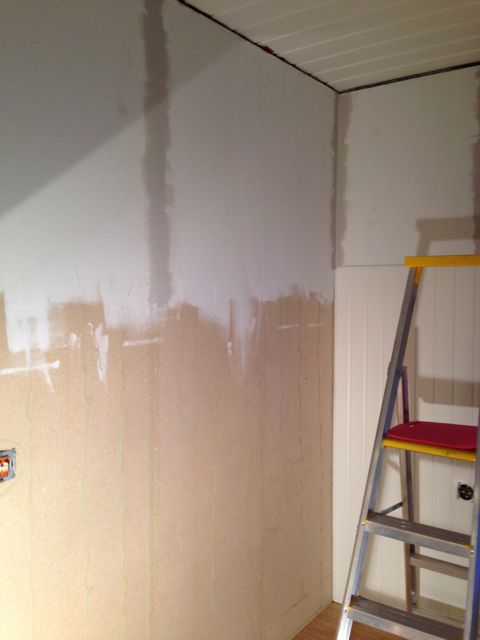
I put a coat of paint over the particle board to seal it and mudded the seams–all in preparation for wallpaper above the wainscoting.
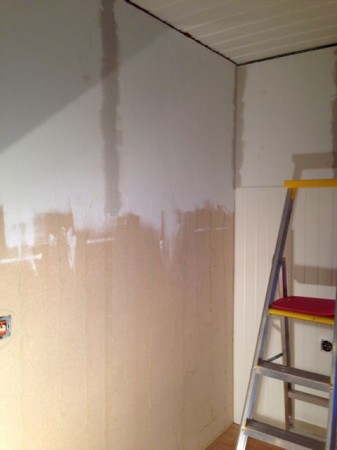
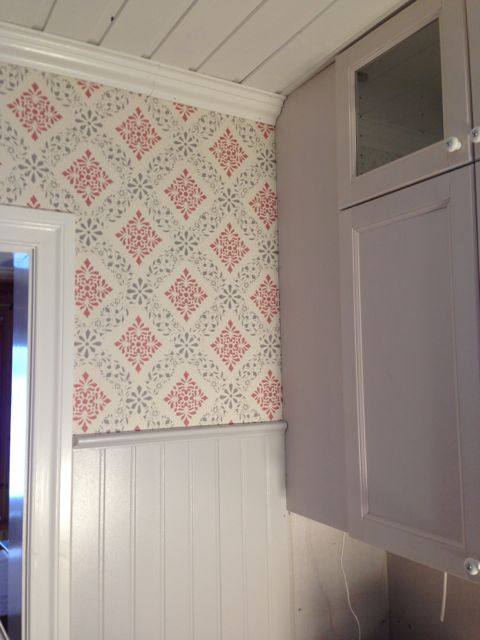
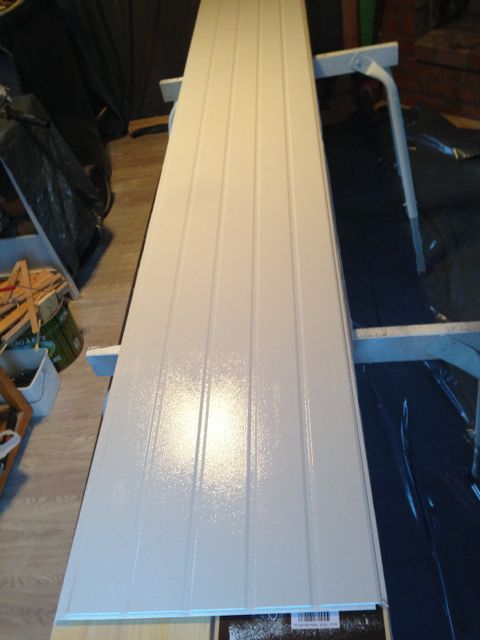
Torsten nailed up the wainscoting…
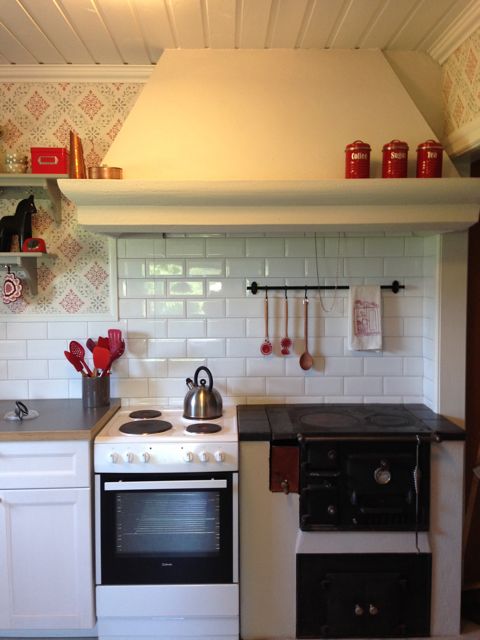
…and I painted it the same gray as we used in the kitchen.
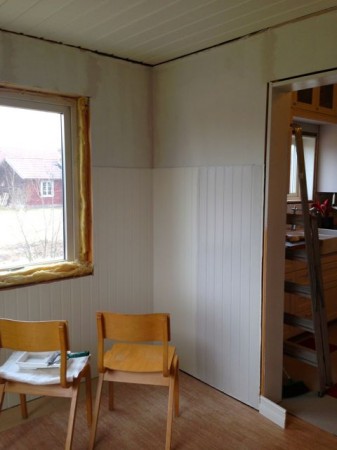
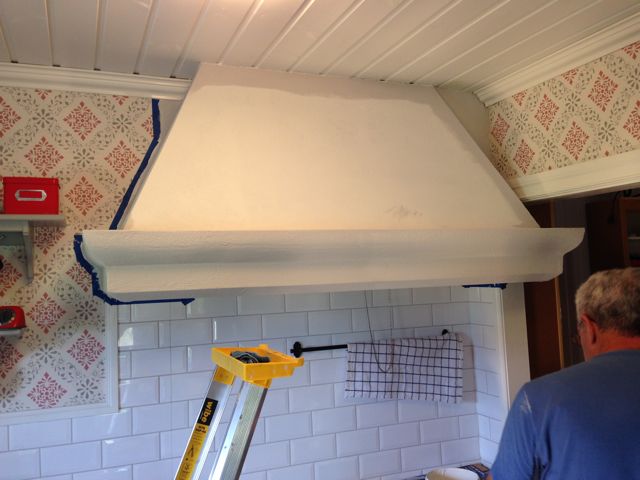
All of the moldings were painted white.
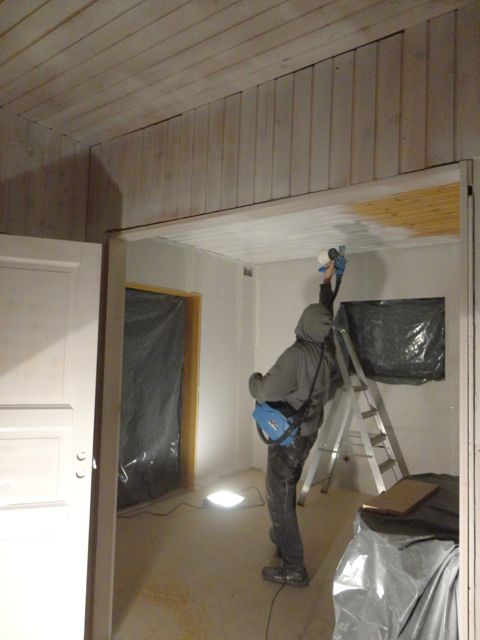
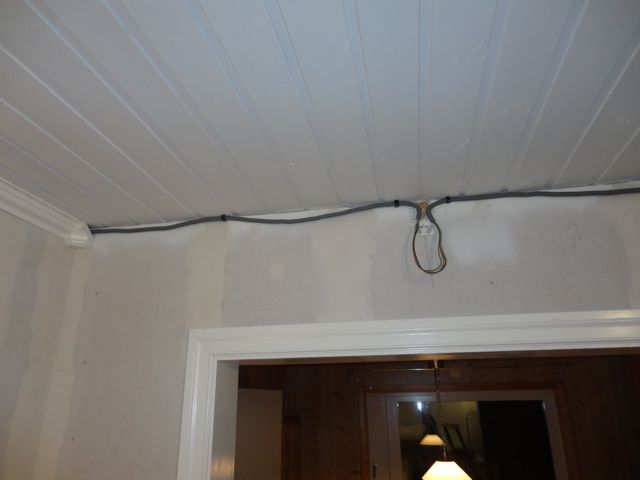
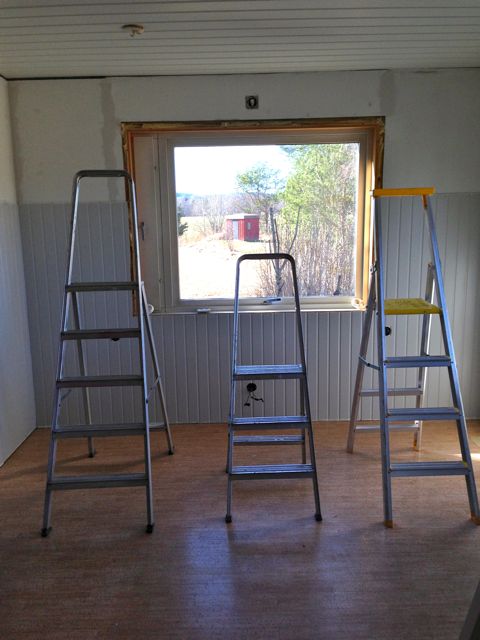
The ceiling got four coats of white paint. This is my “three-ladder-method” for ceiling painting. Luckily the room wasn’t any bigger, or we would have needed more ladders!
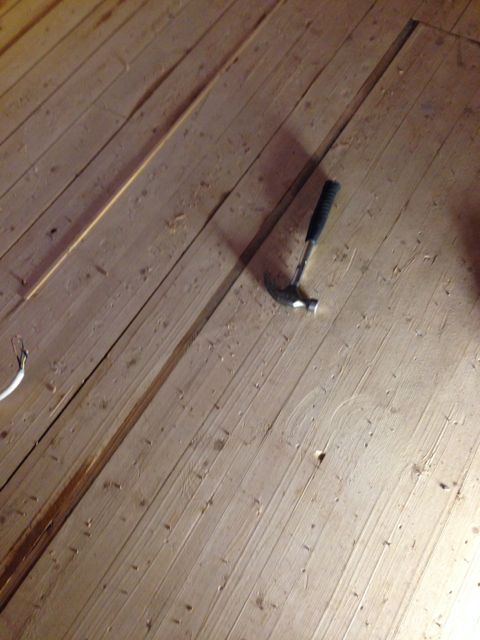
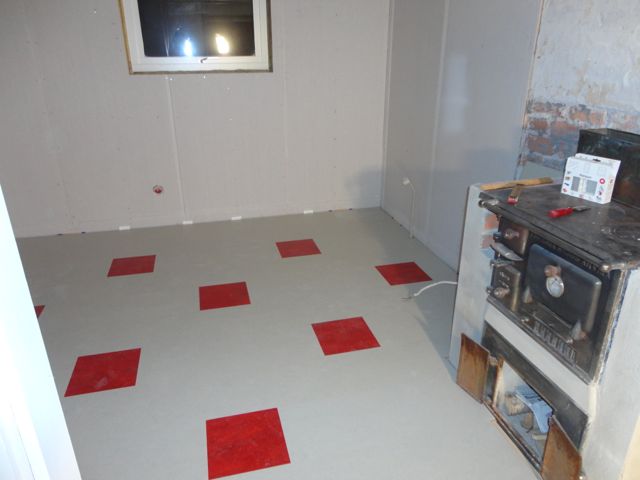
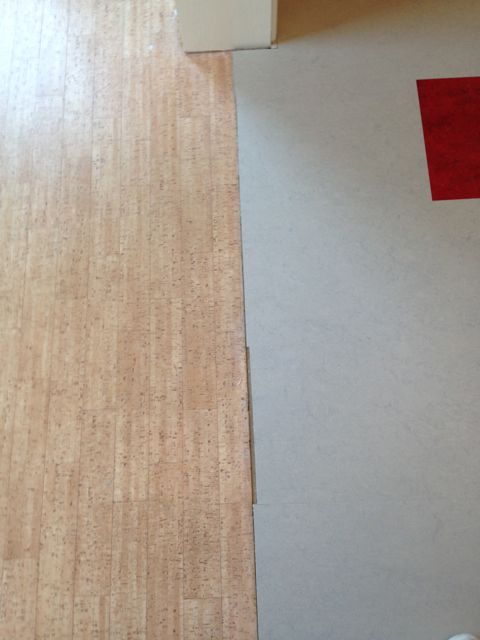
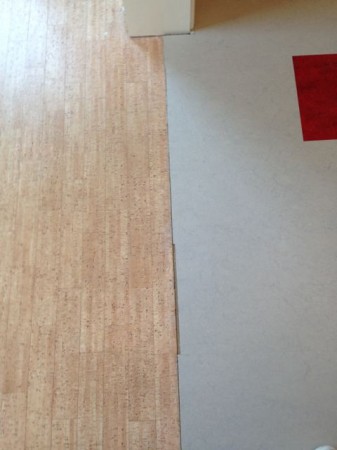
The old flooring was a yellowish brown sheet vinyl. It didn’t look so great up against the gray Marmoleum in the kitchen.
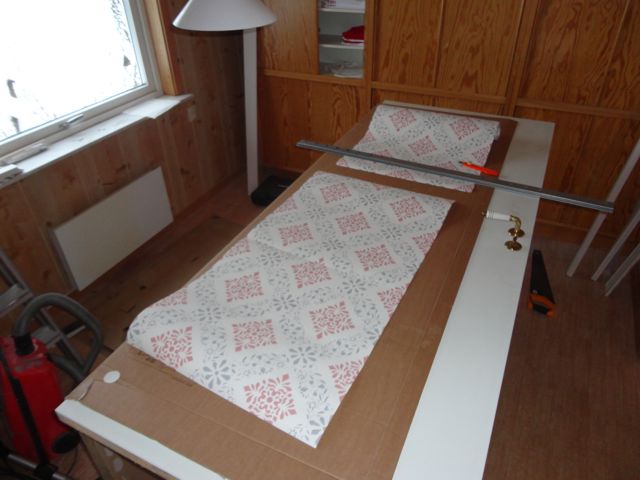
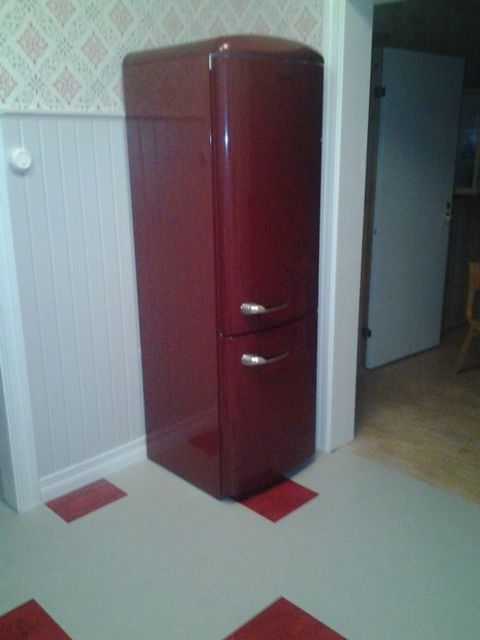
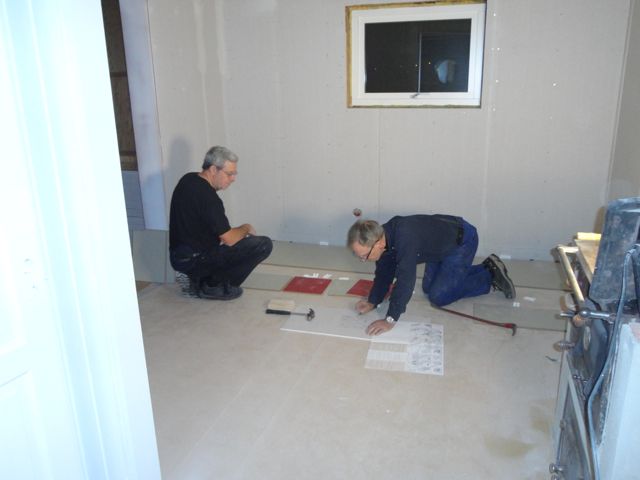
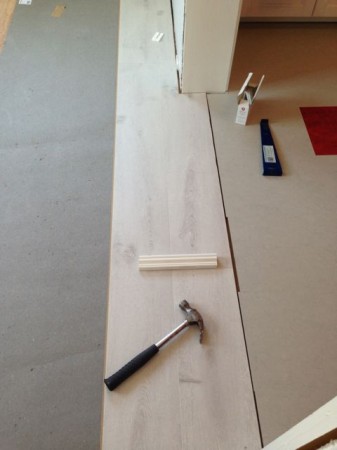
The solution? Winter Oak Pergo! Here it is, laid out in the bedroom acclimating to the house.
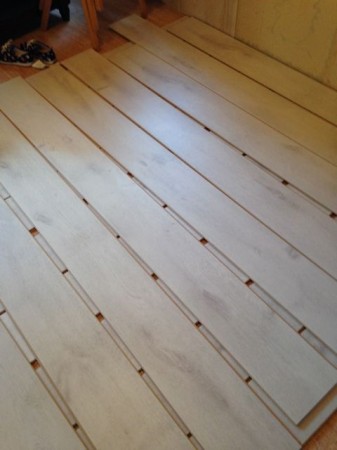
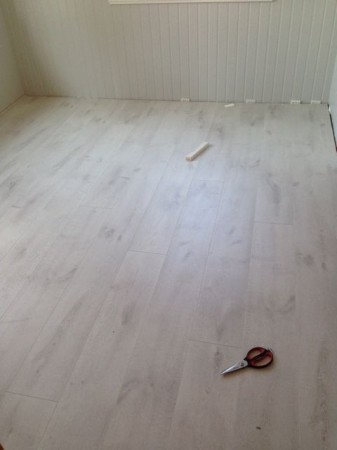
I loved it from the minute we started putting it down.
What do you think?
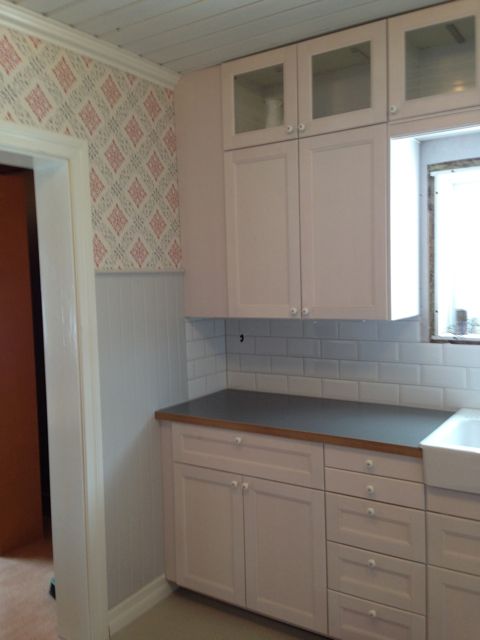
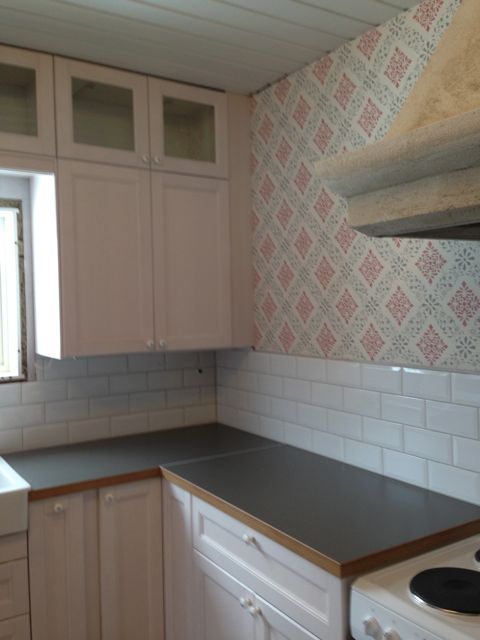
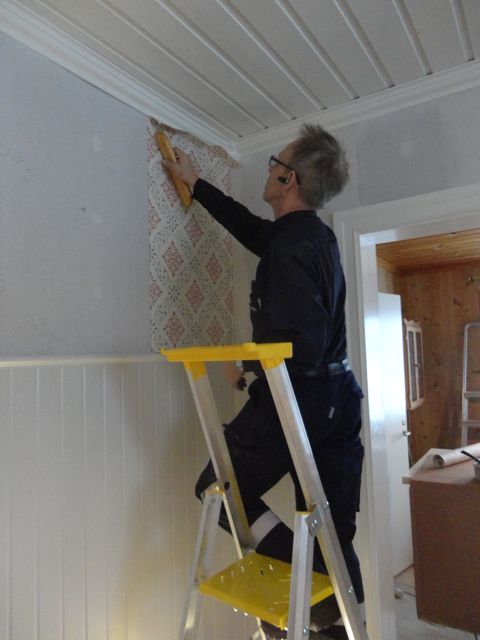
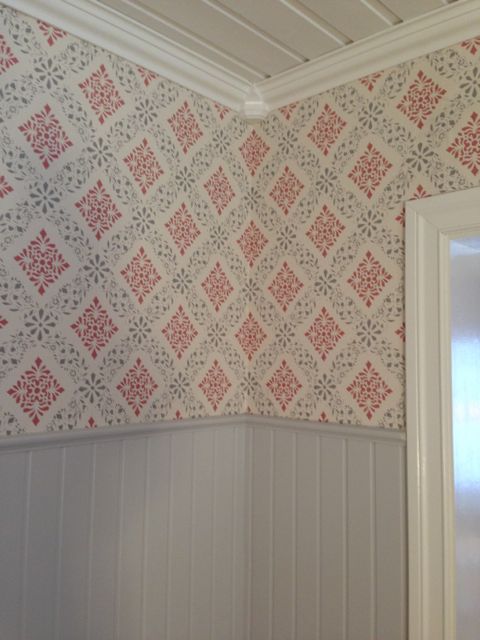
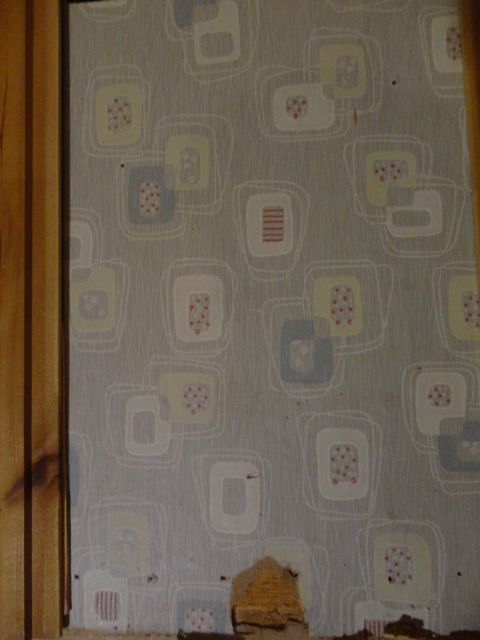
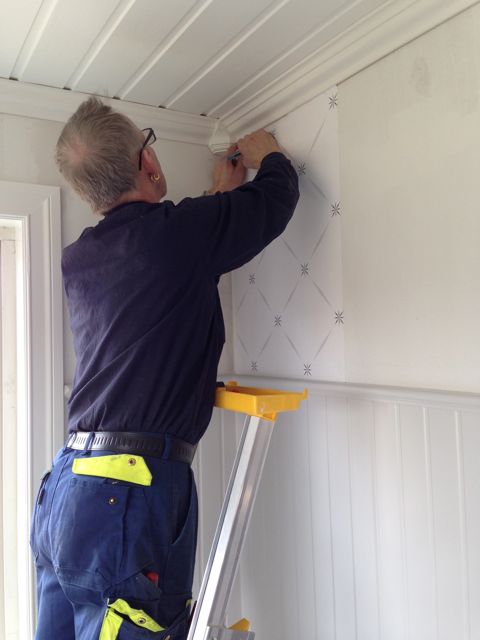
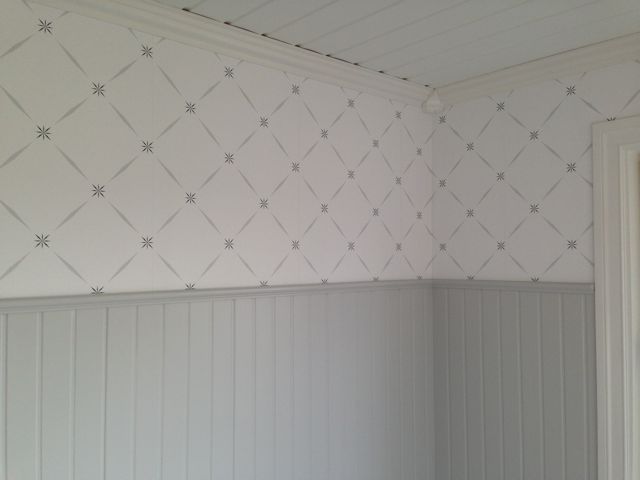
Then my favorite part–wallpaper!
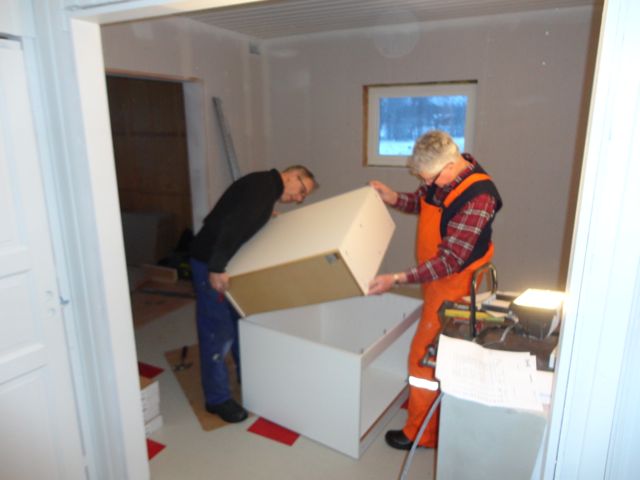
Torsten is a saint. Not because he can do everything, but because picking a geometric wallpaper for an old house would make most people swear like a sailor!
He didn’t utter one cross word, and it looks terrific!
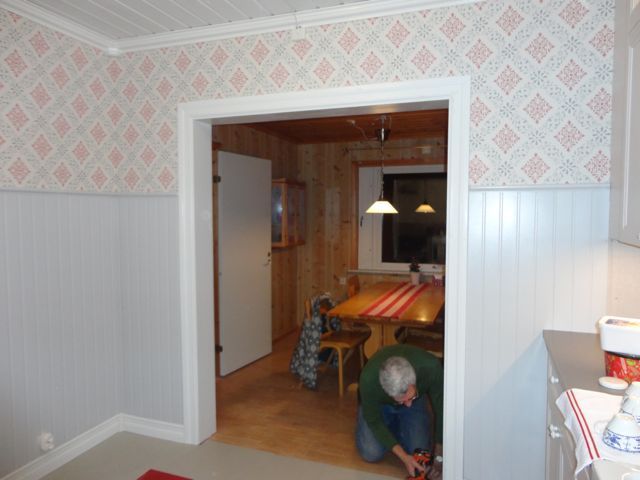
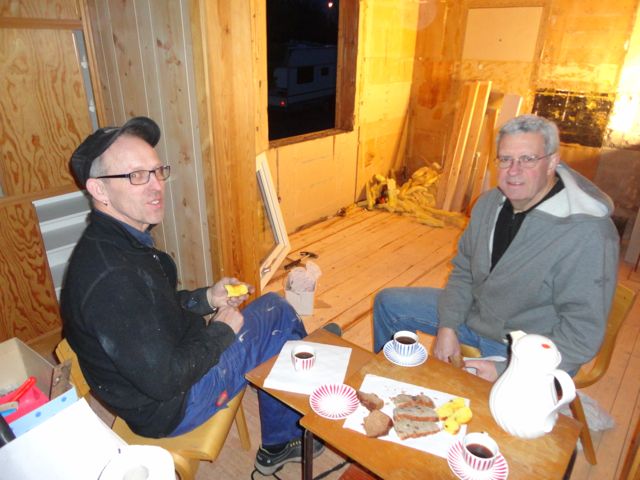
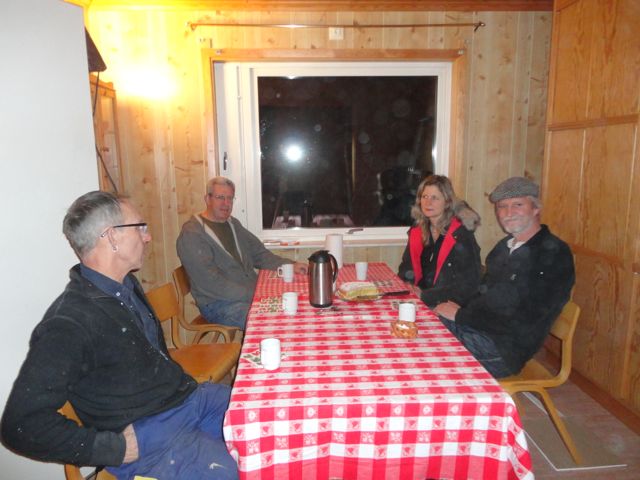
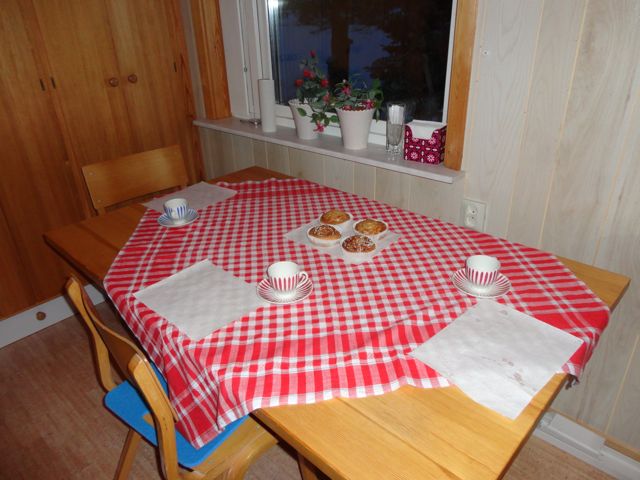
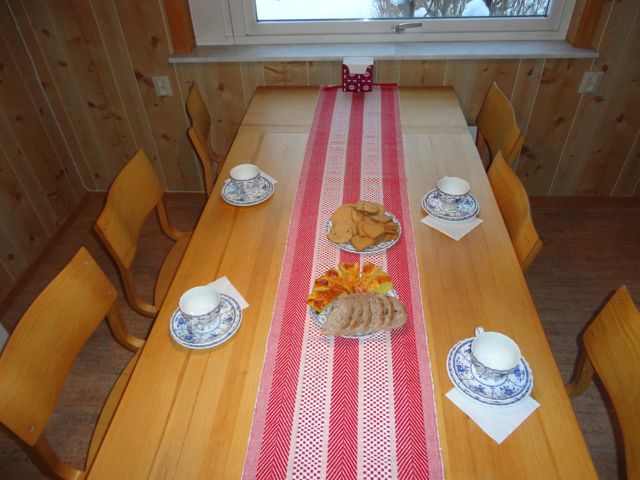
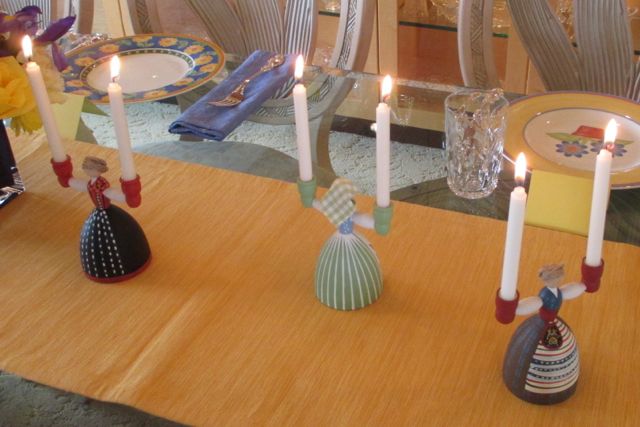
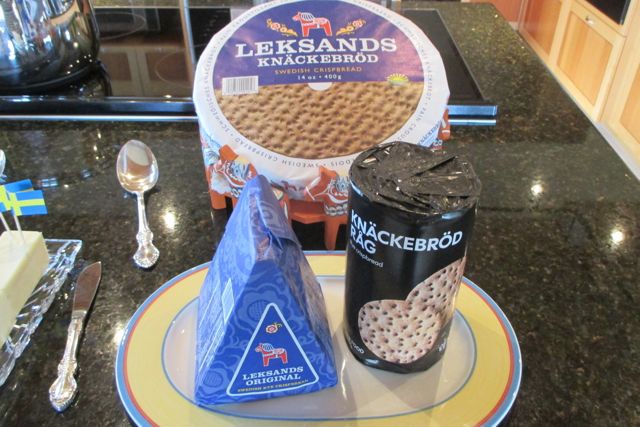
The previous owners left us the dining room table, so of course we had to have fika in the newly finished room.
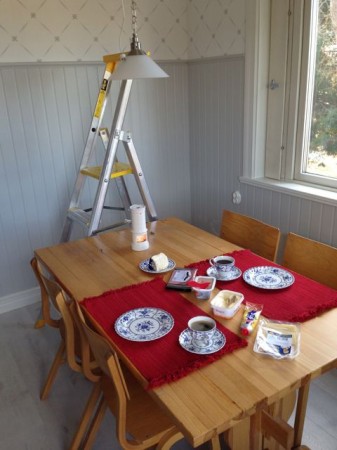
There are still some things to do–like paint the table and the corner cabinet, and put up window coverings, but I think it looks pretty darned good for two weeks work!
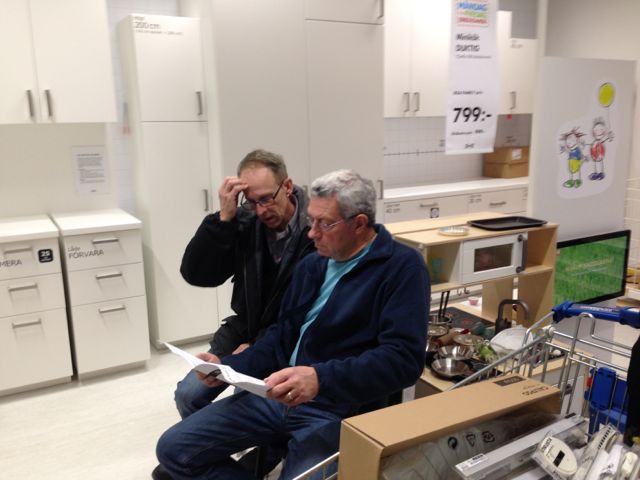
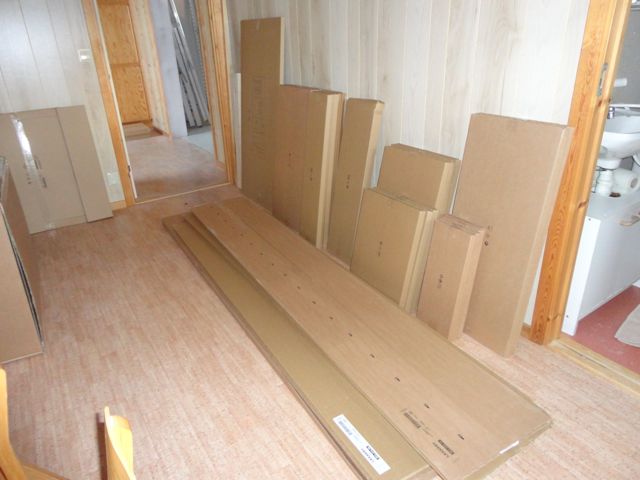
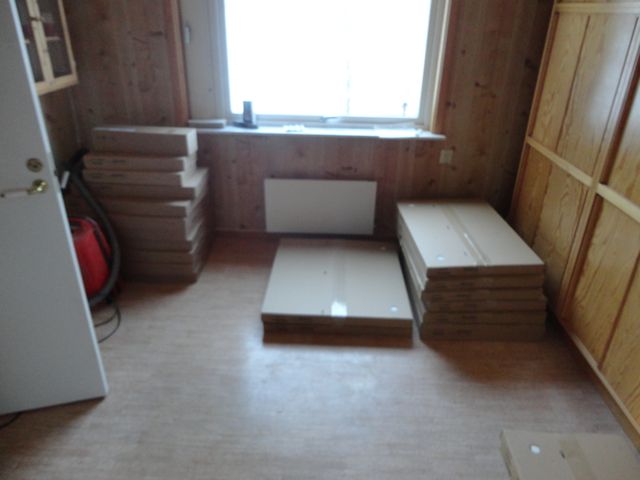
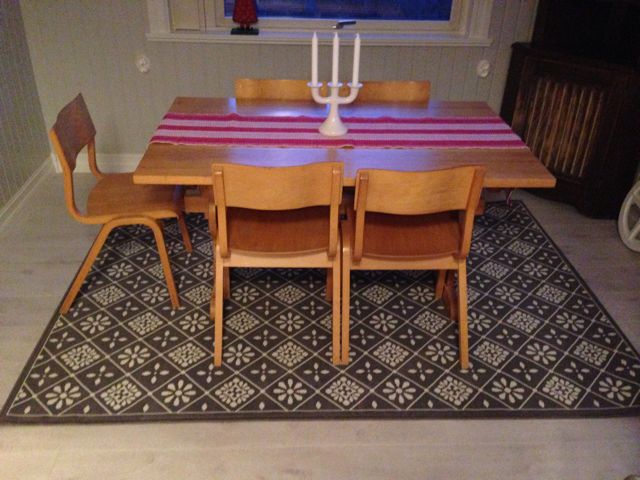
And, oh, I did buy some furniture. On the last day before I left, we went to Ikea and bought a bed and nightstands–and this cute rug for under the table!
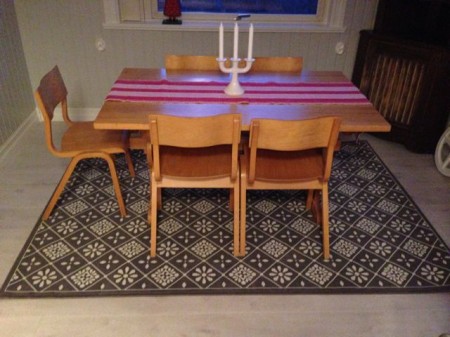