It’s the beginning of a new season and that means a new block for my Facebook page A Quilt Block A Day! The page is fun to follow. The idea is that even if you’re too busy to make a new quilt, you should be able to find time to make at least one quilt block a day. At the end of the quarter, you’ll have about 90 quilt blocks! Not everyone makes a block a day. Some do seven a week, or a handful when they find the time, but it’s still fun. I always do a tutorial for the new block and during the quarter I post lots of inspiration—and so do those who follow the page. So, click on over to the Facebook page and click “Like” so you can follow all the fun, too!
This time, the block is the Chevron. There are many ways to make a chevron quilt. You can do it with triangles or rectangles, it can be scrappy or planned, the rows can be the same width or different widths. This is my favorite way–with a skinnier accent row and triangles, and it couldn’t be easier! It’s easy to do with scraps or yardage. I had a lot of Halloween fat quarters that I’ve collected over the years, so that’s what I’ve used here, and that’s how the tutorial is written. At the bottom, I’ll give additional instructions for scraps.
You will need an assortment of fat quarters and an accent fabric.
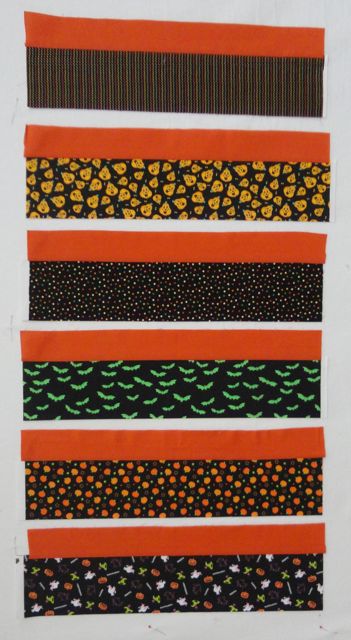
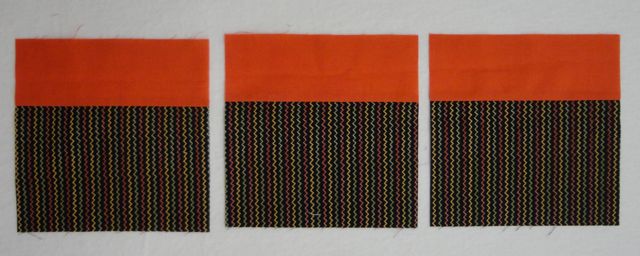
From the fat quarter, cut a 4-1/2″ x 22″ strip.
From the accent fabric, cut a few 2-1/2″ x 44″ strips. Cut them in half to match your fat quarters.
Stitch them together with a 1/4″ seam. Press.
Cut into 6-1/2″ segments.
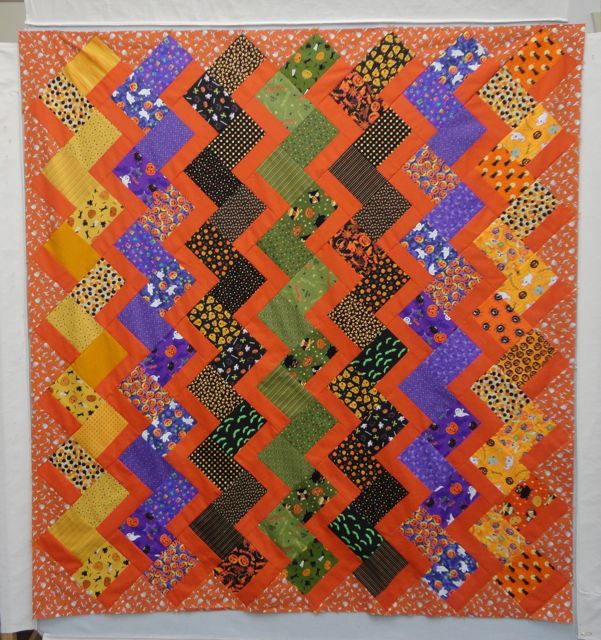
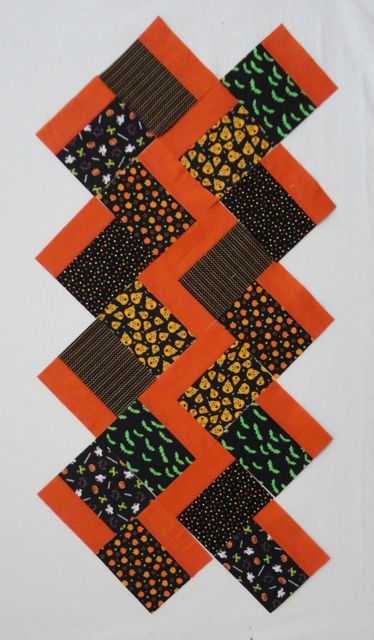
Lay your blocks out so they form a zigzag design. That’s it! I told you it was easy!
Since these blocks are set on point, you’ll eventually need side-setting and corner triangles. This can be the same as the accent fabric or a different fabric.
For the side setting triangles, cut squares 9-3/4″ and cut them in half twice diagonally.
For the corner triangles, cut squares 5-1/4″ and cut them in half once diagonally.
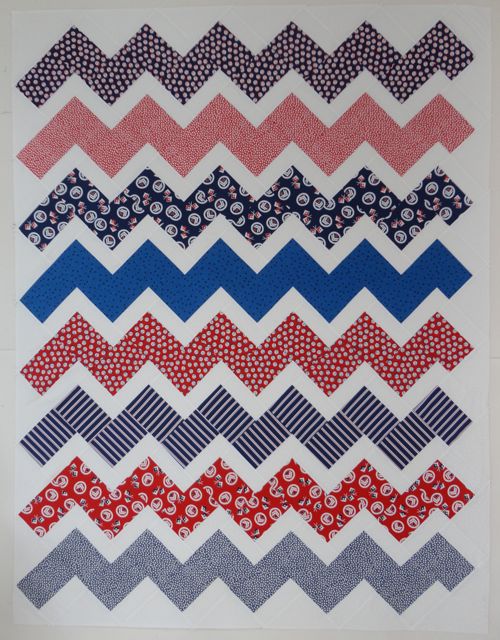
You can make your zigzags vertical, like I did in my Halloween quilt, or horizontal, like the quilt below that I did for our local Loyalty Day celebration. You’ll also notice that the Halloween quilt is “controlled scrappy,” meaning I used many different prints, but kept the colors the same in each row. The Loyalty Day quilt uses the same fabric in each row. Oh, the possibilities!
I hope you’ll try this, join the Facebook group and post pictures of your progress!
If you’re not using fat quarters, cut your accent pieces 2-1/2″ x 6-1/2″ inches and your main fabrics 4-1/2″ x 6-1/2″.
For the Loyalty Day quilt, I used two 4-1/2″ x 42″ strips for each row.
Categories: fabric designComments Off on Christmas Morning Winner
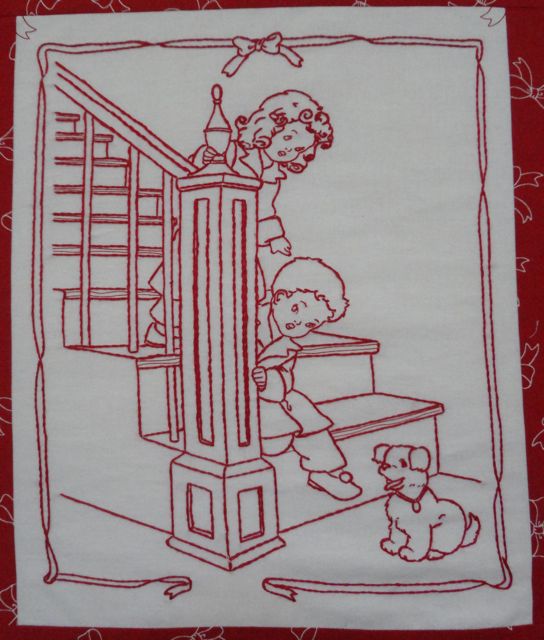
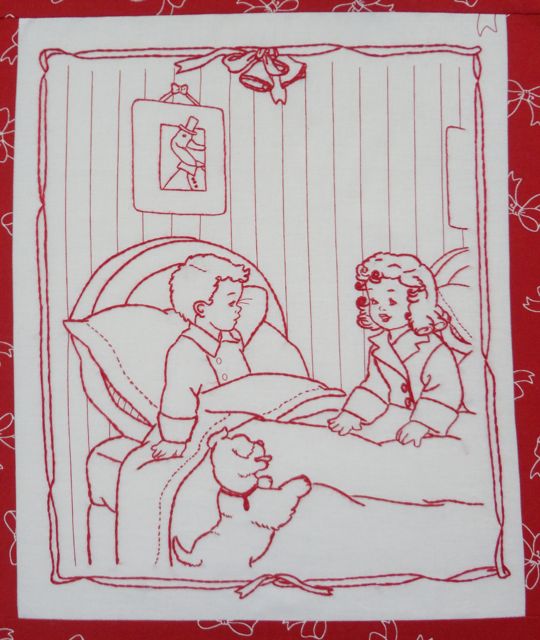
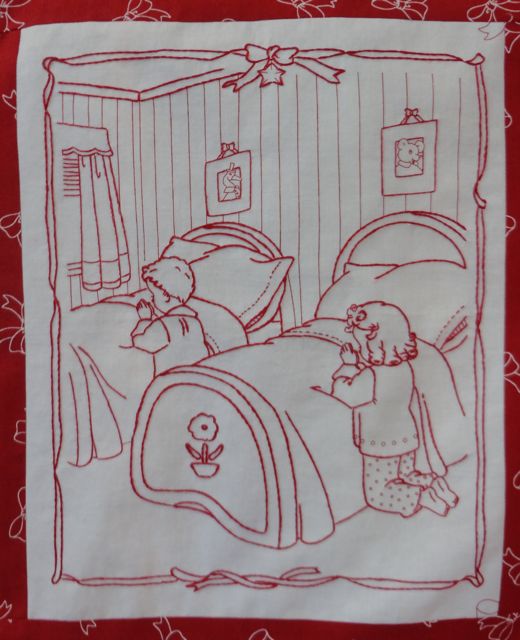
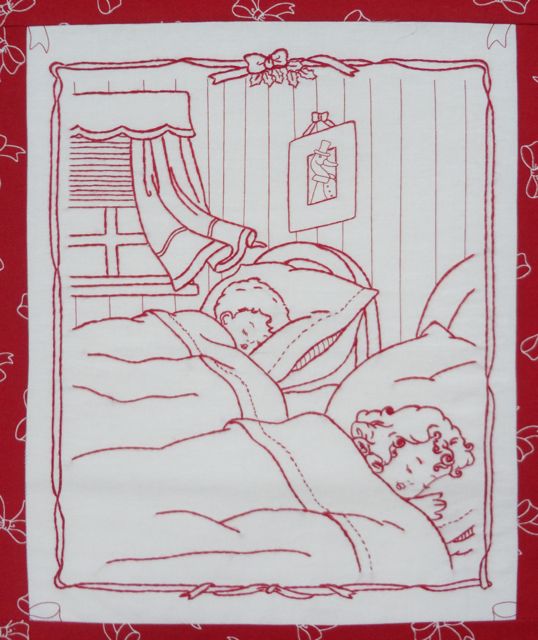
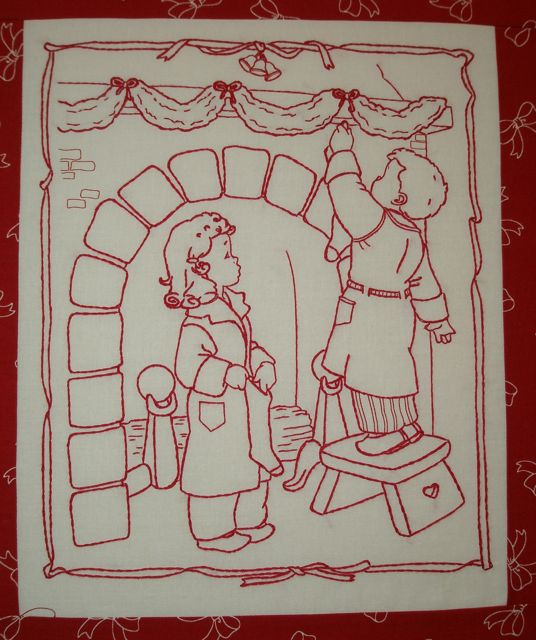
We have a winner in the “Name the Kids” contest for the Christmas Morning Redwork. They are Bobby and Sally! Here’s block 4. Bobby and Sally are saying their prayers before bed on Christmas Eve.
It was so fun reading through all of the suggestions and I thank everyone who left comments. I chose the names Bobby and Sally because they are my brother and sister! Now they’re tucked in bed, waiting for Christmas Morning!
The first person to suggest each name has won a Christmas Morning panel. Thanks again to all who participated.
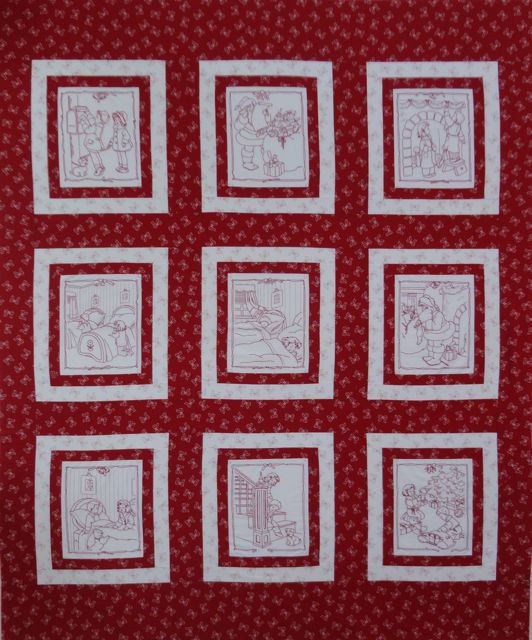
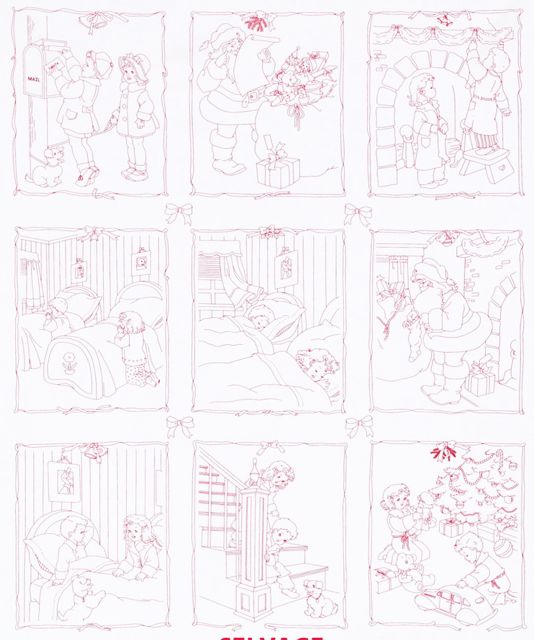
My latest fabric collection is called Christmas Morning. It has this panel:
I know it’s a little hard to see, but as I get the blocks embroidered, I’ve been posting them on my Anna Lena Facebook page. You can “Like” the page and you’ll see the blocks as I finish and post them.
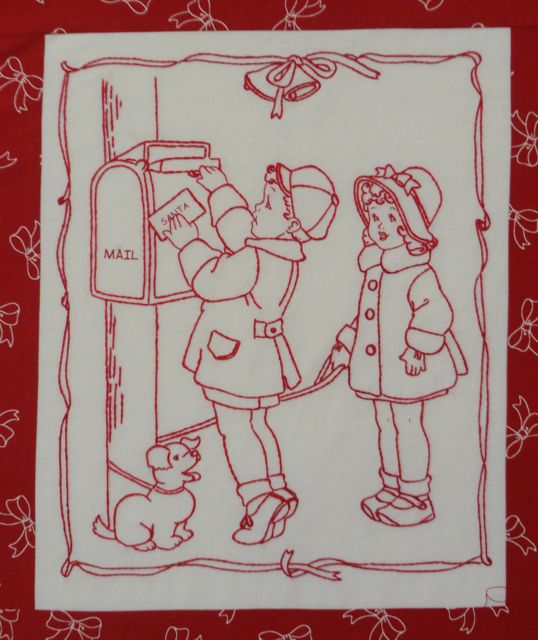
The blocks tell a story. The first one is darling kids mailing their letters to Santa.
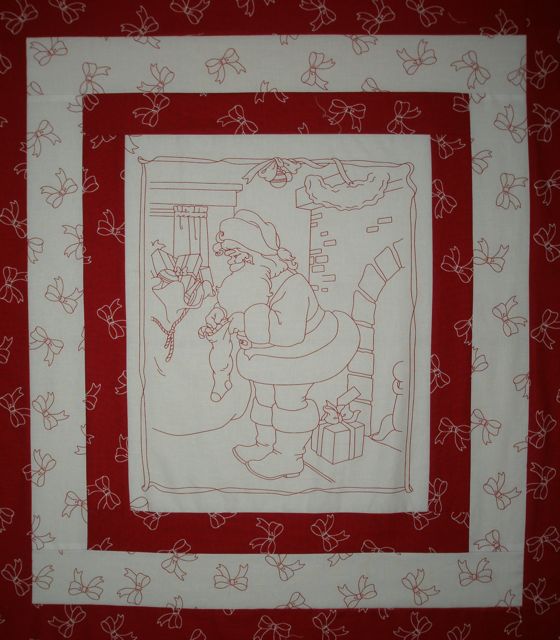
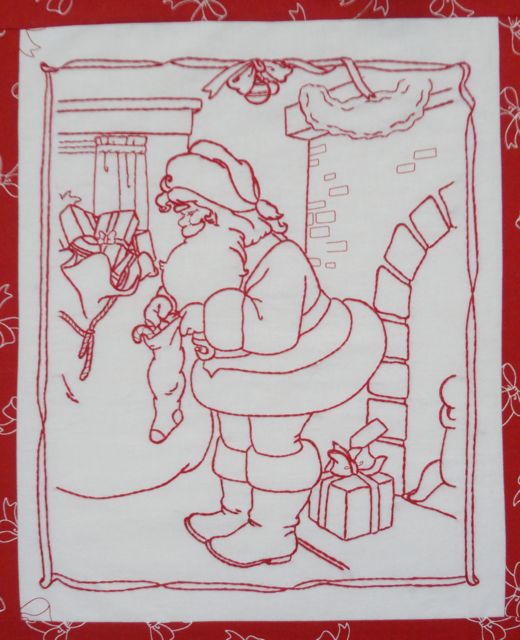
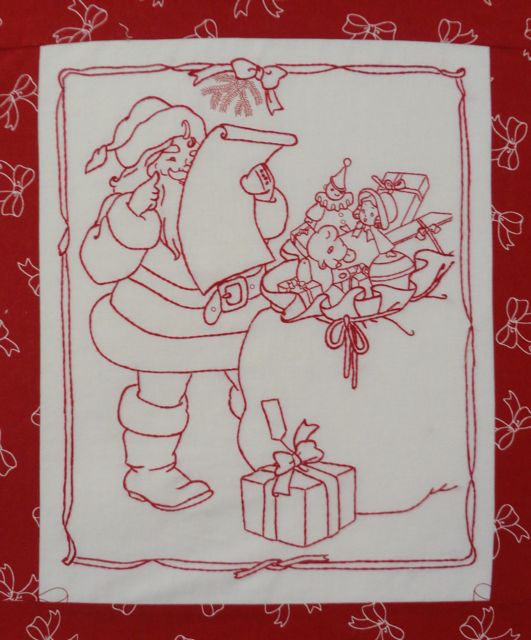
In the second block, Santa has received their letter and is looking it over.
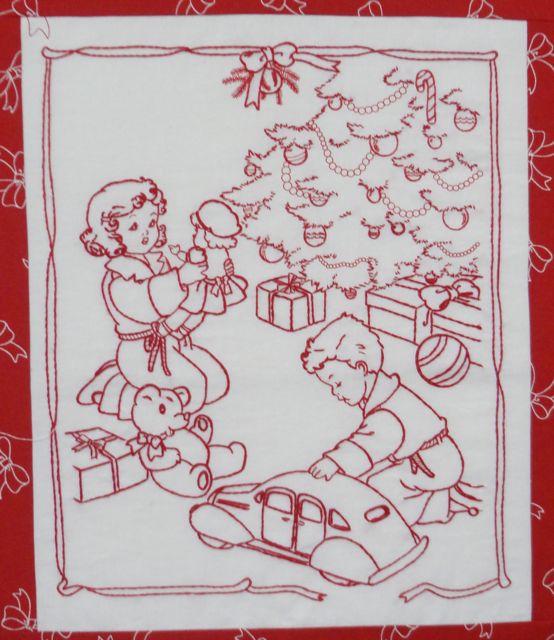
Meanwhile, the kids are decorating their house in preparation of Santa’s visit.
Now I think these children are just adorable, and I also think they need names! So, will you please leave a comment with a suggestion for names for these two? I’ll pick my favorite boys name and favorite girls name, and the winners (the first to suggest the name) will each receive a free Christmas Morning panel. You have until March 17 to leave your comments!
Categories: fabric designComments Off on Red, White and Blue Placemat Tutorial
Are you ready for a patriotic tea party? My favorite paper dolls have joined the USO and are all dressed up in their favorite patriotic outfits…
..just perfect for a red, white and blue tea party!
There are ten prints in my new Red, White and True Blue collection. To make a set of four quilt-as-you-go flag placemats, you need a fat quarter of each, plus an extra fat quarter of the white stars and the navy stripes. You will also need four 16” x 20” pieces of batting.
Select one of the girl figures and fussy cut her from the fat quarter. This piece needs to be 2-1/2” x 6-1/2”. Repeat until you have cut out four girls.
The four blue fat quarters are going to become the backs of your placemats. But first, you need one 2-1/2” strip to frame the dolls. Lay the fat quarter on your cutting mat with the long side along the bottom of the mat. Cut one 2-1/2” strip. From this strip, cut two 2-1/2” x 6-1/2” rectangles. Do this with all four blue fat quarters.
From each white fat quarter, cut six 2-1/2” strips. Crosscut into four 2-1/2” x 12-1/2” rectangles and eight 2-1/2” x 18-1/2” rectangles. From each red fat quarter, cut six 2-1/2” strips. Crosscut into eight 2-1/2” x 12-1/2” rectangles and eight 2-1/2” x 18-1/2” rectangles. You’ll have a little left over, but, hey! We’re quilters. We know what to do with leftovers!
For your first placemat, choose the following: two 12-1/2” red strips and one 12-1/2” white strip two 18-1/2” red strips and two 18-1/2” white strips
On a flat surface, lay one of the blue backing pieces wrong side up. Place a piece of batting on the backing. Near the top left corner, place a 12-1/2” red strip, right side up. Directly over the red strip, place a 12-1/2” white strip, right side down.
Take the whole works to your sewing machine and stitch ¼” from the edge of the fabric, stitching through the batting and backing.
Press the white strip open.
Put the remaining 12-1/2” red strip on top of the pressed white strip, right side down…
…sew, flip and press!
Now it’s time to make the blue “field” part of your flag placemat.
Place a 6-1/2” blue strip, right side down, over the inside end of your previously sewn strips.
Sew, flip and press.
Now it’s time for your first girl. Remember, you’re working upside down, so place the strip appropriately!
Sew, flip and press.
Now add the matching 6-1/2” blue strip.
Stitch, flip and press.
Now it’s time to start adding the 18-1/2” strips. First you’ll add a white one. Sew, flip and press.
I bet you’re getting the hang of this now! Add the three remaining strips, sewing, flipping and pressing after each addition.
Trim the placemat to 18-1/2” x 14-1/2”. If your measurement is a little different, it doesn’t matter!
Cut the two striped fat quarters into 2-1/4” strips. Join strips together for binding. Bind the placemats.
Repeat to make four placemats.
Make sure to ask your local quilt shop for my new collection, Red, White and True Blue, so you can whip up these fun placemats in time for your next tea party! And don’t forget to visit my website for more fabric fun. Happy sewing!