It’s Christmas Morning! Get up! Get up!
It’s Christmas Morning! Get up! Get up!
I’m always saying, “Make it your own!” When you make a quilt from a pattern, do you want it to look just like the pattern or do you want to “make it your own?”
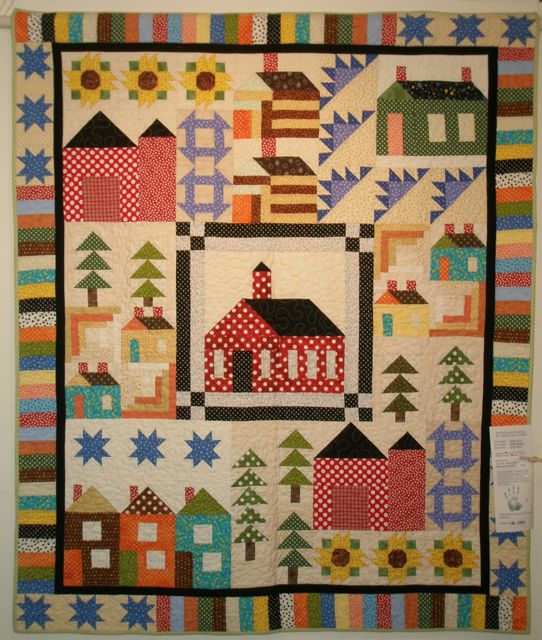
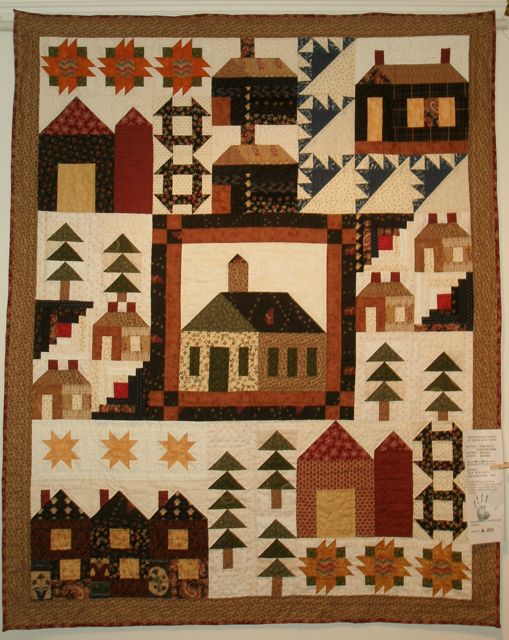
Our quilt guild had a block of the month last year, and the ladies really did a great job of making each quilt individual while still following the pattern. These quilts were on display at our quilt show earlier this month, and I just had to share them with you.
I love when quilters do something unique with the border, like this one from Merri.
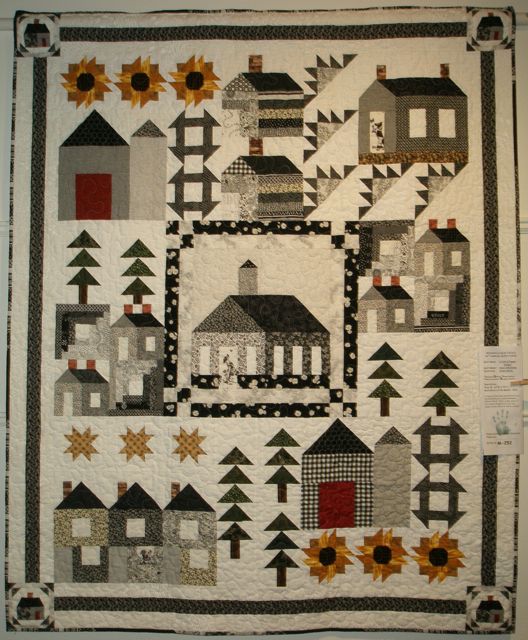
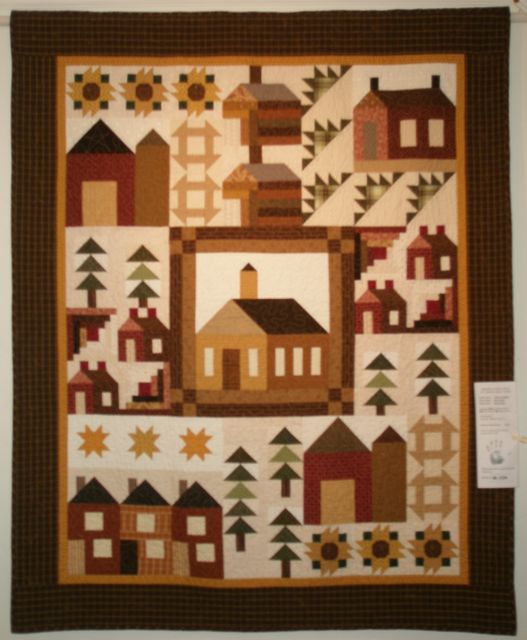
Carol not only did fun little cabin blocks in the corners, she limited her palette to mostly blacks and grays with touches of red and gold.
Wow! Check out this picket fence border that Melinda made.
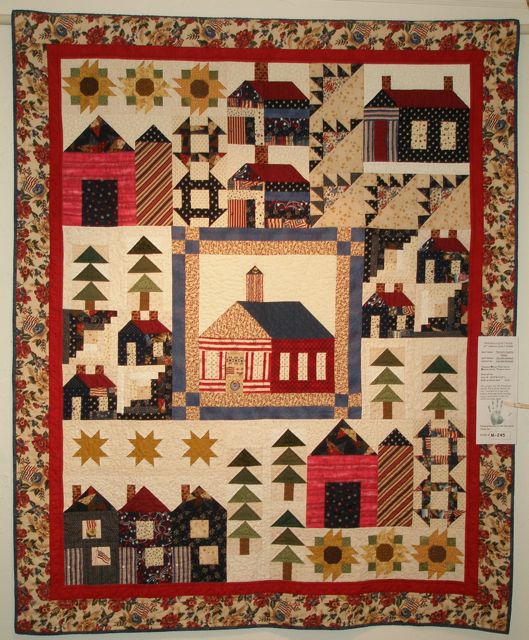
I love Joe Ann’s use of stripes in her quilt, and the little touches of patriotic fabric.
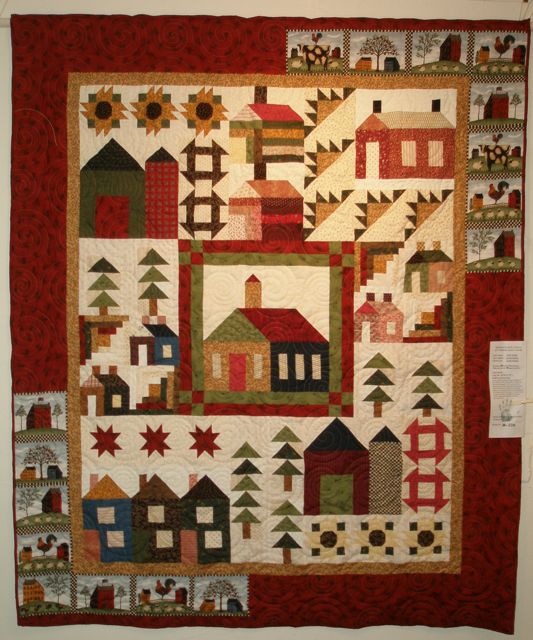
Lynda incorporated a great novelty farm print in her border.
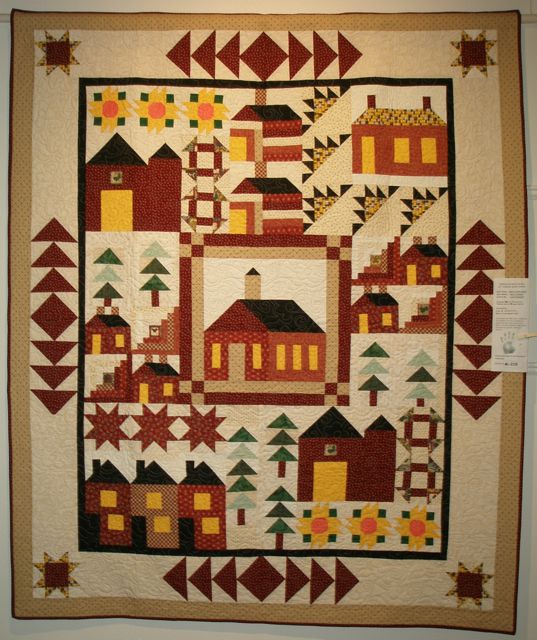
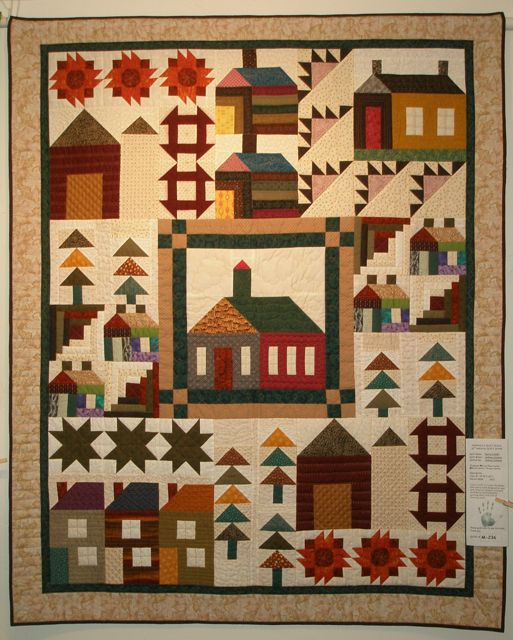
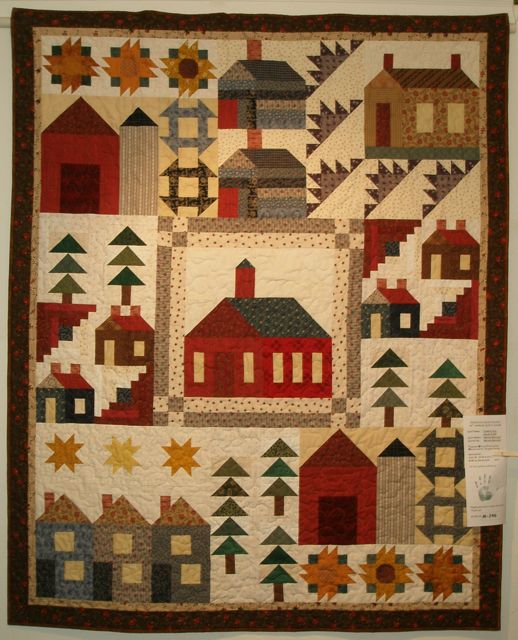
Gloria, who was the designer of the quilt, hit the mark with her homespun border.
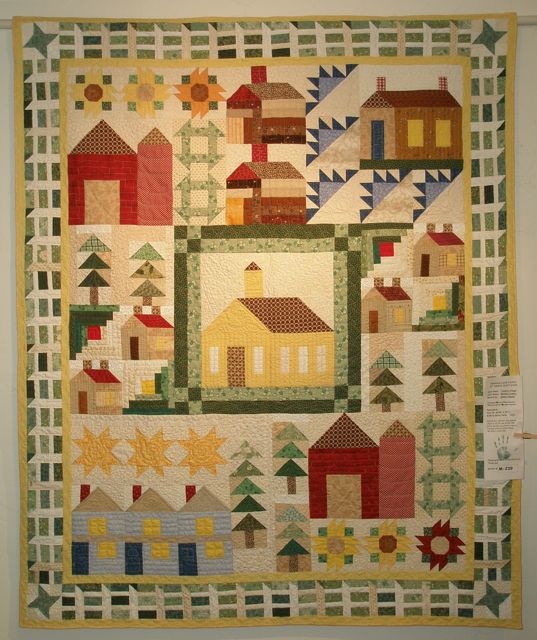
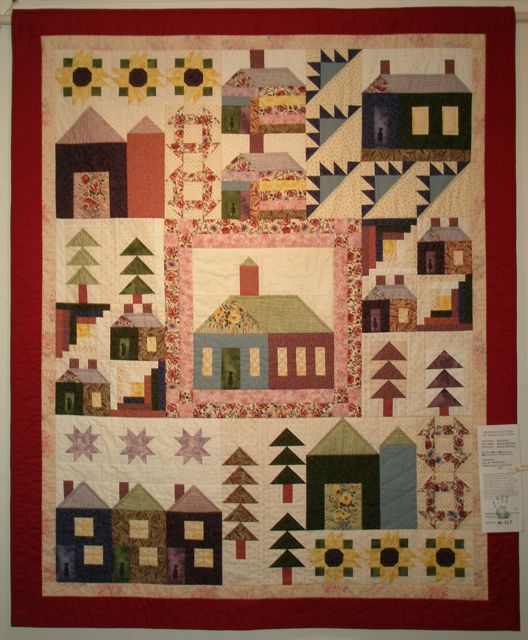
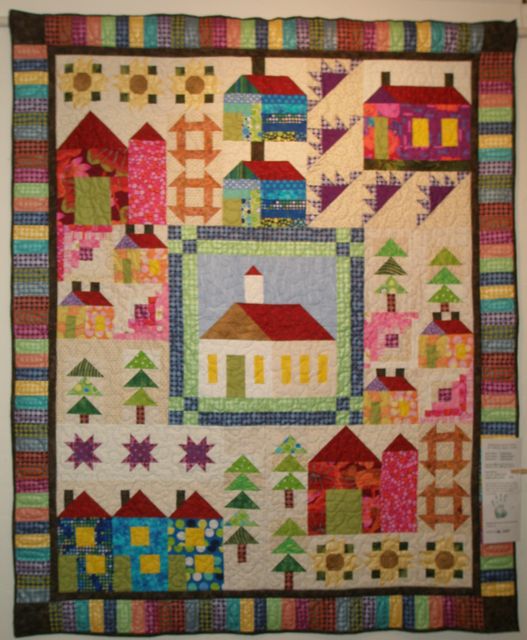
Bev’s use of pastels adds an interesting twist.
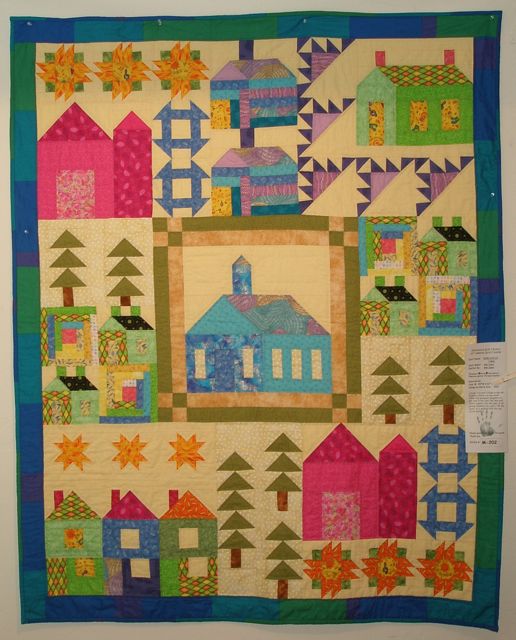
Nellie really surprised me by using all polka-dot fabrics! As a lover of polka-dots, I thought it was superb.
Nancey’s cheery, bright colors look great and I love the piano key border.
Audrey’s clear colors make for a crisp looking quilt.
Loretta loves blue and she did a fine job of working some blue into her quilt.
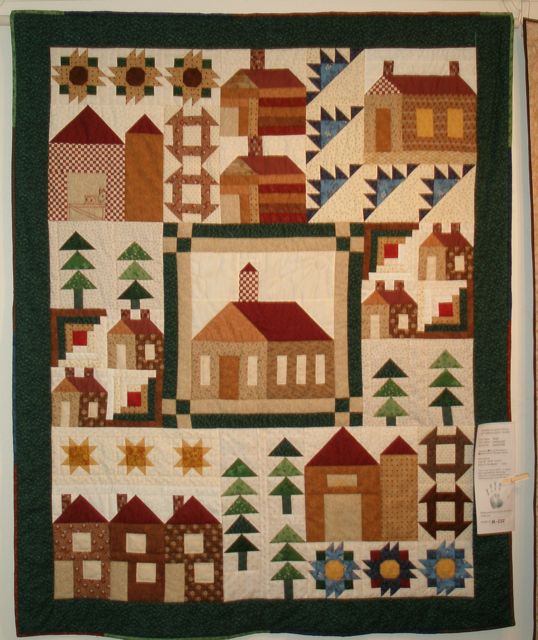
Ann stuck with traditional colors in this version of her quilt…
…but she wasn’t satisfied with just one—she made two! They couldn’t look more different and both are terrific.
The reds in Marian’s quilt really pop.
What a talented bunch of ladies. I’m so glad to be a part of this group with them.
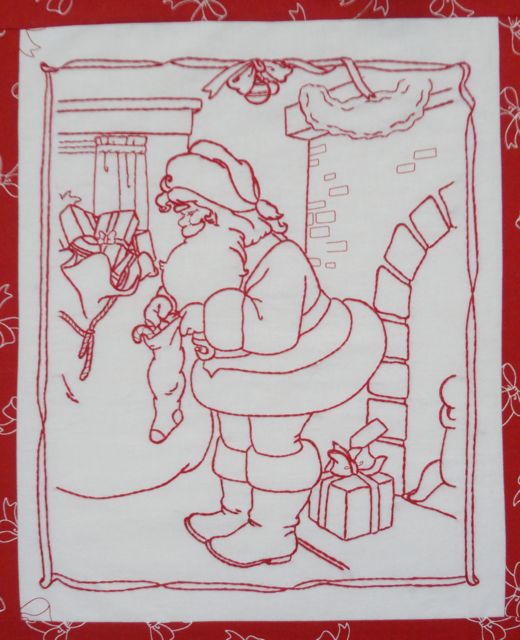
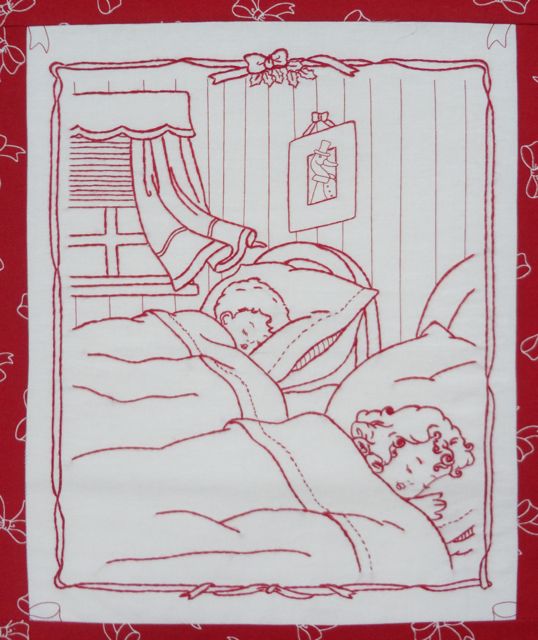
Last time we checked, Bobby and Sally were tucked in their beds fast asleep!
Now Santa has found his way down the chimney and is ready to leave their gifts.
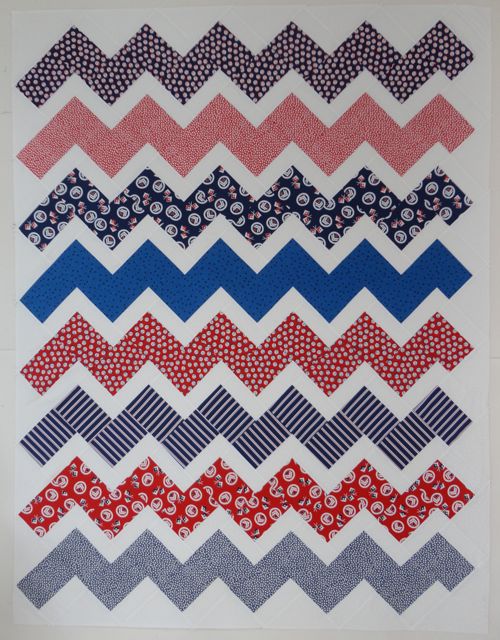
It’s the beginning of a new season and that means a new block for my Facebook page A Quilt Block A Day! The page is fun to follow. The idea is that even if you’re too busy to make a new quilt, you should be able to find time to make at least one quilt block a day. At the end of the quarter, you’ll have about 90 quilt blocks! Not everyone makes a block a day. Some do seven a week, or a handful when they find the time, but it’s still fun. I always do a tutorial for the new block and during the quarter I post lots of inspiration—and so do those who follow the page. So, click on over to the Facebook page and click “Like” so you can follow all the fun, too!
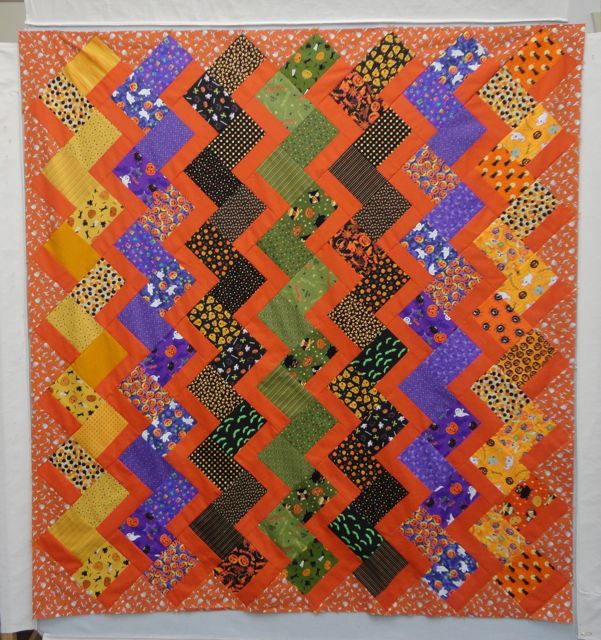
This time, the block is the Chevron. There are many ways to make a chevron quilt. You can do it with triangles or rectangles, it can be scrappy or planned, the rows can be the same width or different widths. This is my favorite way–with a skinnier accent row and triangles, and it couldn’t be easier! It’s easy to do with scraps or yardage. I had a lot of Halloween fat quarters that I’ve collected over the years, so that’s what I’ve used here, and that’s how the tutorial is written. At the bottom, I’ll give additional instructions for scraps.
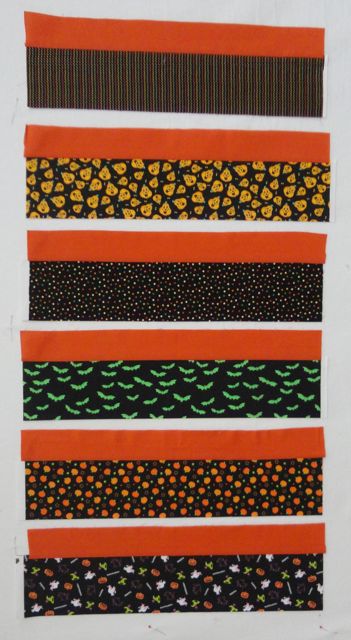
You will need an assortment of fat quarters and an accent fabric.
From the fat quarter, cut a 4-1/2″ x 22″ strip.
From the accent fabric, cut a few 2-1/2″ x 44″ strips. Cut them in half to match your fat quarters.
Stitch them together with a 1/4″ seam. Press.
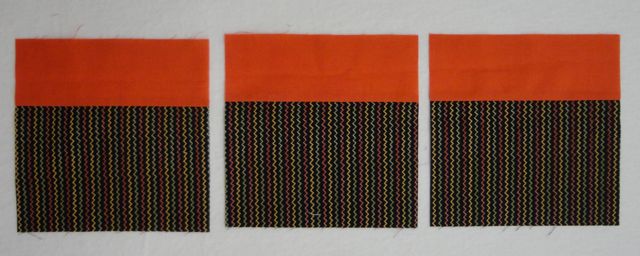
Cut into 6-1/2″ segments.
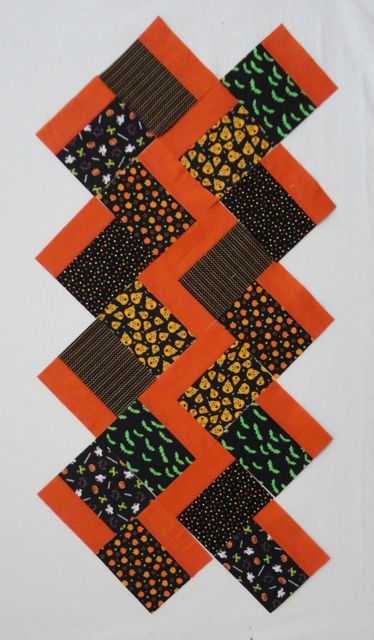
Lay your blocks out so they form a zigzag design. That’s it! I told you it was easy!
Since these blocks are set on point, you’ll eventually need side-setting and corner triangles. This can be the same as the accent fabric or a different fabric.
For the side setting triangles, cut squares 9-3/4″ and cut them in half twice diagonally.
For the corner triangles, cut squares 5-1/4″ and cut them in half once diagonally.
You can make your zigzags vertical, like I did in my Halloween quilt, or horizontal, like the quilt below that I did for our local Loyalty Day celebration. You’ll also notice that the Halloween quilt is “controlled scrappy,” meaning I used many different prints, but kept the colors the same in each row. The Loyalty Day quilt uses the same fabric in each row. Oh, the possibilities!
I hope you’ll try this, join the Facebook group and post pictures of your progress!
If you’re not using fat quarters, cut your accent pieces 2-1/2″ x 6-1/2″ inches and your main fabrics 4-1/2″ x 6-1/2″.
For the Loyalty Day quilt, I used two 4-1/2″ x 42″ strips for each row.
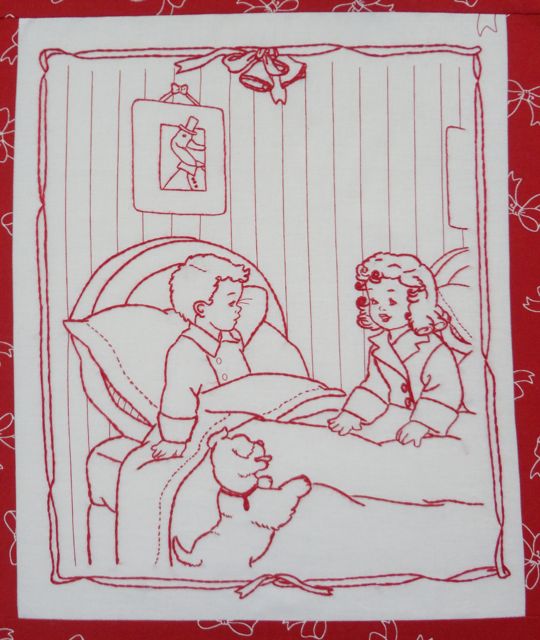
We have a winner in the “Name the Kids” contest for the Christmas Morning Redwork. They are Bobby and Sally! Here’s block 4. Bobby and Sally are saying their prayers before bed on Christmas Eve.
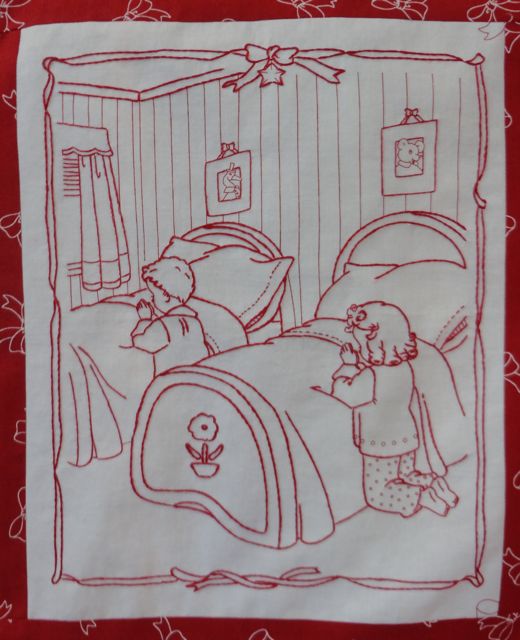
It was so fun reading through all of the suggestions and I thank everyone who left comments. I chose the names Bobby and Sally because they are my brother and sister! Now they’re tucked in bed, waiting for Christmas Morning!
The first person to suggest each name has won a Christmas Morning panel. Thanks again to all who participated.
My latest fabric collection is called Christmas Morning. It has this panel:
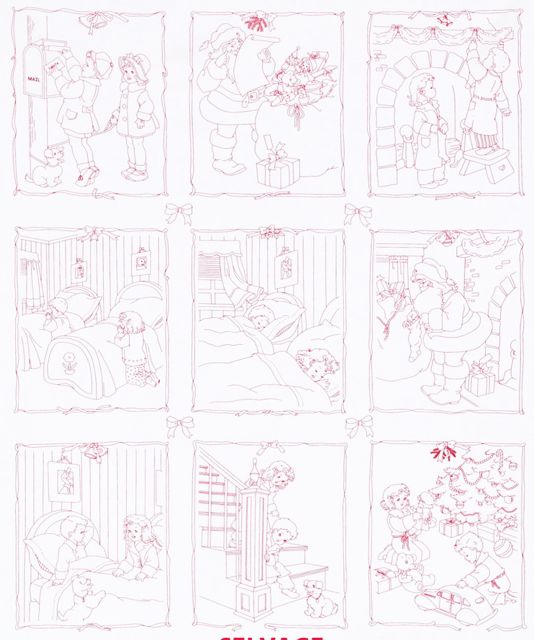
I know it’s a little hard to see, but as I get the blocks embroidered, I’ve been posting them on my Anna Lena Facebook page. You can “Like” the page and you’ll see the blocks as I finish and post them.
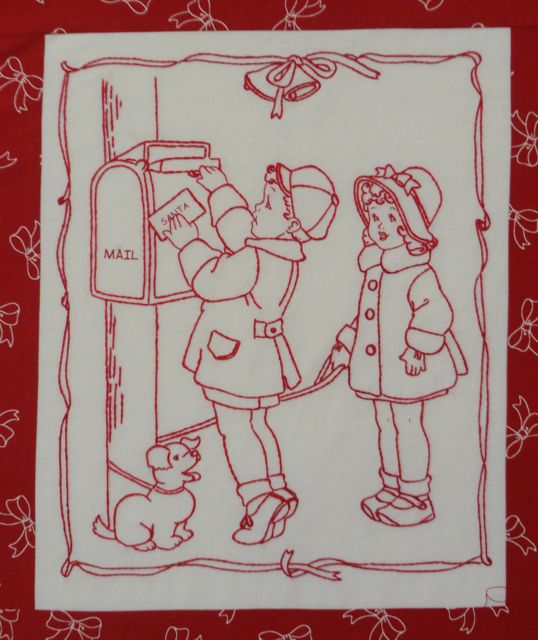
The blocks tell a story. The first one is darling kids mailing their letters to Santa.
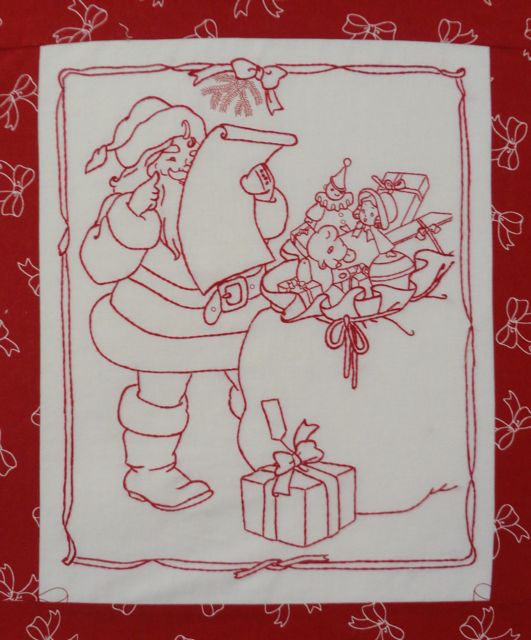
In the second block, Santa has received their letter and is looking it over.
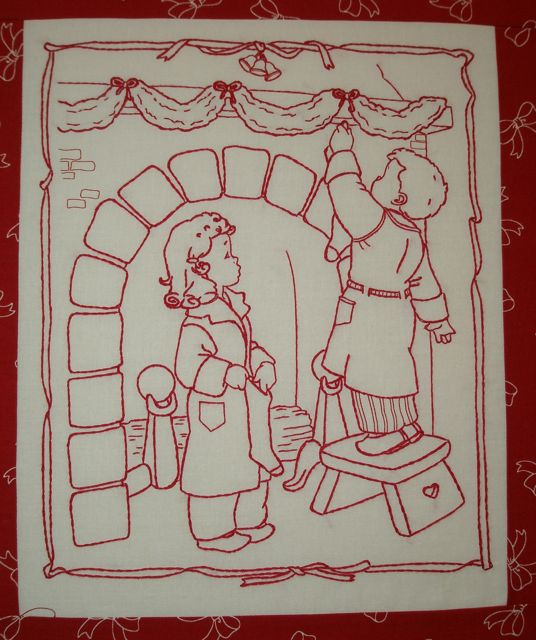
Meanwhile, the kids are decorating their house in preparation of Santa’s visit.
Now I think these children are just adorable, and I also think they need names! So, will you please leave a comment with a suggestion for names for these two? I’ll pick my favorite boys name and favorite girls name, and the winners (the first to suggest the name) will each receive a free Christmas Morning panel. You have until March 17 to leave your comments!
The embroidery on my Christmas Morning blocks is coming along!
Block 1 was mailing a letter to Santa and Block 2 is Santa reading it!
This is what I’ve been doing lately – embroidering!
This is the first block on my new Redwork Panel called Christmas Morning. The blocks tell a story. The first is “Letter to Santa.”
As I get the blocks embroidered, I’ll post photos.