• 31May
    Categories: Everything! Comments: 2

    Really!

    I actually made this pillow in nine minutes—and, I was taking photos along the way!

    plo1

    It only required sewing two seams–TWO SEAMS!  This is for an 18″ pillow form.

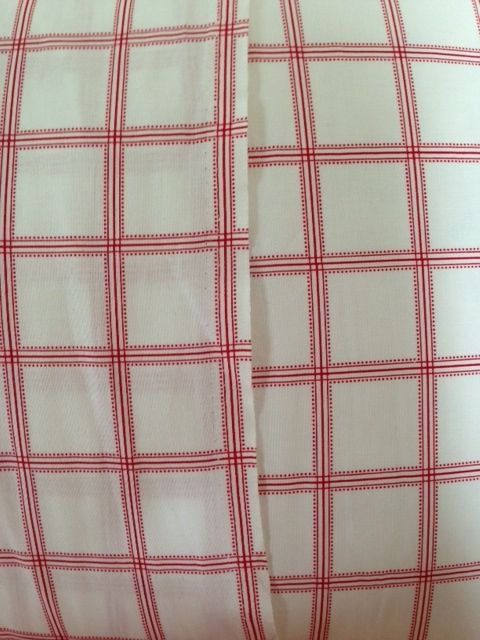
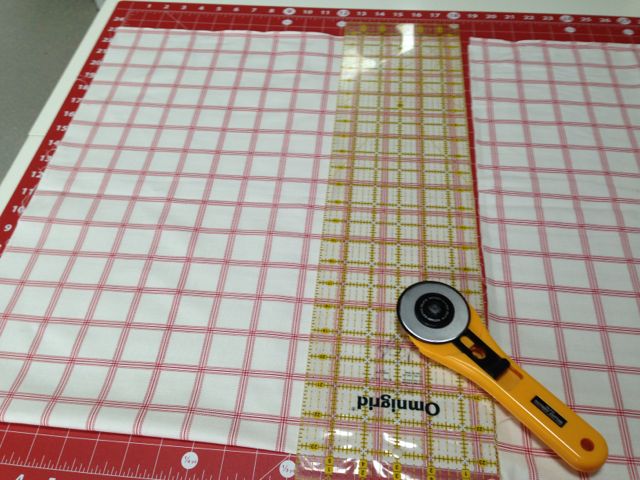
    First, cut a half yard piece of your chosen fabric, 18″.  I got to thinking if you bought a half yard of fabric, you could skip this step!  And, no, I didn’t add anything for seam allowances, because I like my pillow to fit snugly.

    pwo01

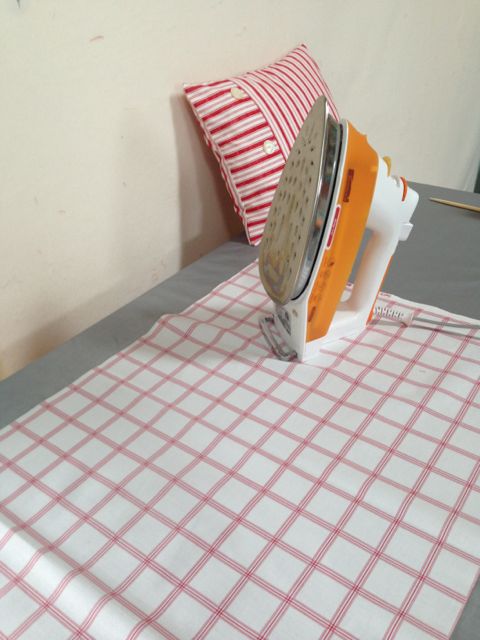
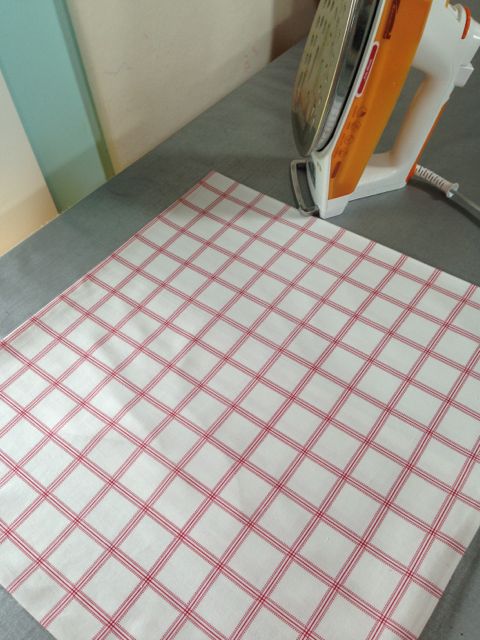
    Take it to the ironing board and press it, getting rid of that fold mark in the middle.

    pwo02

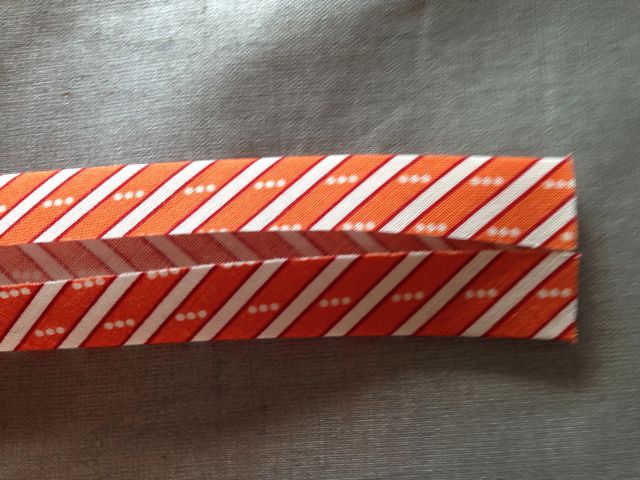
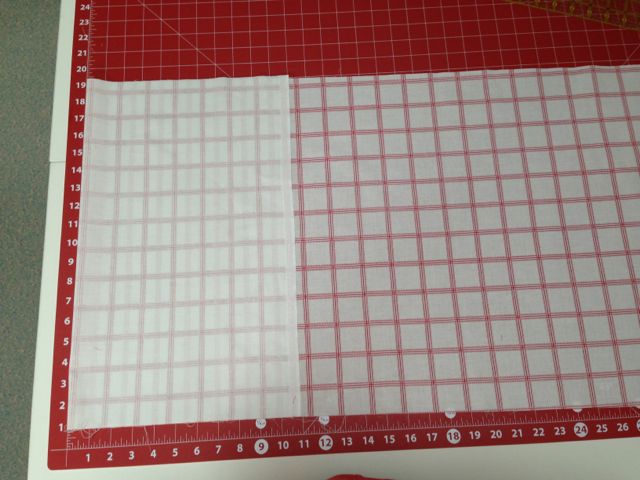
    Now, back to the cutting board.  Lay the fabric facedown, lengthwise, with about 11″ hanging off to the left of your first mark.  Fold that hanging down part over so that the fold is along the first mark on your cutting board.  We’re taking advantage of the selvedges here, so this should be the selvedge without the printing on it.

    pwo03

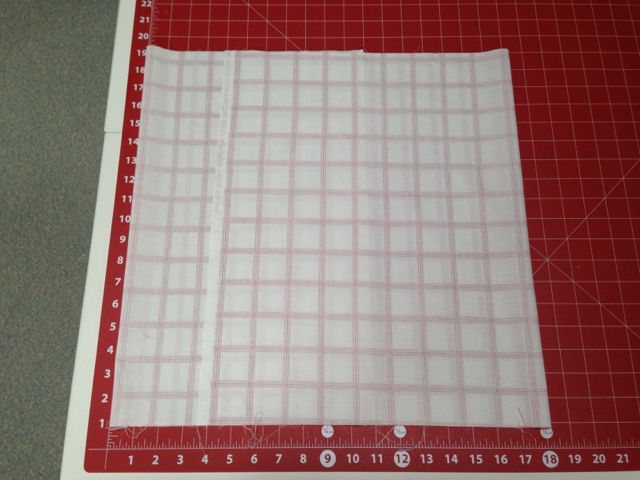
    Now fold the other half over, making that fold along the 18″ mark.

    pwo04

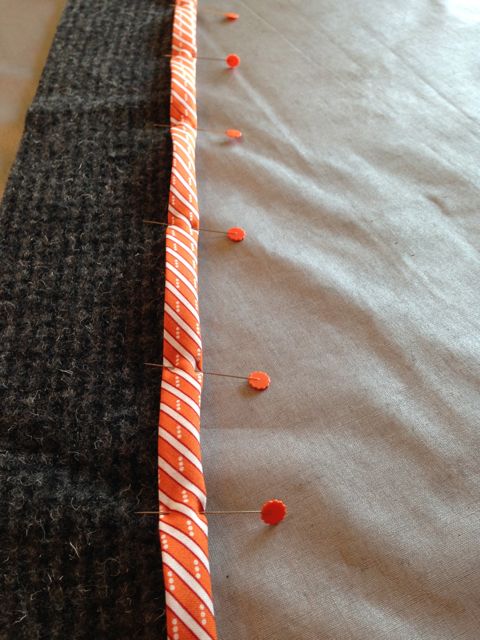
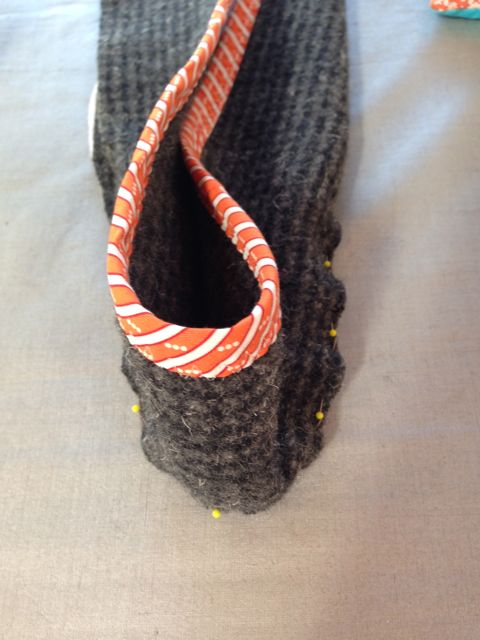
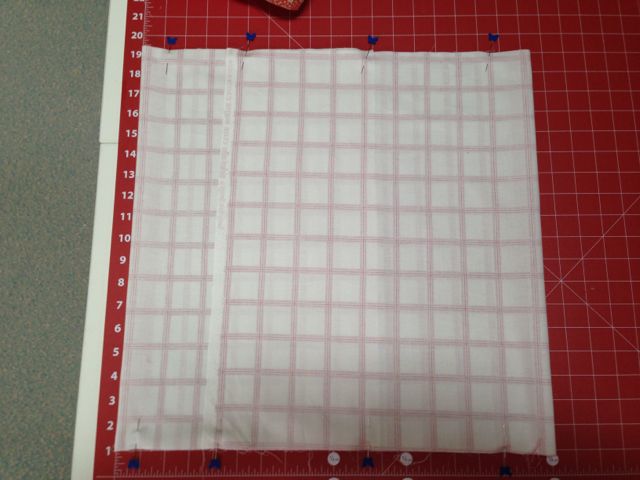
    Stick some pins in along the top and bottom edges.

    pwo05

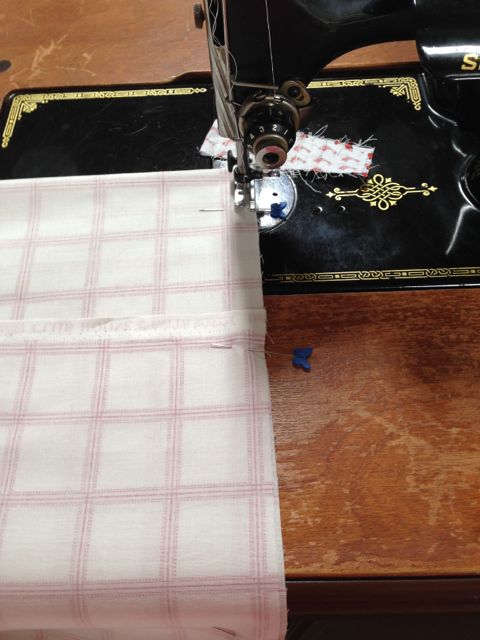
    Take it to your machine and sew the two seams!  I went back and forth where the fabrics overlapped.

    pwo06

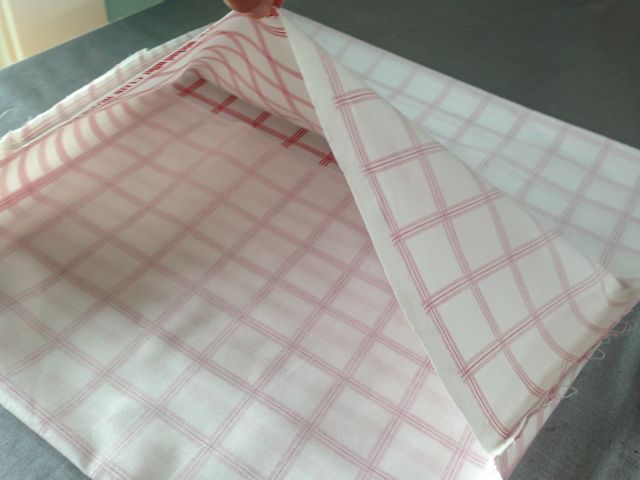
    Reach in and turn it right side out!

    pwo07

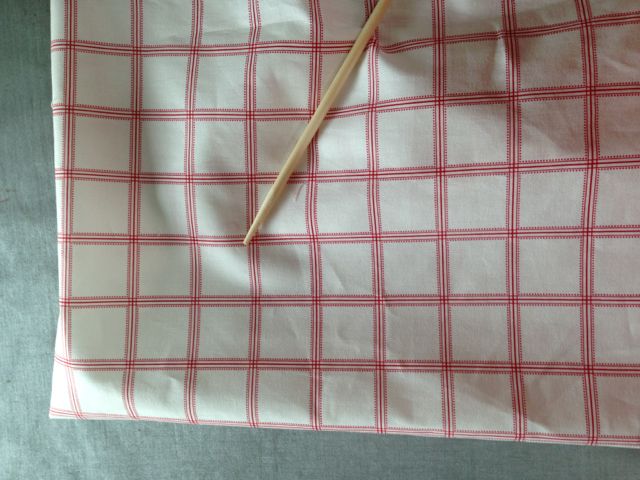
    I use this little wooden gizmo to poke out the corners.

    pwo08

    Press again.

    pwo09

    Stuff in your pillow form and, voila!

    pwo10

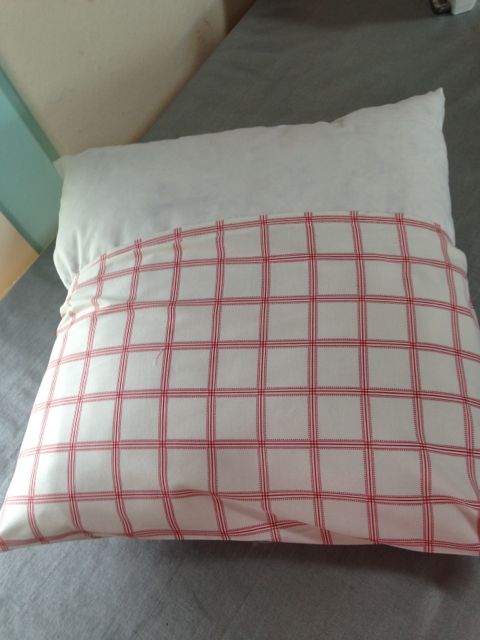
    A quick pillow in just 10 minutes—or less!  It even looks good on the back!

    pwo13


    Tags:
  • 19May
    Categories: musings Comments: 3

    I wanted to embroider something to hang in my kitchen window in our Swedish house, and when I found these chickens doing their days-of-the-week chores, I knew they were the ones!

    ach8


    These industrious gals have it all figured out–washing on Monday.

    ach6

    Ironing on Tuesday.

    ach7

    Mending on Wednesday.

    ach5

    Shopping on Thursday.

    ach4

    Cleaning on Friday.

    ach3

    And baking on Saturday!

    ach1

    If only it were that easy!

    ach2


    I can’t wait to get them hung up in the window!

    crt1

    I found these patterns online, on Pinterest.

    Screen Shot 2014-05-18 at 5.48.00 PM

    It says they are a TriChem pattern.

    Screen Shot 2014-05-18 at 5.47.50 PM

    I checked their site, and they aren’t listed.

    Screen Shot 2014-05-18 at 5.47.38 PM

    I assume they are an older, discontinued pattern.

    Screen Shot 2014-05-18 at 5.47.16 PM

    Although I don’t know why.

    Screen Shot 2014-05-18 at 5.46.28 PM

    I think they’re adorable!

    Screen Shot 2014-05-18 at 5.46.49 PM

    If there was a Sunday, I couldn’t find it!


  • 08May
    Categories: Everything! Comments: 8

    In Sweden, everyone takes their shoes off when they enter your house. Since floors can be cold, I thought it would be fun to have a basket of slippers for my guests.

    slp2

    So I went to the local thrift store and bought a wool coat.

    slt01

    It was 100% wool and very nicely made.

    slt02

    It took me about a half hour to take it all apart.  I tossed the lining and any interfacing, and was left with a nice stack of wool.  I wanted to felt it so I tossed into the washer with a little soap and set the machine for the longest, hottest cycle to felt the wool.  Then I tossed it into a hot dryer.  Voila!  Felted wool!  Now the slippers will be washable!

    slt03

    I looked around the web for tutorials on how to make slippers and found quite a few.  I found the one I liked best here and adapted it.

    Instead of tracing around my foot to make a pattern, I started by tracing around my shoe.

    slt07

    I figured if I used the outside of my shoe, I’d be just right for seam allowances.

    slt08c

    I stacked up two pieces of wool and cut two soles.

    msl1

    I also cut two long pieces 4″ x 31″.

    slt06

    I bought some non-skid slipper stuff for the bottom and cut out two of those, slightly larger than the soles, planning to cut them down later.  I used some spray baste to stick them to the bottom of the soles.

    slt05

    Then I made some bias binding.  I used scraps, but you can cut what you need out of 1/3 yard of fabric.  I cut six strips on a 45 degree angle and sewed them together.  Then I pressed the strip in half, opened it up and pressed the edges to the middle.

    slt10

    I pinned the binding along one long edge of the strip.

    slt11

    I used a triple zigzag stitch to attach it.

    slt09

    I folded the long strip in half to find the middle, then started pinning at the heel and about half way along each side.

    slt12

    Then I stuck my foot in there!

    slt14c

    I lapped one side over…

    slt15

    …then the other.

    slt16

    Then I continued pinning, feeling the sole underneath, and pinning around the toe.

    slt17

    Here’s what it looked like from the bottom.

    msl2

    I trimmed away the excess, took it to the machine and stitched around the perimeter.

    slt19

    When you make the second one, be sure you lap the strip in the opposite direction.

    slp1

    Then I borrowed Robin’s serger and went around the edges again.

    slt20

    I made two small, two medium and two large!  I used Bob’s shoe for the large and just reduced mine for the small.

    slt21

    Hopefully, everyone will have toasty toes when they visit!