There’s a wonderful article and lots of great photos in the Spring edition of Arts and Crafts Homes about our house.
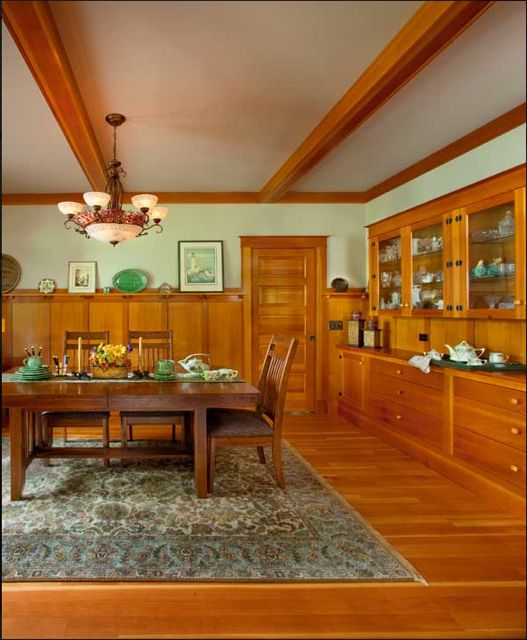
There’s a wonderful article and lots of great photos in the Spring edition of Arts and Crafts Homes about our house.
I’m always saying, “Make it your own!” When you make a quilt from a pattern, do you want it to look just like the pattern or do you want to “make it your own?”
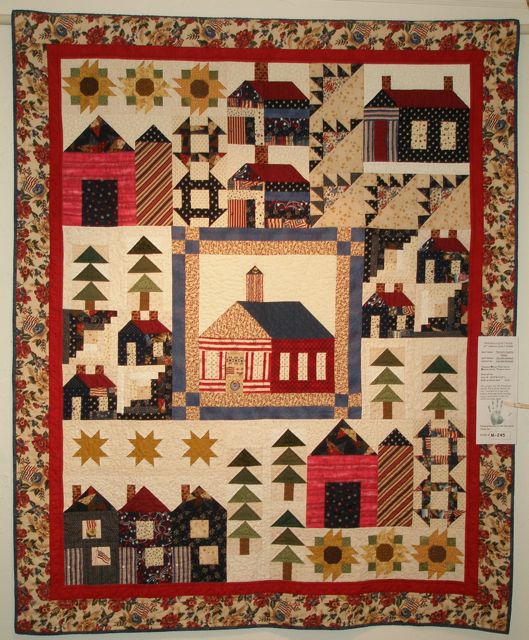
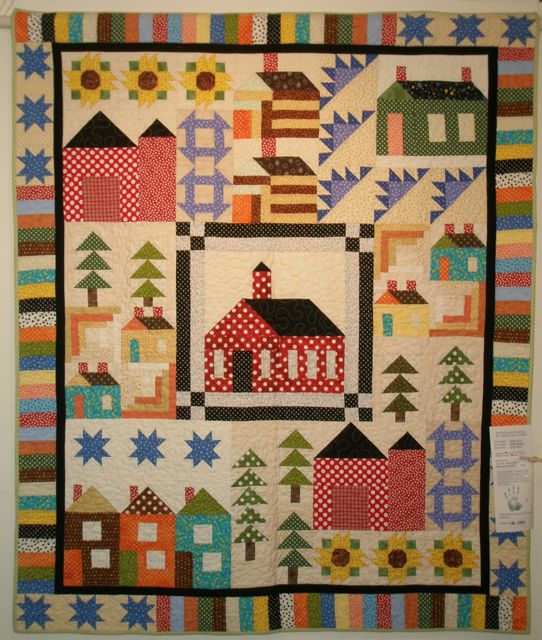
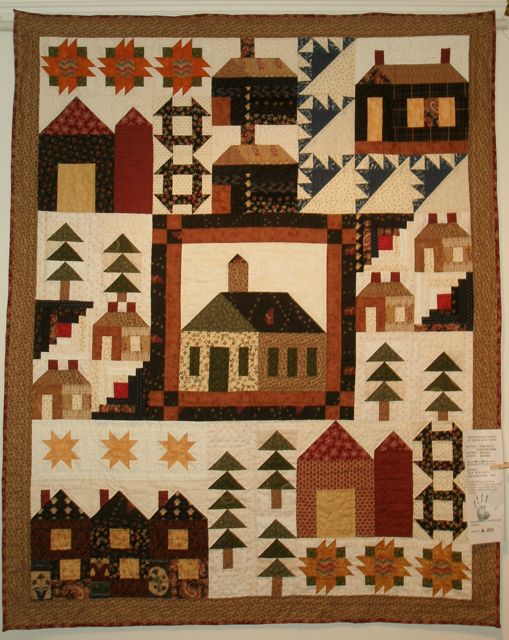
Our quilt guild had a block of the month last year, and the ladies really did a great job of making each quilt individual while still following the pattern. These quilts were on display at our quilt show earlier this month, and I just had to share them with you.
I love when quilters do something unique with the border, like this one from Merri.
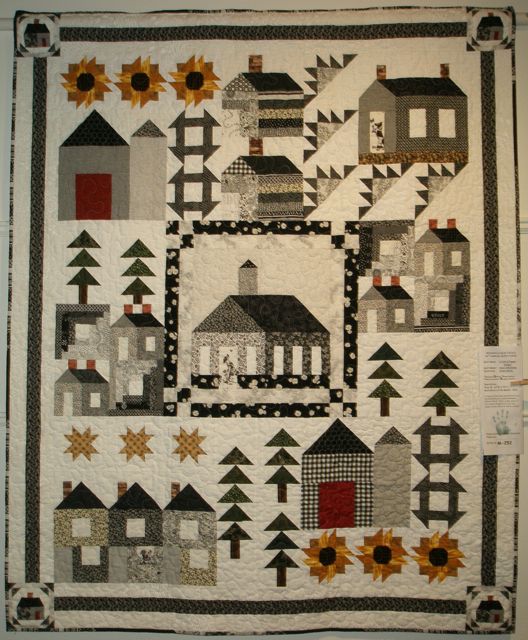
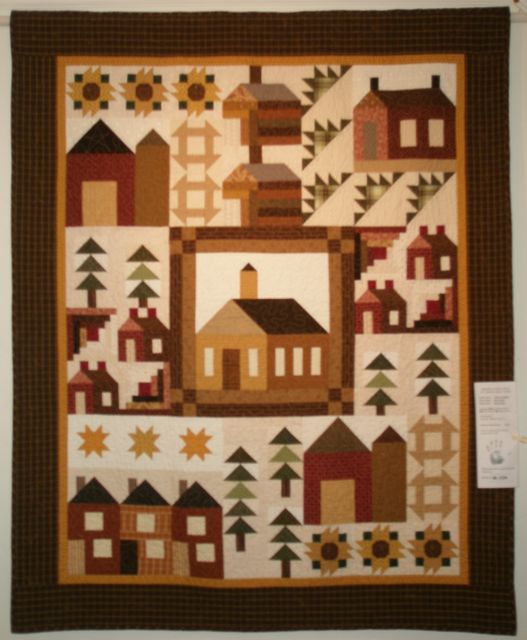
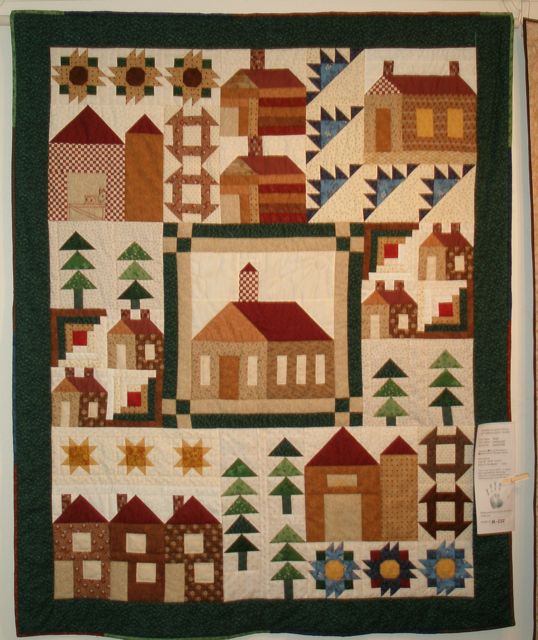
Carol not only did fun little cabin blocks in the corners, she limited her palette to mostly blacks and grays with touches of red and gold.
Wow! Check out this picket fence border that Melinda made.
I love Joe Ann’s use of stripes in her quilt, and the little touches of patriotic fabric.
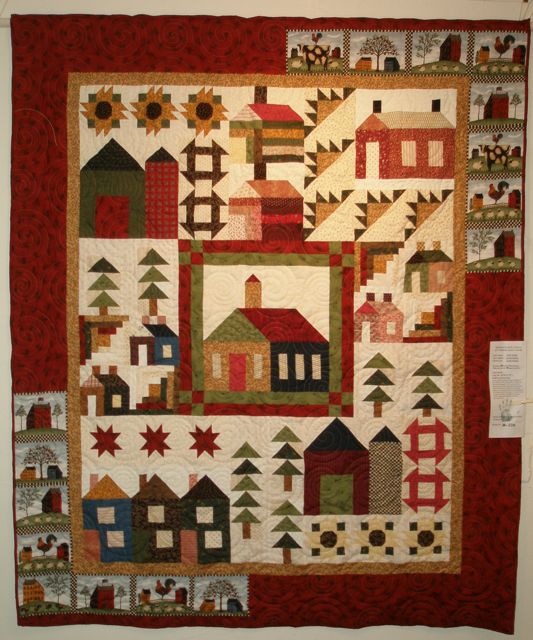
Lynda incorporated a great novelty farm print in her border.
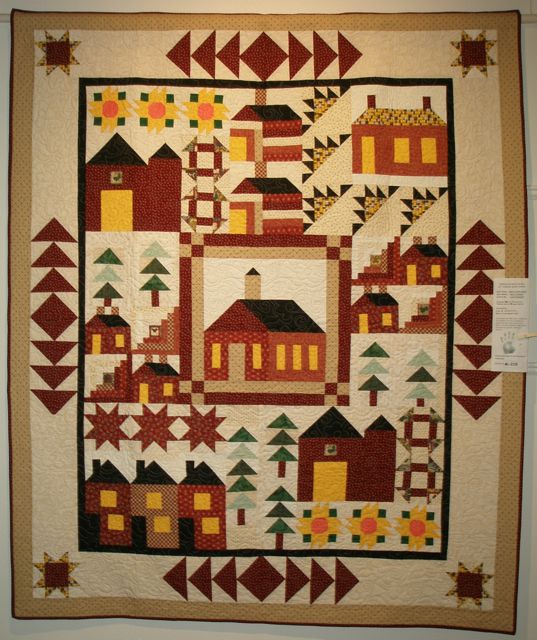
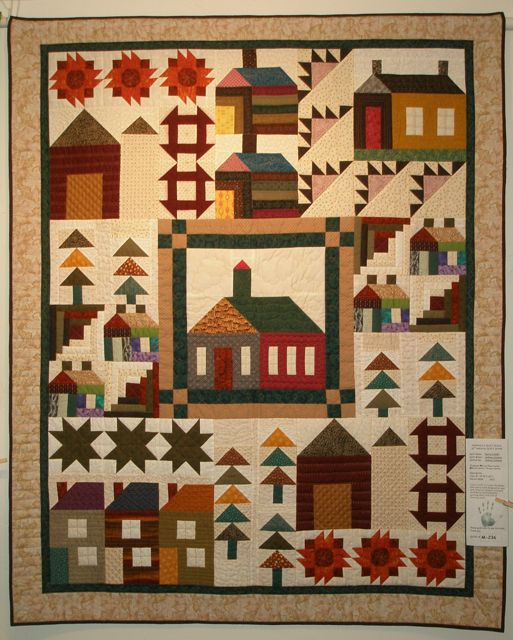
Gloria, who was the designer of the quilt, hit the mark with her homespun border.
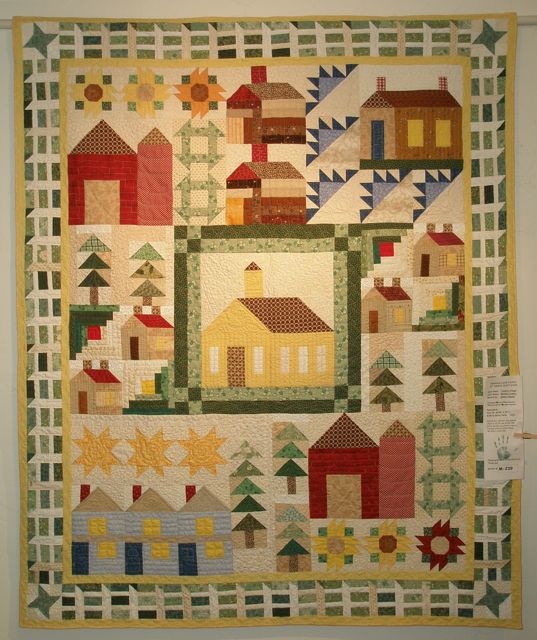
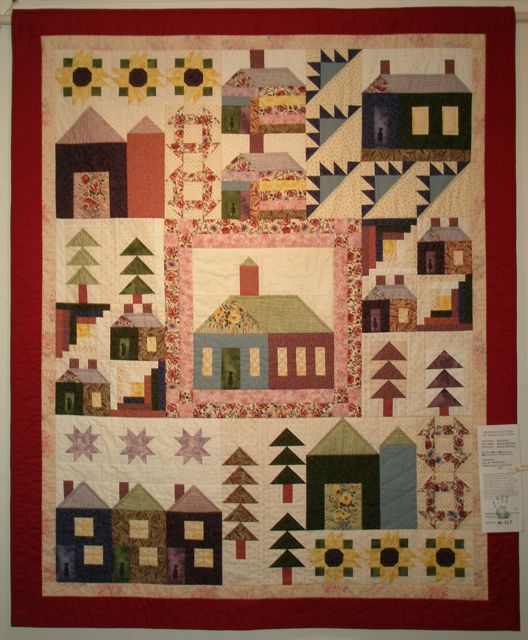
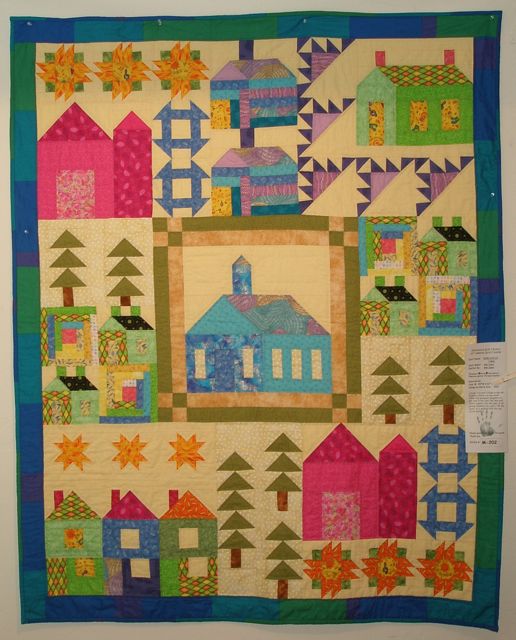
Bev’s use of pastels adds an interesting twist.
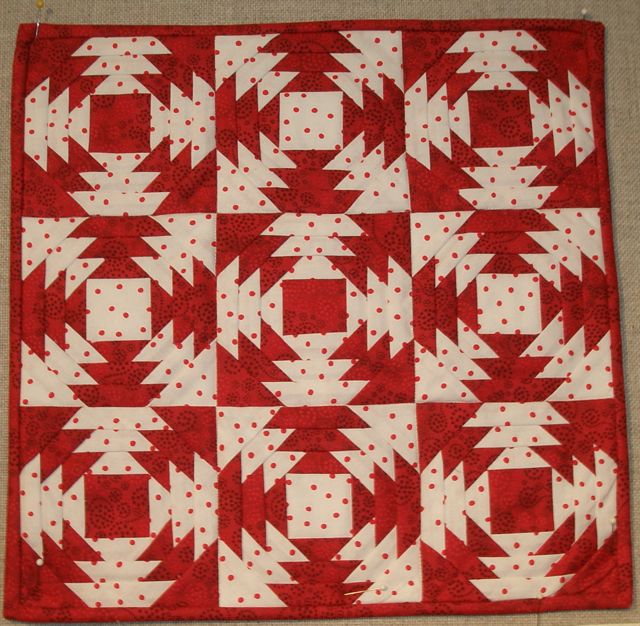
Nellie really surprised me by using all polka-dot fabrics! As a lover of polka-dots, I thought it was superb.
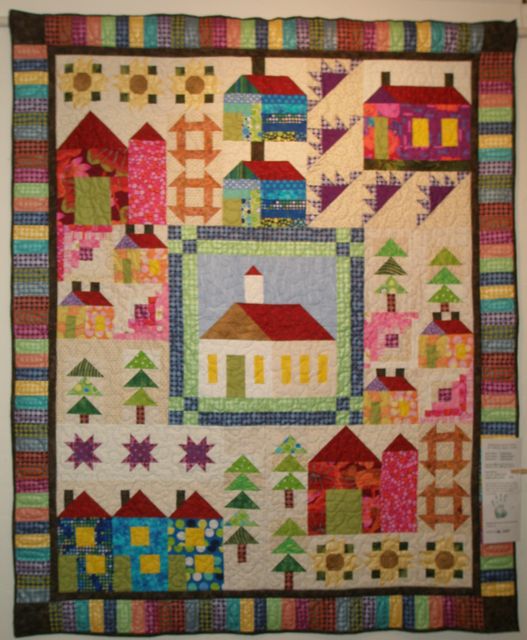
Nancey’s cheery, bright colors look great and I love the piano key border.
Audrey’s clear colors make for a crisp looking quilt.
Loretta loves blue and she did a fine job of working some blue into her quilt.
Ann stuck with traditional colors in this version of her quilt…
…but she wasn’t satisfied with just one—she made two! They couldn’t look more different and both are terrific.
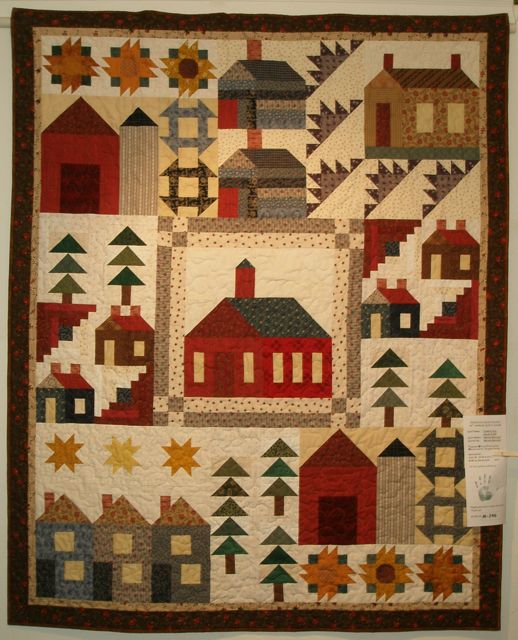
The reds in Marian’s quilt really pop.
What a talented bunch of ladies. I’m so glad to be a part of this group with them.
It’s the beginning of a new season and that means a new block for my Facebook page A Quilt Block A Day! The page is fun to follow. The idea is that even if you’re too busy to make a new quilt, you should be able to find time to make at least one quilt block a day. At the end of the quarter, you’ll have about 90 quilt blocks! Not everyone makes a block a day. Some do seven a week, or a handful when they find the time, but it’s still fun. I always do a tutorial for the new block and during the quarter I post lots of inspiration—and so do those who follow the page. So, click on over to the Facebook page and click “Like” so you can follow all the fun, too!
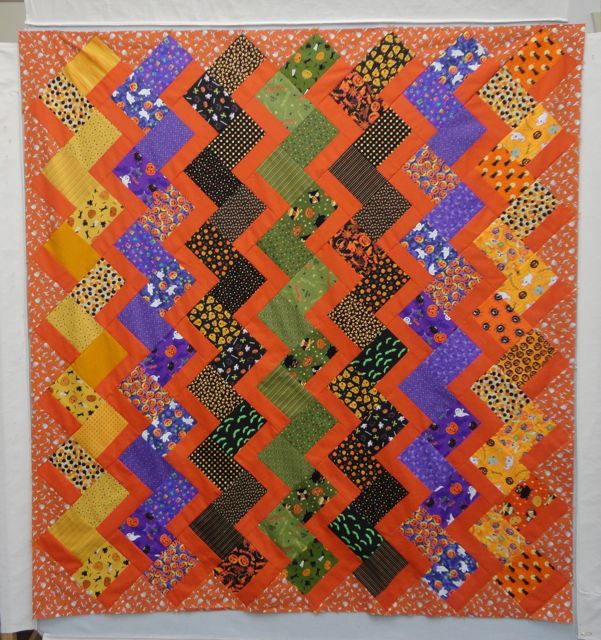
This time, the block is the Chevron. There are many ways to make a chevron quilt. You can do it with triangles or rectangles, it can be scrappy or planned, the rows can be the same width or different widths. This is my favorite way–with a skinnier accent row and triangles, and it couldn’t be easier! It’s easy to do with scraps or yardage. I had a lot of Halloween fat quarters that I’ve collected over the years, so that’s what I’ve used here, and that’s how the tutorial is written. At the bottom, I’ll give additional instructions for scraps.
You will need an assortment of fat quarters and an accent fabric.
From the fat quarter, cut a 4-1/2″ x 22″ strip.
From the accent fabric, cut a few 2-1/2″ x 44″ strips. Cut them in half to match your fat quarters.
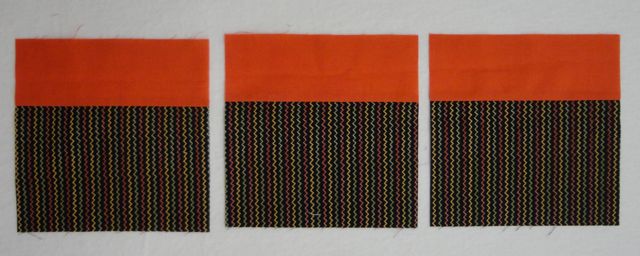
Stitch them together with a 1/4″ seam. Press.
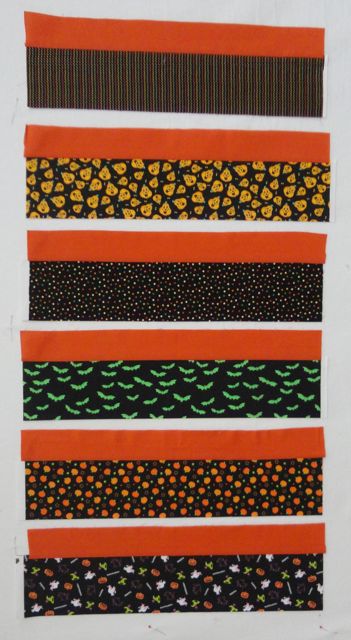
Cut into 6-1/2″ segments.
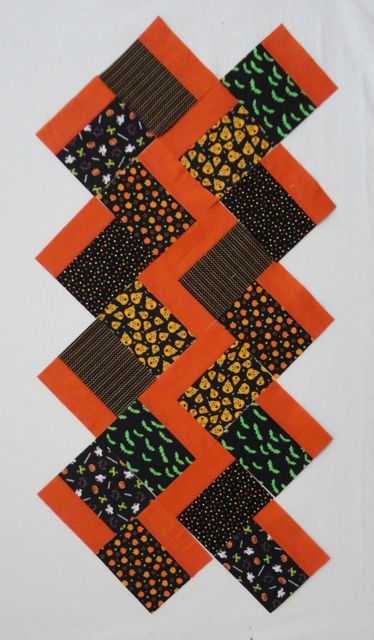
Lay your blocks out so they form a zigzag design. That’s it! I told you it was easy!
Since these blocks are set on point, you’ll eventually need side-setting and corner triangles. This can be the same as the accent fabric or a different fabric.
For the side setting triangles, cut squares 9-3/4″ and cut them in half twice diagonally.
For the corner triangles, cut squares 5-1/4″ and cut them in half once diagonally.
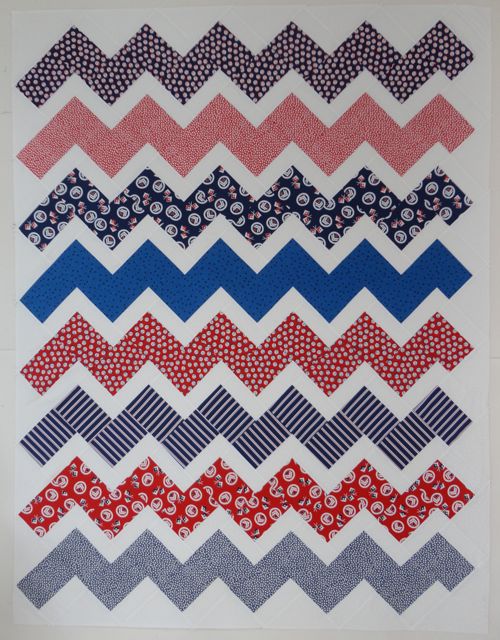
You can make your zigzags vertical, like I did in my Halloween quilt, or horizontal, like the quilt below that I did for our local Loyalty Day celebration. You’ll also notice that the Halloween quilt is “controlled scrappy,” meaning I used many different prints, but kept the colors the same in each row. The Loyalty Day quilt uses the same fabric in each row. Oh, the possibilities!
I hope you’ll try this, join the Facebook group and post pictures of your progress!
If you’re not using fat quarters, cut your accent pieces 2-1/2″ x 6-1/2″ inches and your main fabrics 4-1/2″ x 6-1/2″.
For the Loyalty Day quilt, I used two 4-1/2″ x 42″ strips for each row.
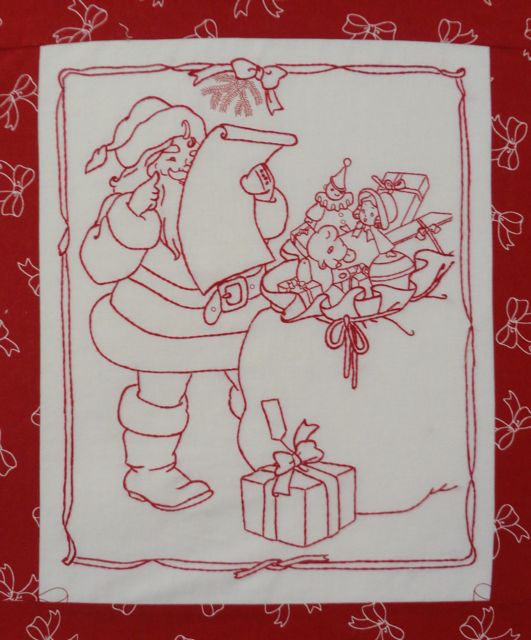
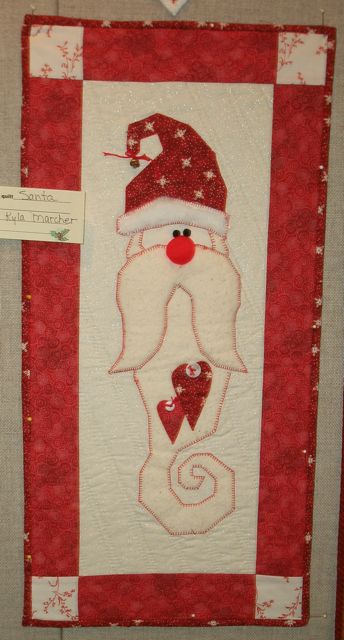
The embroidery on my Christmas Morning blocks is coming along!
Block 1 was mailing a letter to Santa and Block 2 is Santa reading it!
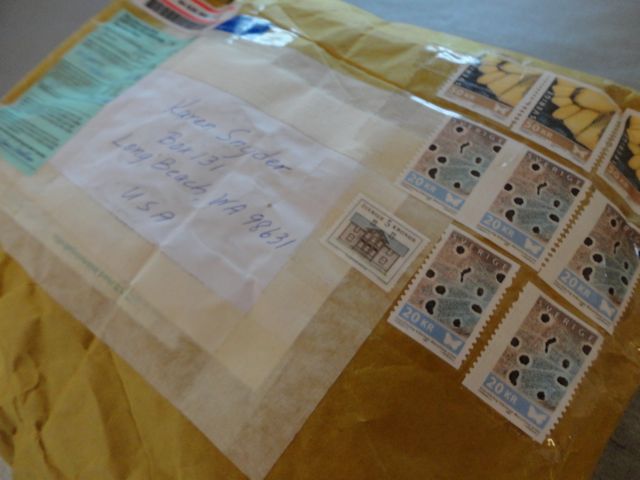
Woo hoo! I got a package from Sweden in the mail today!
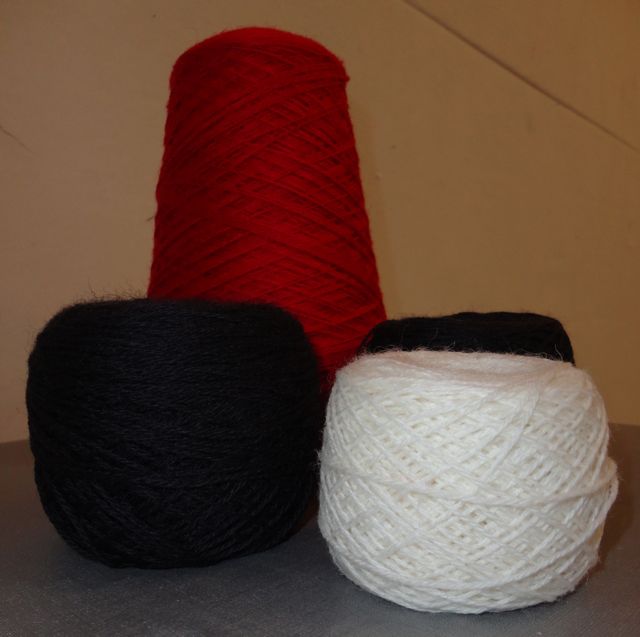
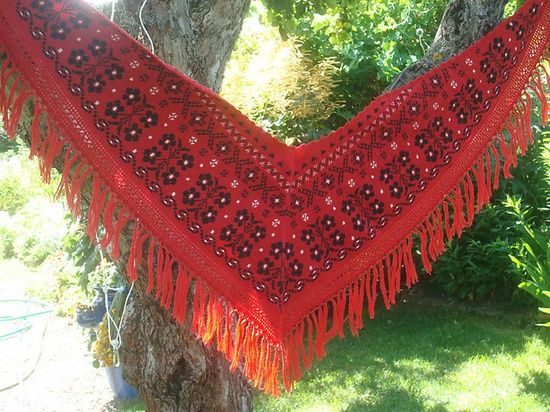
I want to make a heartwarmer to wear with my Swedish folk dress. So, I need to turn this…
…into this!
Nope, I’ve never crocheted a stitch in my life, so with me luck!
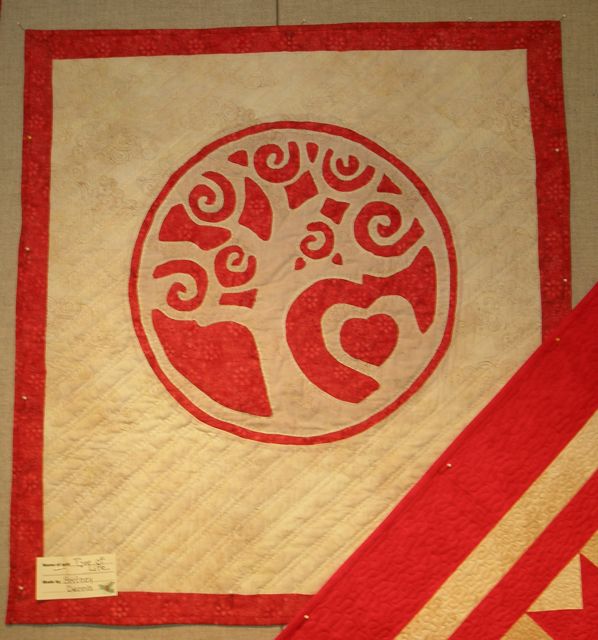
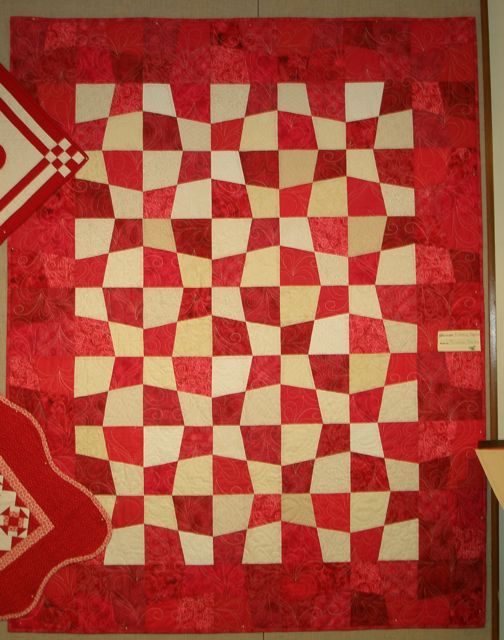
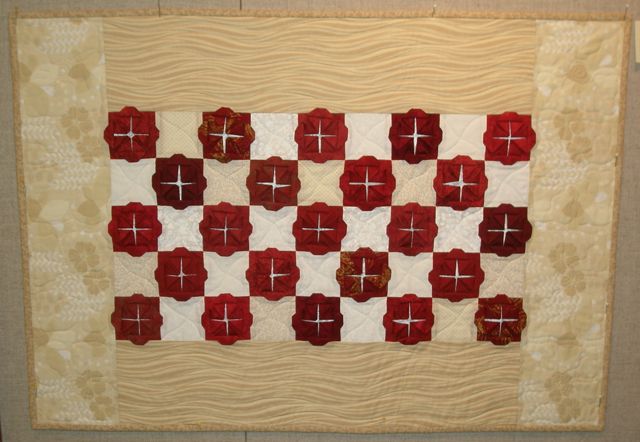
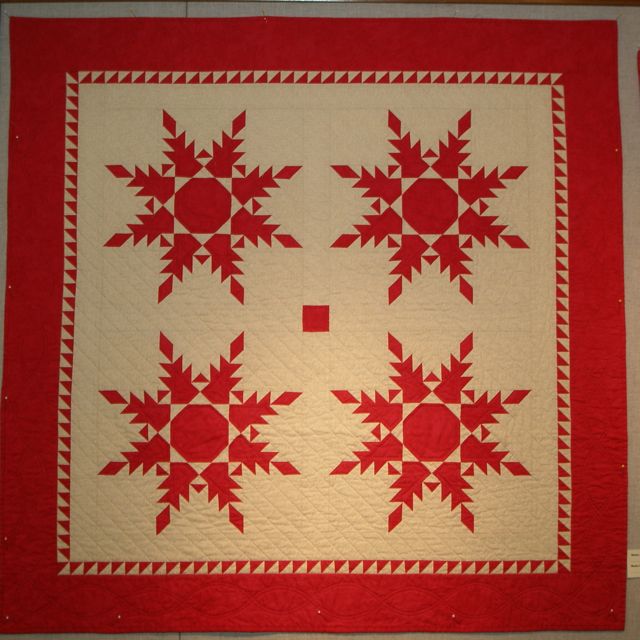
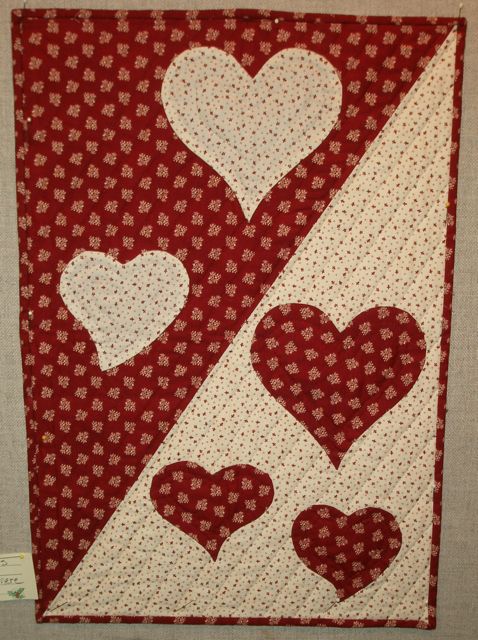
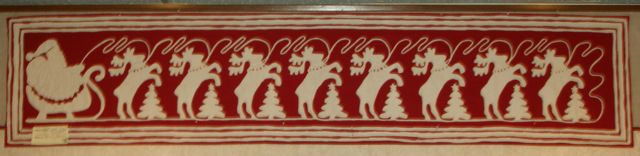
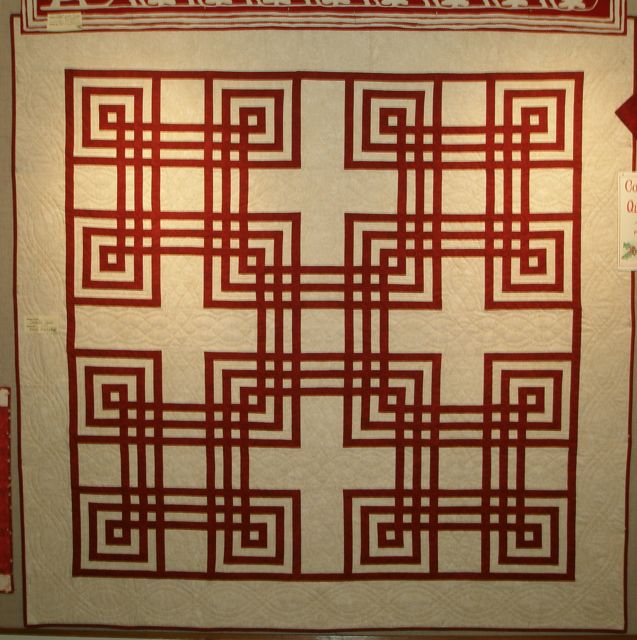
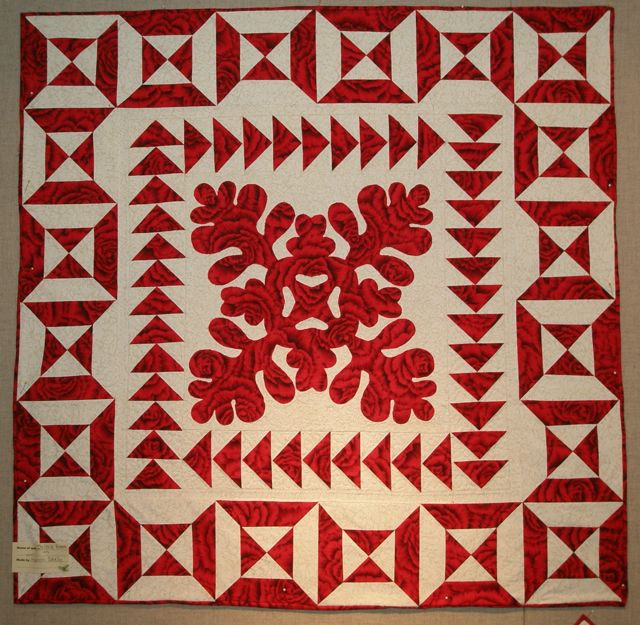
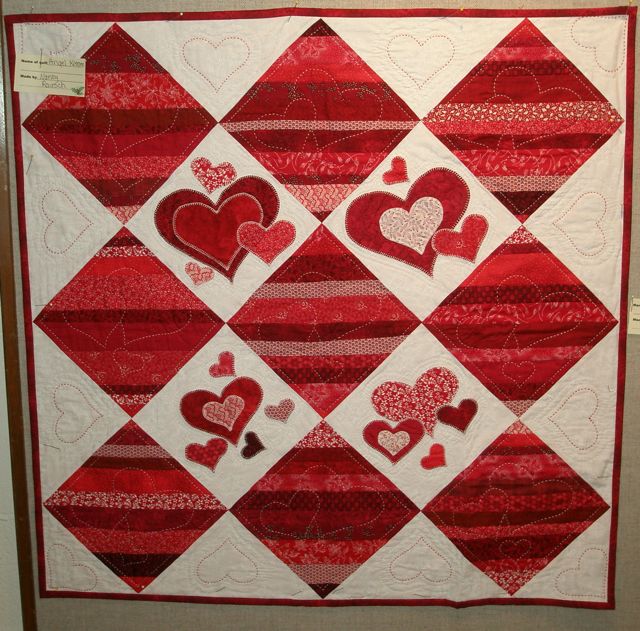
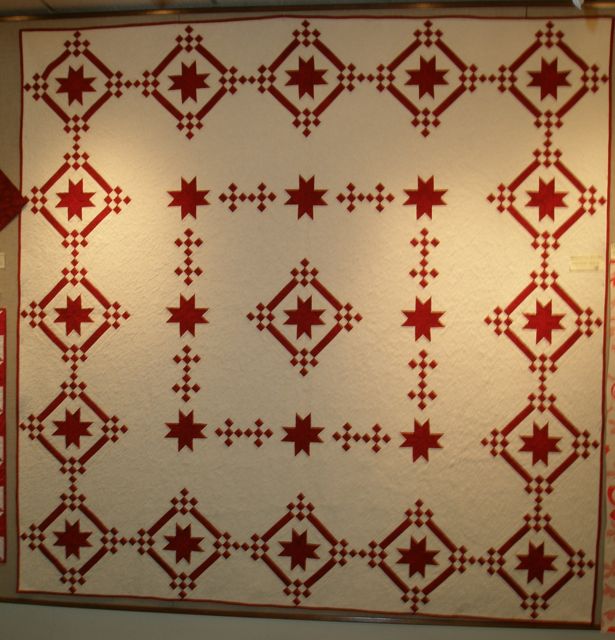
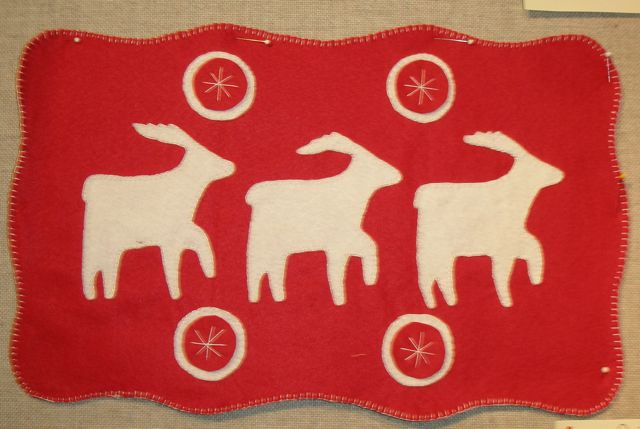
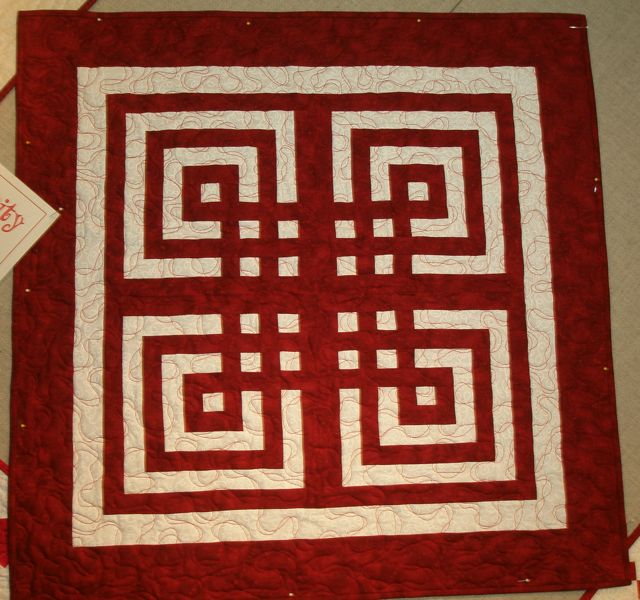
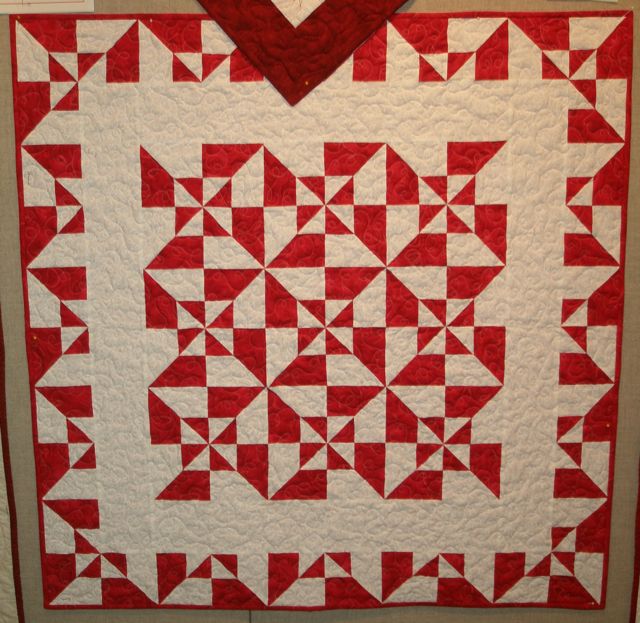
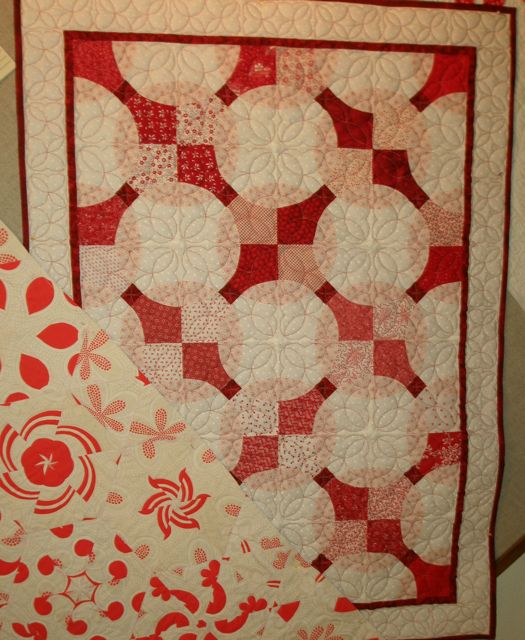
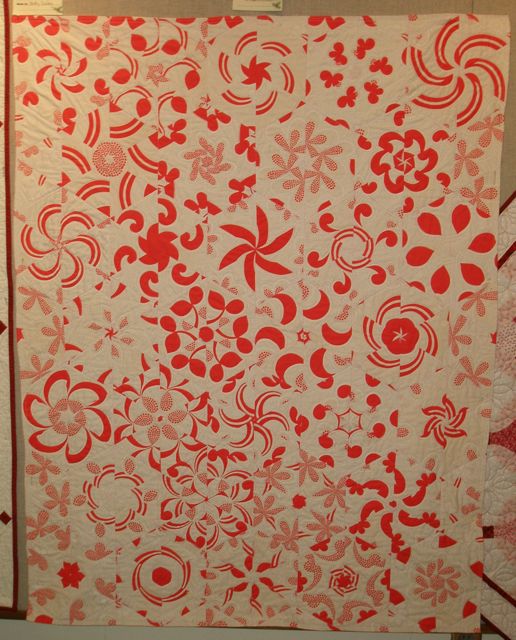
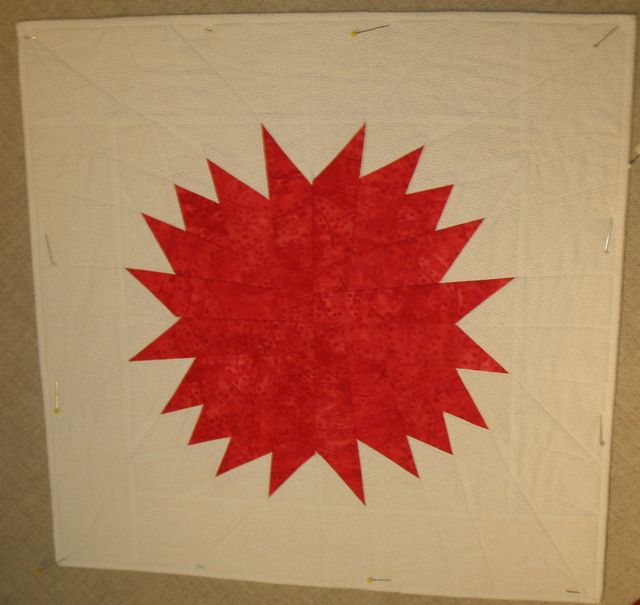
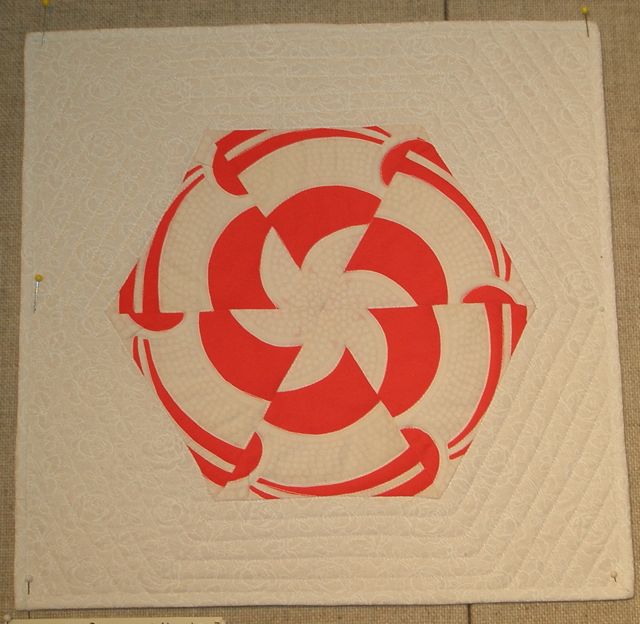
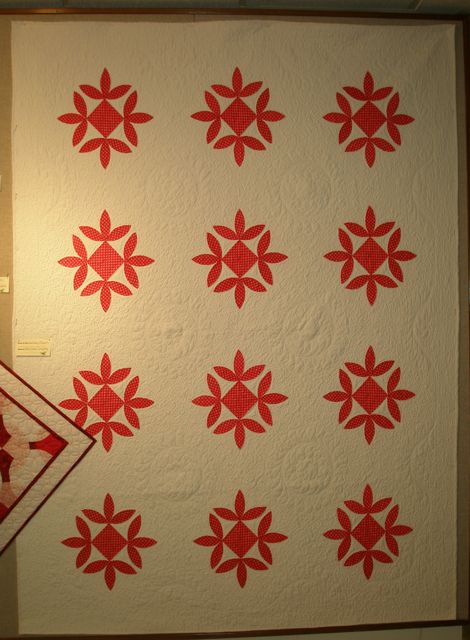
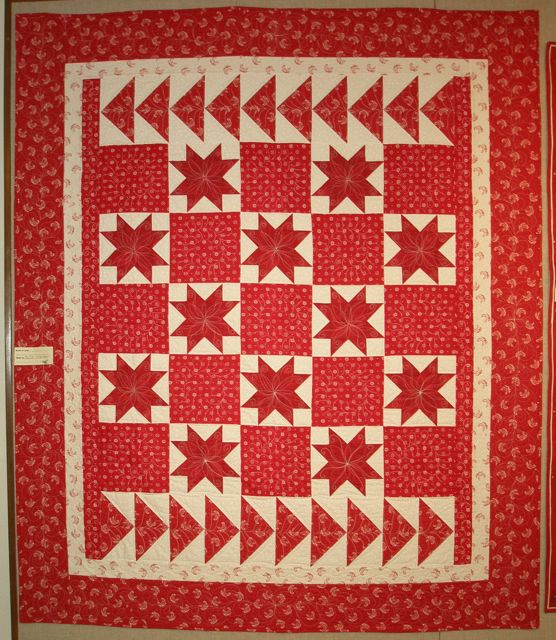
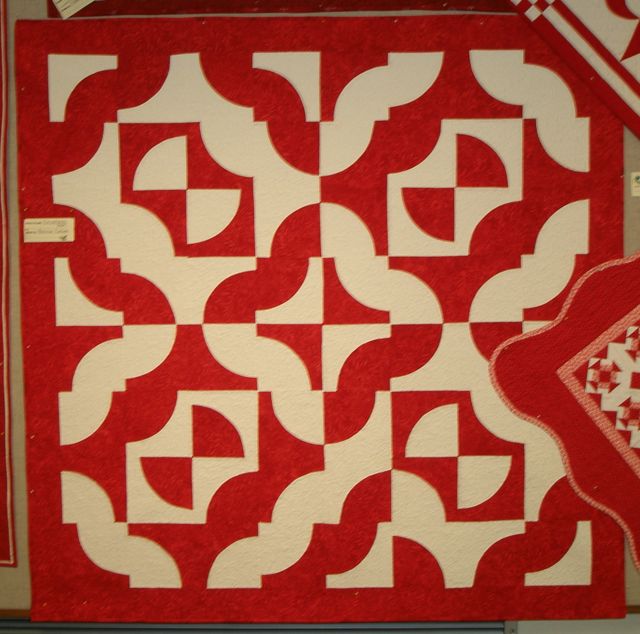
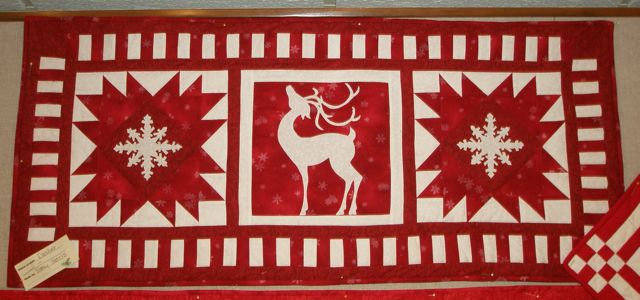
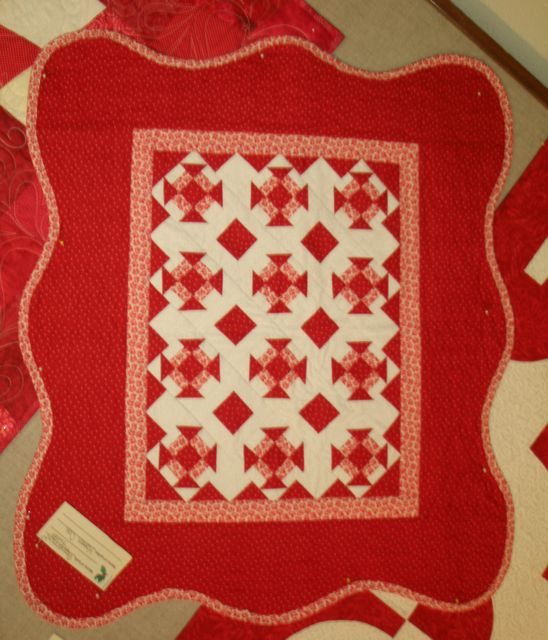
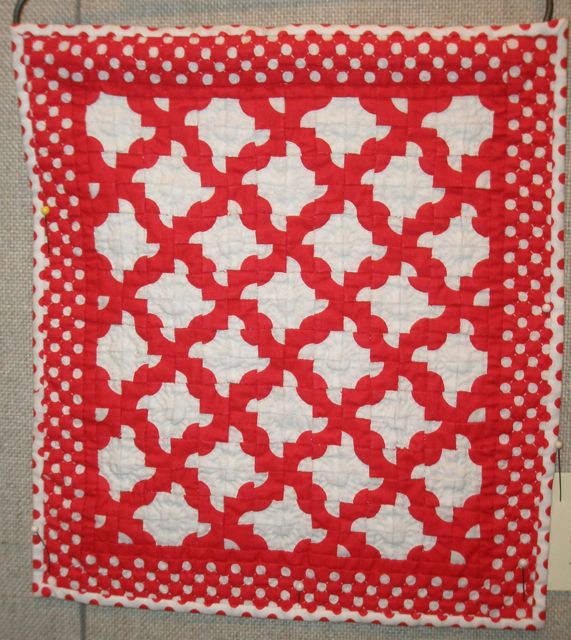
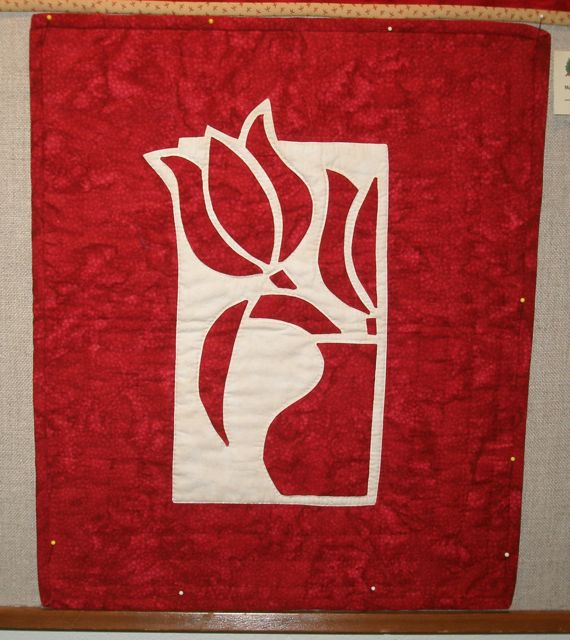
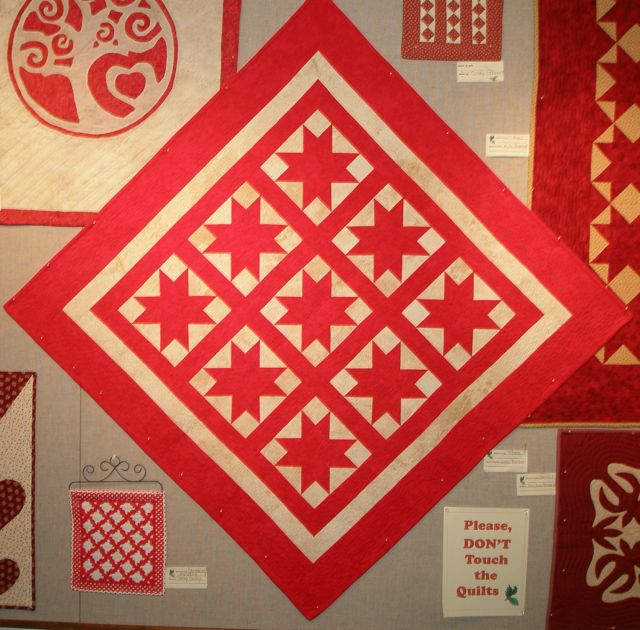
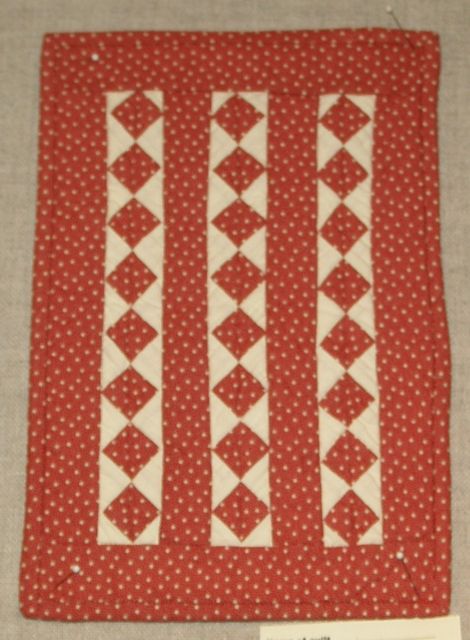
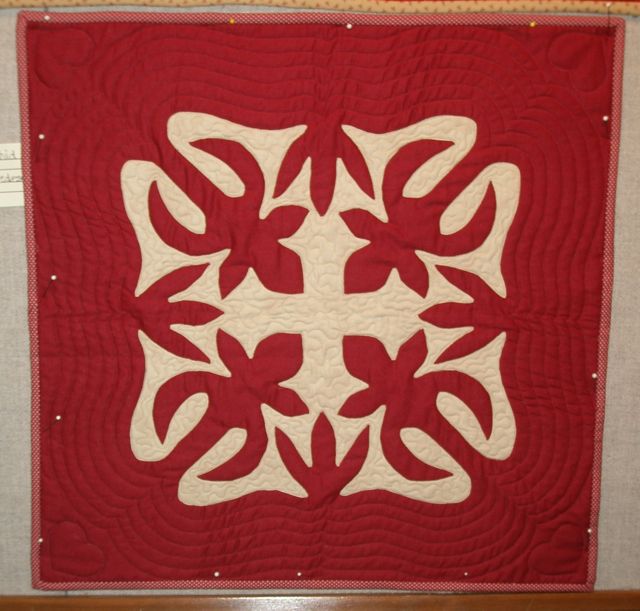
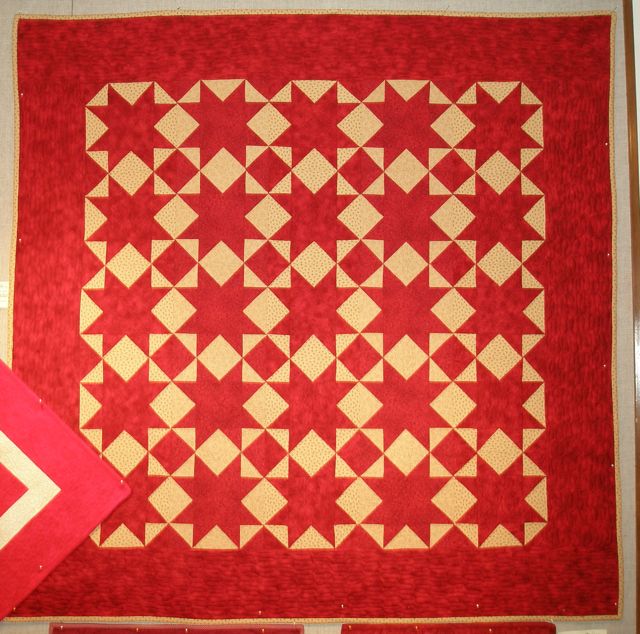
Last month the Longview, Washington library had a red and white quilt show.
It meant a snowy, 150 mile round trip drive from here, but I’m so glad we went.
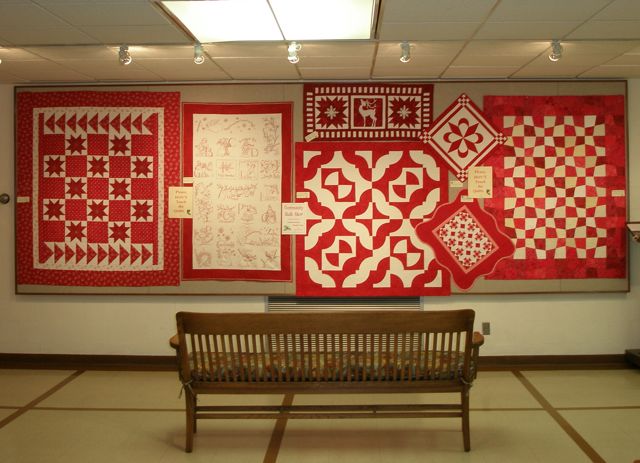
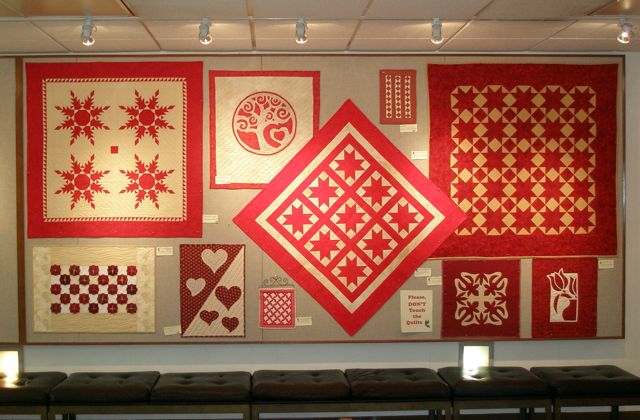

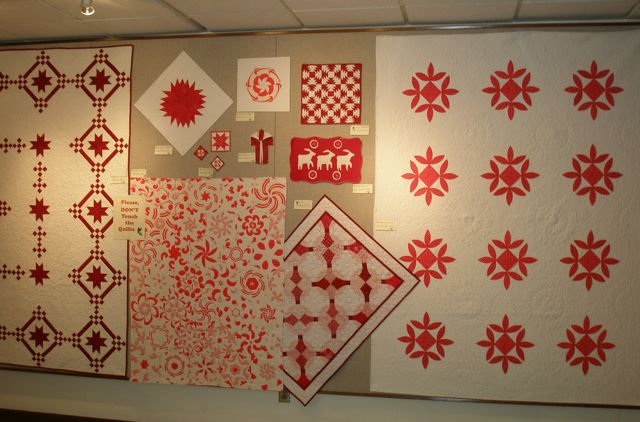
I’ll just be quiet and let you enjoy the show!


It’s time for another Quilt Block A Month. You can join the fun by ‘liking” the page on Facebook.
The block for this quarter is the Spool Block. It offers a lot of options and is quick and easy to piece. If you do just one block a day, you’ll have a 78 blocks finished before the first day of spring!
This is a great way to use your scraps. All you need is: 2) 2-1/2″ x 7-1/2″ brown rectangles, 4) 1-1/2″ light squares, 2) 1-1/2″ x 5-1/2″ light rectangles and a 5-1/2″ center square—either plain or pieced. I like using a stripe because it looks like thread wrapped around the spool.
Some people like to mark their squares with a diagonal pencil line when doing sew-and-flip corners, but I just finger press them–quick and easy!
Add a square to opposite ends of the brown rectangle.
Stitch, trim and press. Note: I didn’t trim the background fabric away. It makes it a bit bulky, but I also think it stabilizes it. Your choice! Do this with both brown rectangles.
Add the white rectangles to the sides of the 5-1/2″ square.
Now add the brown rectangles to the top and bottom, making sure the light areas match up. Voila! You have a spool block! The unfinished block is 7-1/2″ x 9-1/2″.
Now, here’s where the fun comes in. You can do all kinds of things with the center square. You could sew 5) 1-1/2″ x 5-1/2″ strips together to make it look like thread wrapped around your spool.
How about using random width strips on an angle to represent the thread? I foundation pieced this.
Do you save selvedges? This is a great place to use them!
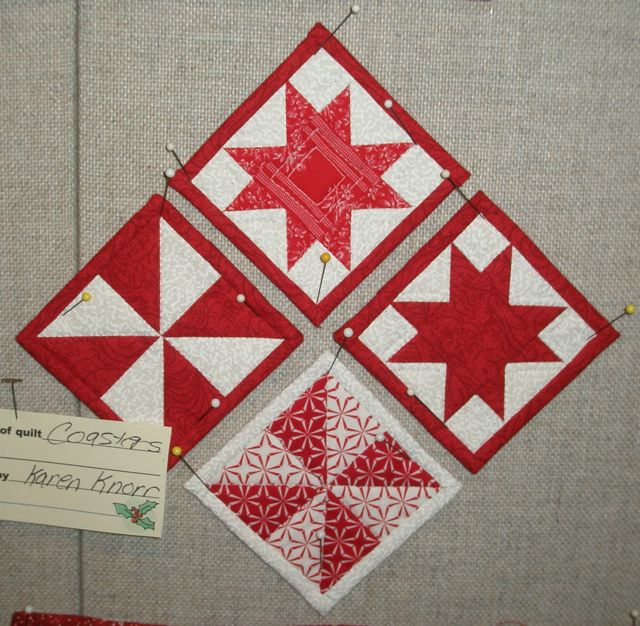
Here are the four sample blocks I made. I’ll play with setting possibilities when I have more finished.
They do make an interesting design when set next to each other. You get some secondary action going on!
I hope you’ll join us!
Of course you can’t visit Scotland without visiting castles!
This is Culzean Castle.
It had a fabulous clock tower.
It’s on the coast near Ayr.
The view up the coast was incredible!
I was fascinated by the erosion of some of the sandstone!
Probably the most famous castle in Scotland is Edinburgh Castle. It totally dominates the city and you can see what a strategic vantage point it had.
Our first evening in Edinburgh we took this sunset shot. It had been raining and the sun peeked through for just a few minutes and lit up the castle!
This is Cawdor Castle, still occupied by the Dowager Duchess of Cawdor, but she opens it in the summer for tours.
We spent more time touring the fabulous gardens than we did the castle!
This is the remains of Urquart Castle.
It was such a beautiful setting.
It was spread out over a very large area.
We climbed the tower and peeked through the windows.
I loved this tiny round one!
Stirling Castle. Do you see a trend with the weather while we were in Scotland? We were there for two weeks and saw very little blue sky!
This was a cool little ruin. It must have been a tiny castle–just perfect for a princess!
Here’s a castle we snapped from the bus.
Those castle builders really knew how to pick the best real estate!
Bob and I went to Scotland this summer. We wanted to see the town that his grandfather and great grandfather emigrated from. The town is Kilwinning. It is home to Kilwinning Abbey and the first Masonic Lodge, known as The Mother Lodge.
It was founded in 1140! Bob’s ancestors were members here.
We knocked on the door and stated our reason for being there and were given a very warm welcome and a tour of the lodge.
But most exciting was that they were having a parade the day we were there!
It was called an Orange Walk or Orange March.
I had never heard of the Orange Order, but it’s a fraternal organization.
There were lodges represented from all over Scotland and Ireland.
Their name comes from Prince William of Orange.
Each lodge carried a big banner.
It was so interesting to see the way the different groups were dressed.
Some just marched, some had drums and some had fifes.
And a few had drum majors like this guy, who was very good!
I think there were about 75 units in the parade.
It lasted over an hour.
There were a few women’s groups, and I loved their hats!
The most dominant feature of the town is the ruins of the Abbey.
You see it from everywhere.
After the parade, we wandered over to the Abbey.
We were delighted to find that the tower was open and you could go up with a guide. While we were stopped on the bell level, the bells chimed! I just about jumped out of my skin!
The view was fantastic!
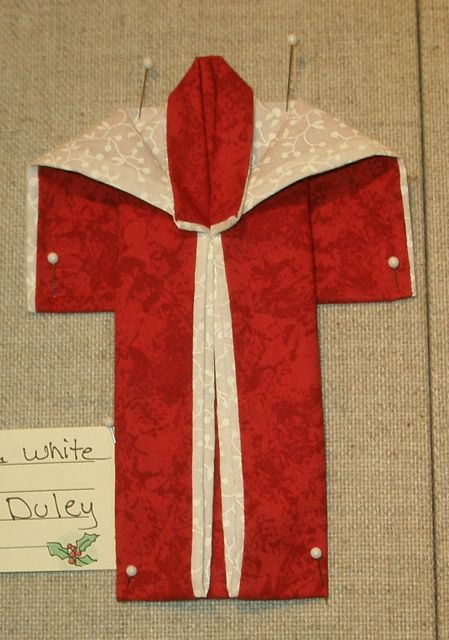
On the way down, I told the guide that Bob’s great-grandfather had been provost of Kilwinning (that’s like the mayor). She said, “You know that we have the robe he would have worn when he presided at meetings.” Well, we didn’t know, but what a thrill to see it and imagine all the times Bob’s great-grandfather donned it.
She told us there was even a street named for him…
…so we had to check it out, of course!
The food in Sweden is wonderful–and so beautifully presented.
This was our breakfast buffet one morning…

…on the island of Öland.

This was called “Summer Farm Hard Bread.”

Even the fast food/take-out is amazing.

We enjoyed some fine meals, like this tuna…

…this pasta…

…and these were the best French fries I ever tasted–crispy on the outside and creamy on the inside.

Picture yourself at an amusement park and going into a fast food restaurant for a bite to eat. You go up to the counter and order, someone slaps some food on your plate and you find a place in the crowded restaurant to sit down. Do you expect it to look like the photo below? Well, that’s what it was. And I have to say, the meatballs were some of the best I’ve ever had!

This was the coffee service in the same restaurant. Help yourself!

Berit served dessert outside while we were at her house.

We discovered rhubarb crisp with vanilla sauce was quite popular.

On, and in Visby we discovered a crepe shop! It doesn’t get much better than crepes served with ice cream AND whipped cream!

It isn’t midsummer without a strawberry whipped cream torte!

In Sweden, waffles are dessert.

I showed you in an earlier post the pastries offered at McDonald’s!

Well the next THREE photos are in a 7-Eleven!


One of my favorite signs is “Konditori,” which means bakery.

The selections are always incredible.

Besides sweet rolls, the breads are wonderful.

Sweden has the best strawberries, and when they’re in season, they are everywhere, like on these tarts at the bakery in the NK Department Store.

When you graduate from high school in Sweden, you wear a cap like the one shown below.

So it was no surprise when we saw cakes baked to look like the graduation caps!

I thought they were so fun.

Of course, I’m very fond of the traditional Princess Cake–the green ones are the most traditional.

And you see a lot of them in bakeries around Sweden.

But now there’s a new cake–the Princess Estelle cake…

…named for Sweden’s newest royal, baby Estelle.