• 07Sep
    Categories: brilliant ideas, Everything!, quilting Comments Off on Nine-Patch Block Swap

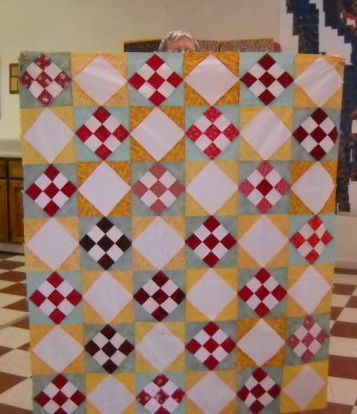
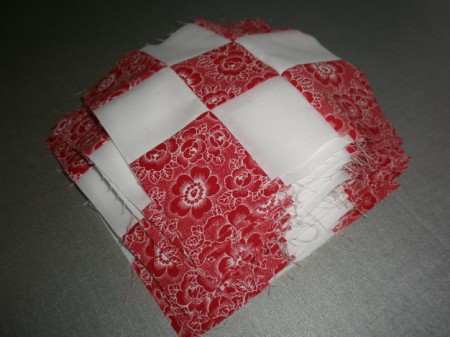
    About six months ago, the Peninsula Quilt Guild did a Nine-Patch Block Exchange.  The only rules were that the blocks had to be red-and-white and 6″ finished.  Here’s the stack I made.

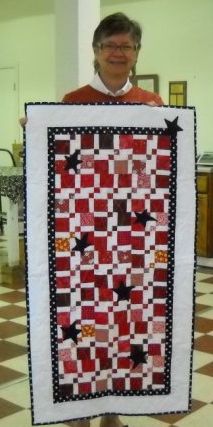
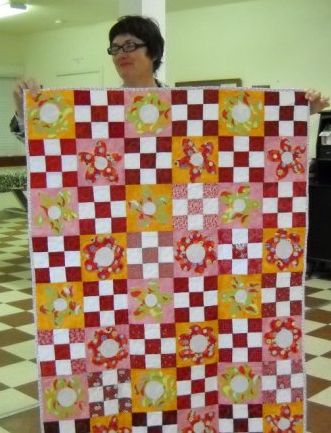
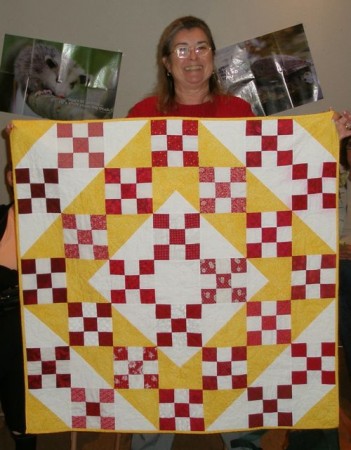
    We each made 24 blocks and swapped them, so we all ended up with the same blocks.  But, it’s what people did with their blocks that’s incredible!

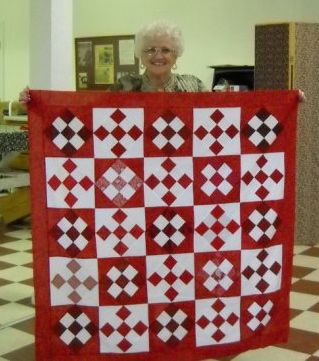
    Ethel turned hers on point and framed half with red and half with white.

    Cherry did a version of the Disappearing Nine-Patch.

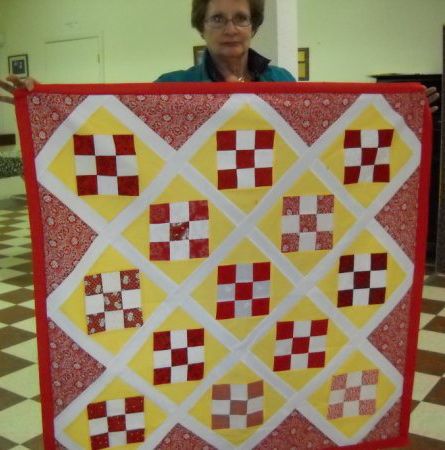
    Cortne` framed hers with yellow and set them on point….

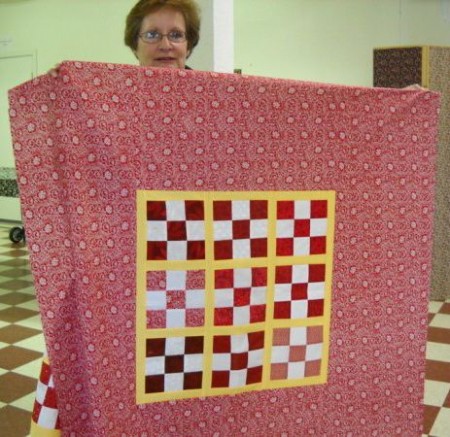
    …and used her extra blocks on the back!

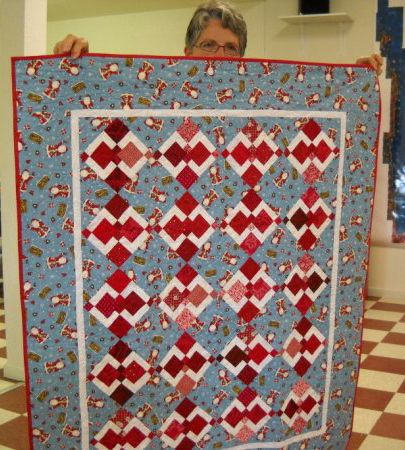
    I think that’s Glennys hiding behind this quilt.  She made her quilt bigger by framing her blocks and adding pieced setting blocks.

    Jan also slashed her blocks.  I love the appliqued black stars!

    Renee used alternate appliqued blocks.

    And don’t you love Ann’s setting with the yellow and white?

    It’s similar to this quilt which I had in my photo archive.

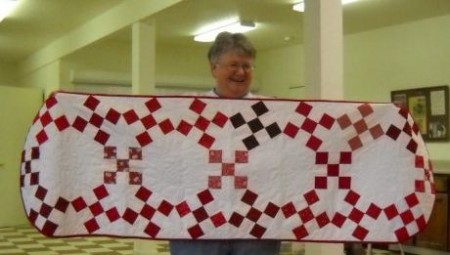
    And Lynda made a table runner using a Jack’s Chain setting.

    Way to go ladies!

  • 01Sep
    Categories: brilliant ideas, Everything!, quilting Comments Off on Nine-Patch Gallery

    So, did you do it?  Did you join the Nine-Patch Project and make a Nine-Patch block everyday in June, July and August?  I have to admit that I did mine in spurts, but I love the result.

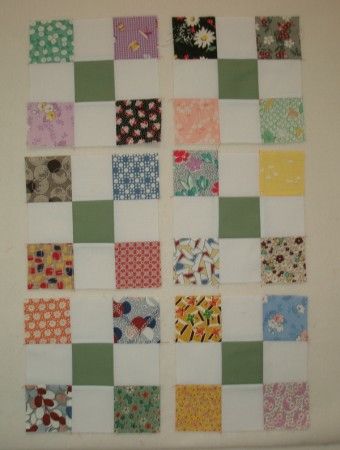
    I’m going to cut them up…..

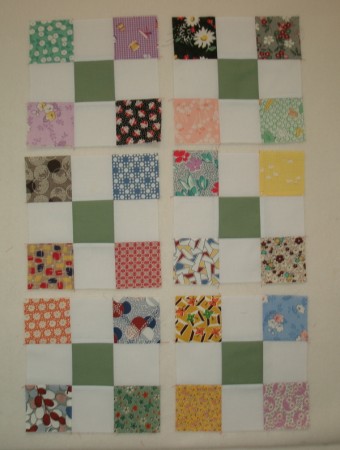
    …and arrange them like this.  You can see different arrangements for the Disappearing Nine-Patch in an earlier blog post.

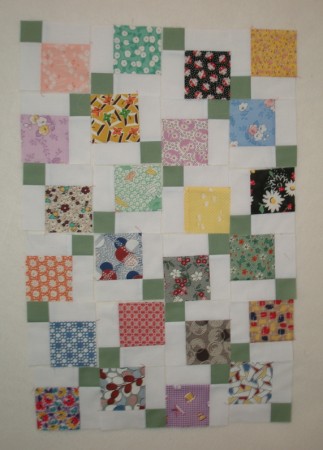
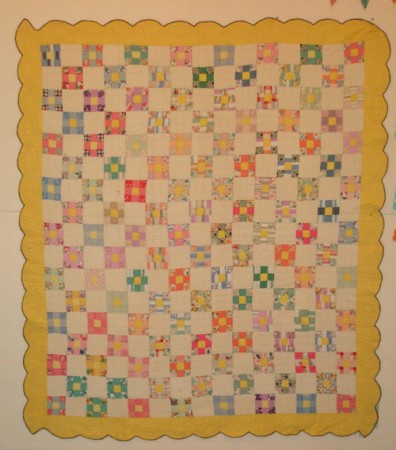
    I just went through my photo files.  Here are some other ideas for Nine-Patch blocks.  This is a vintage quilt I own.

    I recreated it for an issue of Designers’ Quarters Magazine.  In this version, I kept the centers all one color, but turned the blocks on point.

    I love the Outline Stripe I used for the binding.

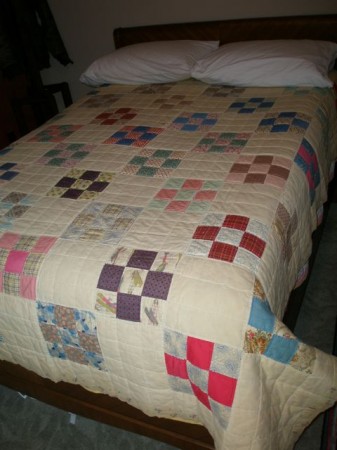
    This is the quilt I got from my Grandma Ikey when I got married in 1974.  It’s just a simple Nine-Patch with muslin setting squares, but it has a flannel backing and kept me warm on lots of cold nights!

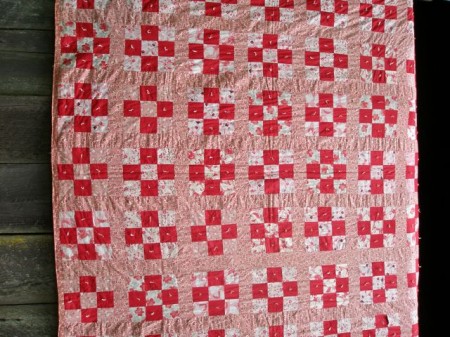
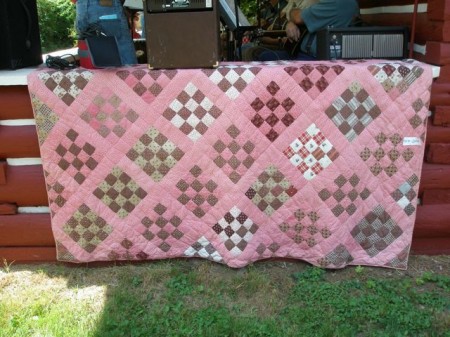
    I took this picture of a vintage Nine-Patch at Pomeroy Living History Farm.

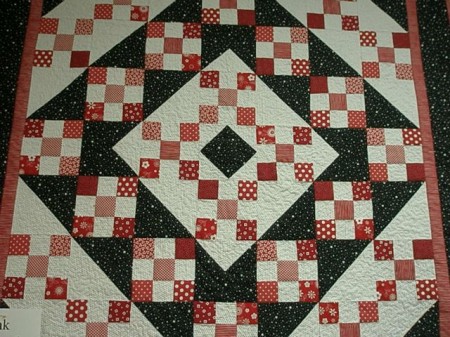
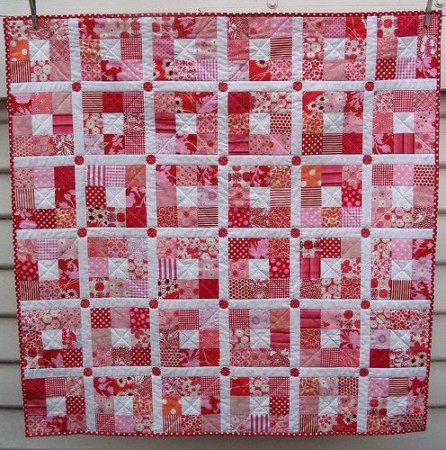
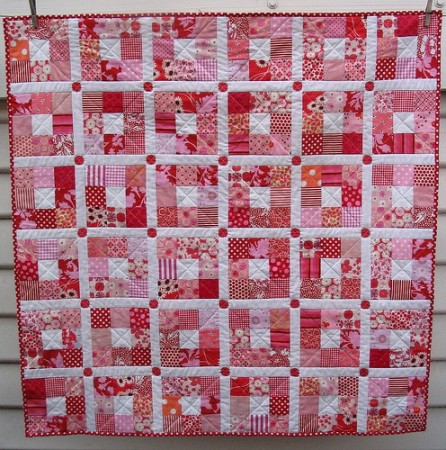
    Here’s a modern red and white Nine-Patch that I found of the web.

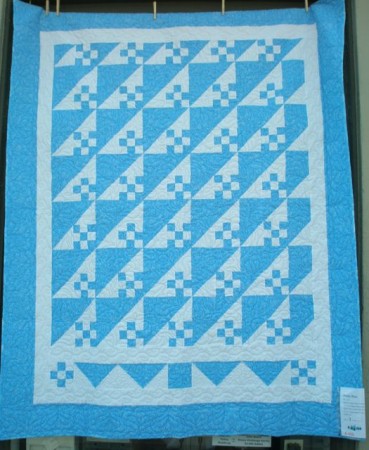
    I took this photo at the Eureka Quilt Show in Montana last month.  I think it’s really cool.

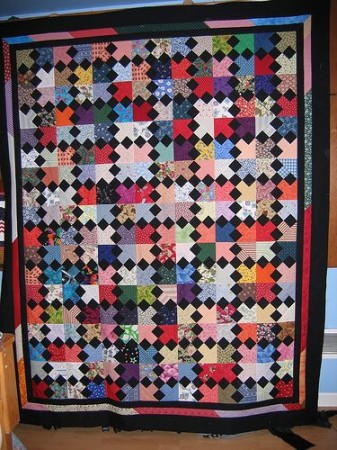
    How cool is this?  Black Nine-Patches with coordinating backgrounds and triangles to put them on point.

    I believe this quilt is a part of the collection at the Latimer Textile Center.  What a great combination of Nine-Patches and Rail Fence blocks.

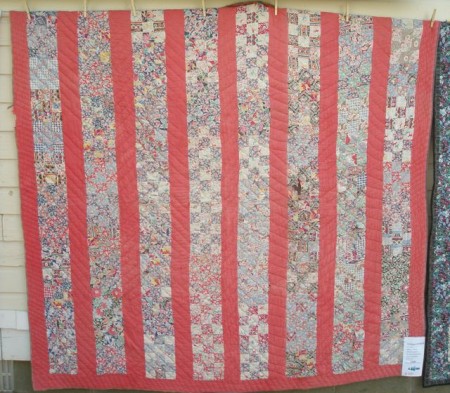
    This is a well-loved vintage Nine-Patch from the Eureka Quilt Show.  It’s interesting how the sashing is only vertical.

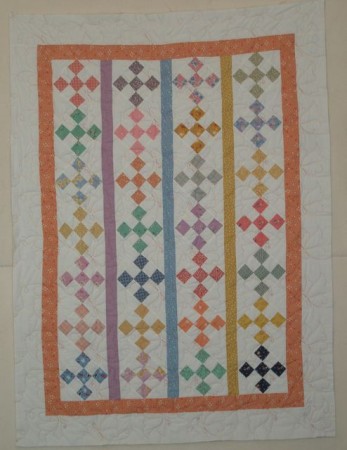
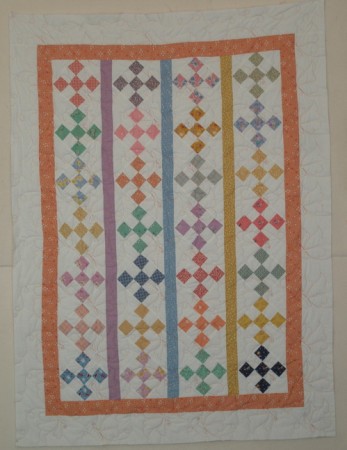
    And speaking of vertical sashing, look at this cute baby quilt made by Marla J.  I love her use of colors and how she set the blocks on point.

    Another vintage treasure from Pomeroy House.  This one is actually a 16-Patch, but I couldn’t resist including it.

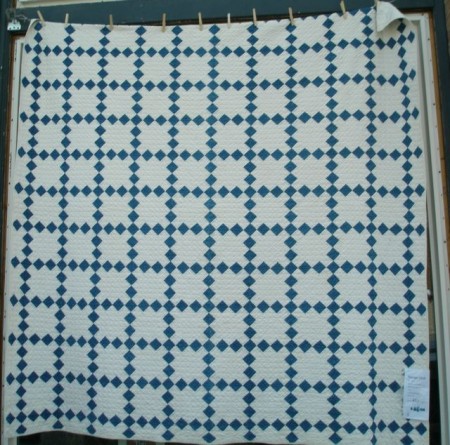
    And there’s something to be said for two color quilts.  These Nine-Patch blocks set on point with plain setting squares makes a Single Irish Chain Quilt.

  • 19Jun
    Categories: brilliant ideas, Everything!, quilting Comments Off on Bonus Nine-Patches

    Do you want to make a pile of nine-patch blocks with almost no effort?  Then do it using your squares as “leaders and enders!”  That’s how Jacque made all the nine-patches for this quilt.  Here’s what she wrote me in an email:  I made the 130 9-patches in no time at all while working on other projects.

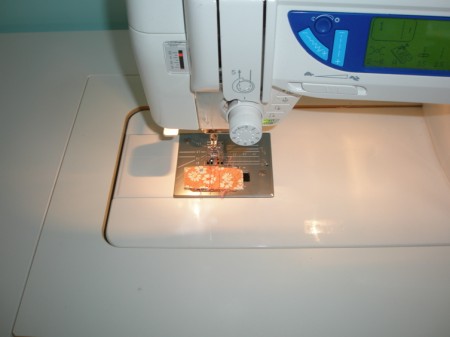
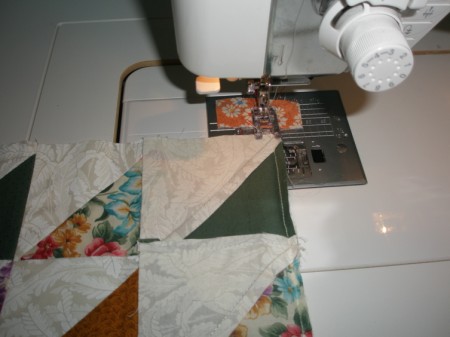
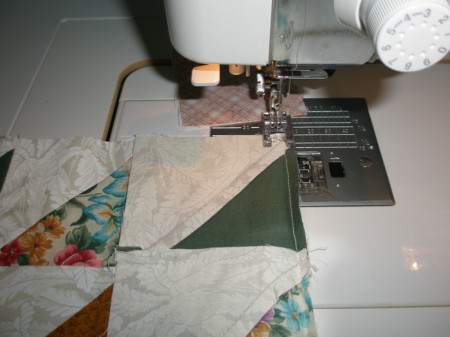
    Okay, so how did she do it?  She used her squares as “leaders and enders.”  A lot of us, when piecing quilts, use a “leader”–a little piece of fabric that we run under our needle before we start.  Like this…

    That way, when we start piecing our block, we don’t worry about long threads that need to be trimmed or losing the corner of the block in the throat plate of our machine.

    You might do one block or string piece a whole bunch of blocks, and when you come to the end, you use another little strip of fabric as your “ender.”

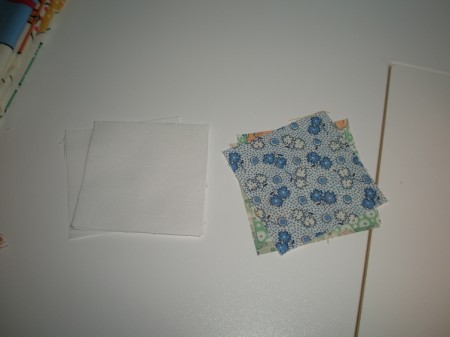
    Perfect for string piecing, but it doesn’t get you any Bonus Nine-Patches.  SO, instead of using scraps for your “leaders and enders,”  have a pile of squares next to your machine.

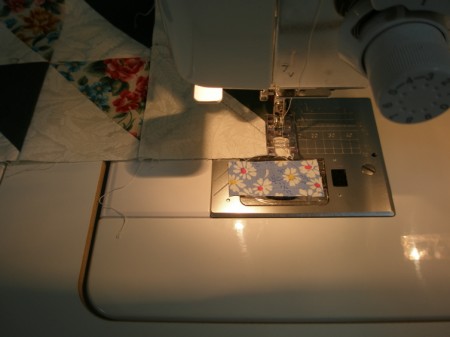
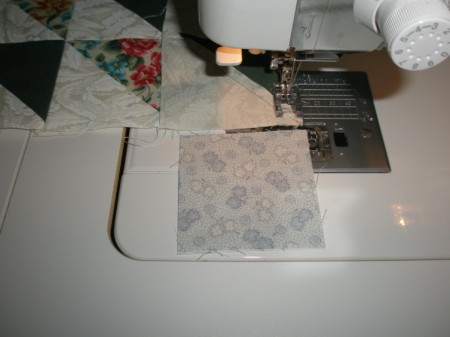
    When you’re working on other projects, and you need a “leader” or “ender,” pick up two squares and use them instead of a scrap.

    Do your regular piecing as usual.

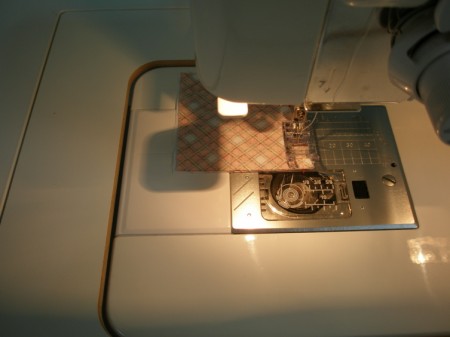
    And end with two more squares–your “ender.”

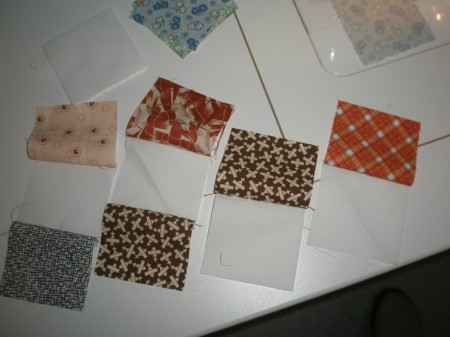
    Before you know it, you’ll have a pile of components ready for your Nine-Patches!

    I once made all the blocks for a Jewel Box quilt using this method.

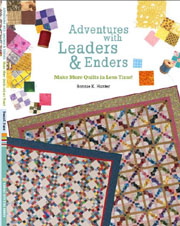
    Jacque got her inspiration from the book Adventures with Leaders and Enders by Bonnie Hunter.

  • 09Jun
    Categories: brilliant ideas, Everything! Comments Off on Disappearing Nine-Patch

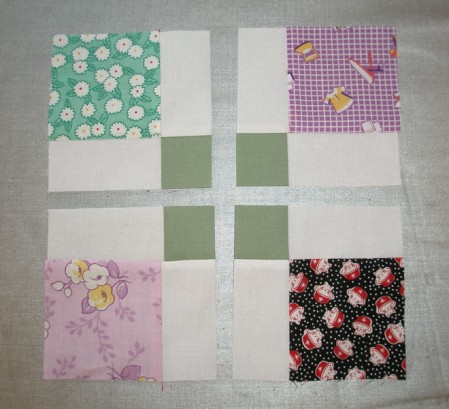
    Does this look like a Nine-Patch???

    Or this?

    How about this??

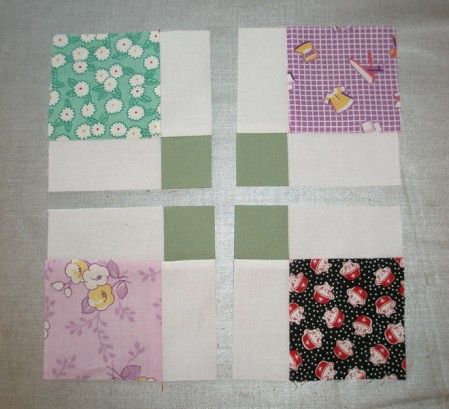
    All these layouts were done with these six blocks.

    After I cut them in half!

    Your center blocks don’t have to be solid, or even all the same color.  I just did that to make the illustrations clearer.

    I hope you’re having fun with the Summer Nine-Patch Project.

    Sign up for my email newsletter at annalena.com.

  • 03Jun

    I just had an email from one of my newsletter subscribers reminding me of a speedy way to make nine-patches.  I’d seen it done years ago, and forgotten all about it.  With this method, you get two nine-patches at a time.  How perfect for our Summer Nine-Patch Project! Now you can make two blocks a day faster than making one block the traditional way.  That means you’ll either end up with twice as many blocks, or you’ll only have to sew every other day!  Thanks, Peggy, for the reminder.

    Here’s a tutorial on how to make the Two-For-One Nine-Patch blocks.  The example is for a 9″ finished block, but at the end of the tutorial, I’ll give you the formula (and chart) so you can make any size block you want.

    1.  Layer a light and dark fabric, right sides together, and cut a 10-1/2″ square.
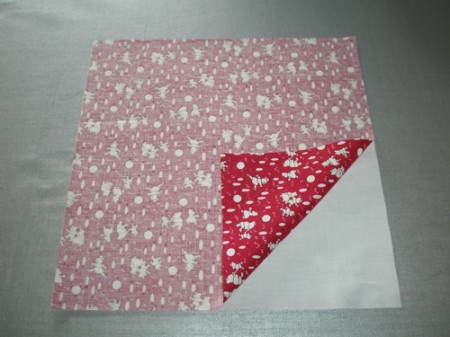
    2. Using a 1/4″ seam allowance, join the squares together on two opposite sides.
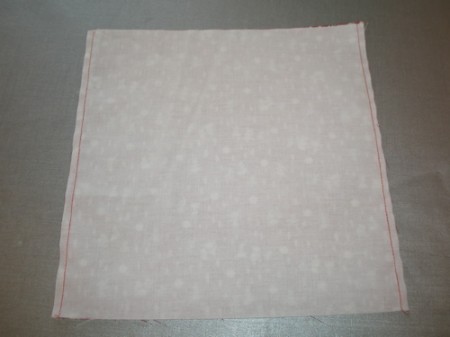
    3. Take the to your cutting board and measure in 3-1/2″ from one stitched side.  Cut.
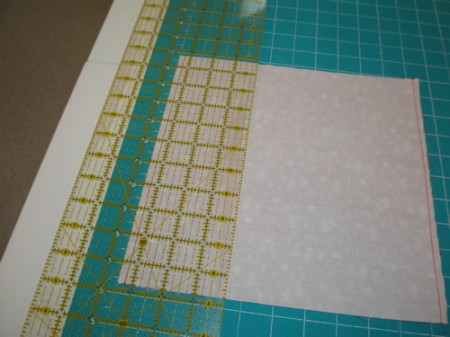
    4. Measure in 3-1/2″ from the other stitched side and cut.  You will have two stitched segments and two unstitched strips.
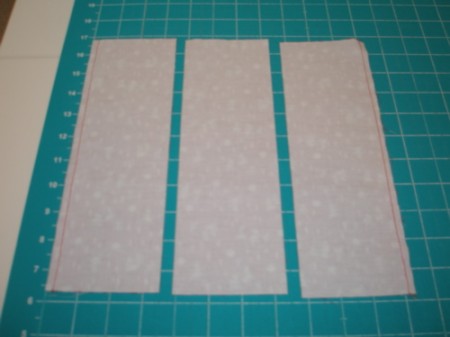
    5. Press the stitched segments toward the dark fabric.  Add a contrasting strip to one side of each block.
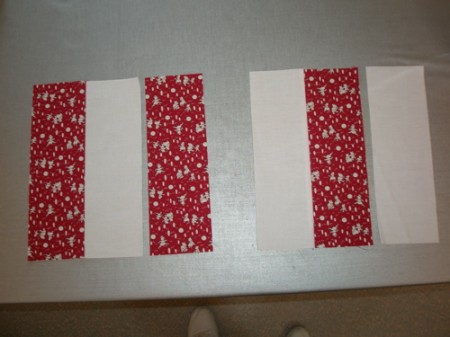
    6. Stitch and press toward the dark fabric.
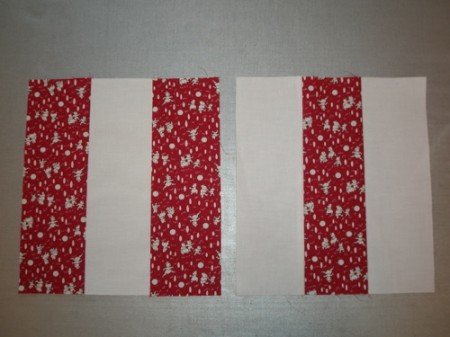
    7. Place the two segments right sides together with the seams running in the same direction.  If you pressed everything toward the dark fabric, the seams will nest together.
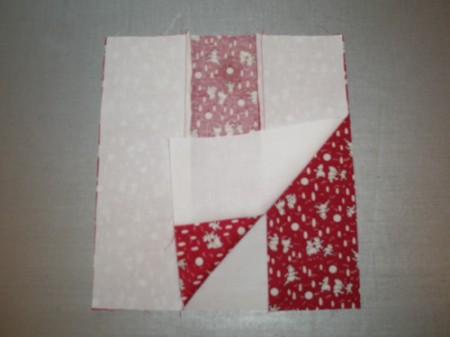
    8. Now stitch together across the previously made seams.  Stitch both opposite sides.
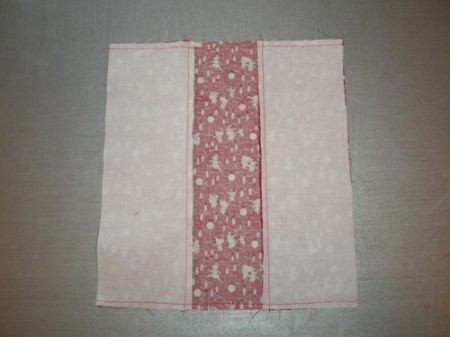
    9. Cut 3-1/2″ from each seamed edge.
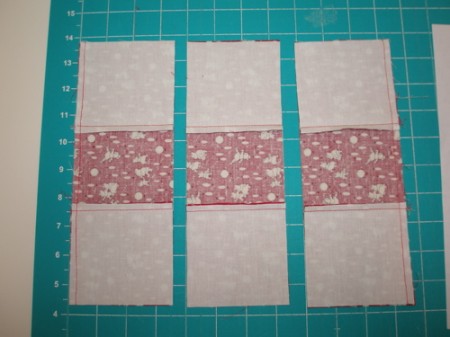
    10. Press toward the side with the most dark fabric.  Add the unstitched strips to the pieced segments, dark to light.
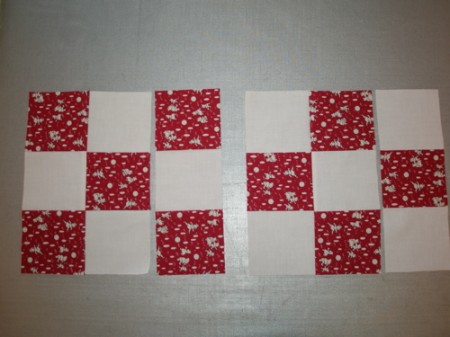
    11. Voila!  You have two mirror image blocks!
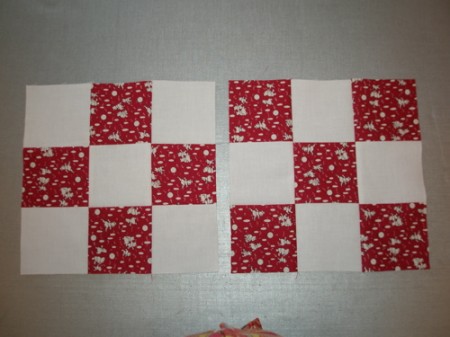
    Here’s the formula for cutting the squares.  Take the size of the strip that you would cut for a regular nine-patch block and multiply times 3–it’s that simple.  In our example, we would have cut strips 3-1/2″, so 3-1/2″ x 3 is 10-1/2″, the size of our square.

    Here’s a chart to make it a little easier.  Block sizes given are for finished blocks.

    For 3″ blocks, start with a 4-1/2″ square

    For 4-1/2″ blocks, start with a 6″ square

    For 6″ blocks, start with a 7-1/2″ square

    For 9″ blocks, start with a 10-1/2″ square

    For 12″ blocks, start with a 13-1/2″ square

    Have fun and be sure to join the Facebook group and post pictures of your blocks!

    Sign up for my email newsletter at annalena.com.
  • 01Jun
    Categories: brilliant ideas, Everything!, quilting Comments Off on The Summer Nine-Patch Project

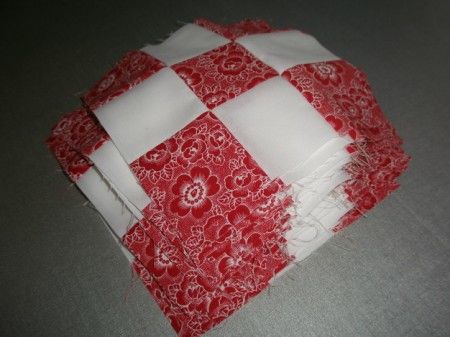
    If you’re like me, it can be hard to find time to sew in the summer when there are so many distractions.  Well, this summer, why don’t you join The Nine-Patch Project?
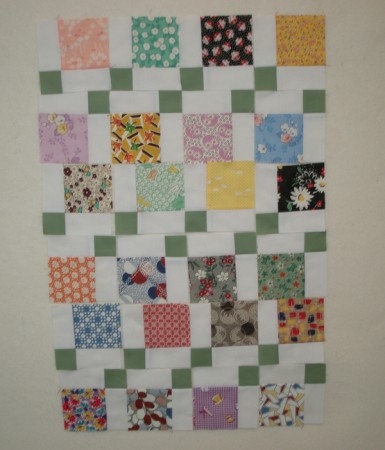
    What’s the Nine-Patch Project?  There really are no rules.  It’s just a commitment to make one nine-patch block each day this summer!  If you do this from June 1 through August 31, you’ll have 92 nine-patch blocks at the end of summer!

    What size should they be?  Make your nine-patches any size you want.  Here are the sizes of squares to cut for various sized blocks:

    Cut 1 1/2″ squares for 3″ Blocks
    Cut 2″ squares for 4 1/2″ Blocks
    Cut 2 1/2″ squares for 6″ Blocks
    Cut 3 1/2″ squares for 9″ Blocks
    Cut 4 1/2″ squares for 12″ Blocks

    What fabric should I use?  Anything goes.  Use all the same fabric, use up strips and squares from your stash.  Surely you must have some.  You can be color controlled or completely scrappy.  You can do light/dark, dark/light, you can use two colors in each block or you can use nine different fabrics in each block.  It’s up to you.

    What if I miss a day?  Make two the next!  Miss a week, make seven next week.  C’mon, they’re nine-patches.  Nothing could be easier!  This is a no-stress, anything goes project meant to be nothing but fun.

    There’s even a Facebook page where you can sign up to join the fun.  9-Patch Project at Facebook here.  You can post pictures of your blocks and be inspired by the pictures others post.  Several of my web  friends are involved in this project, and in the end, we’ll give you some ideas for setting your blocks together.  Don’t overlook the power of the nine-patch!

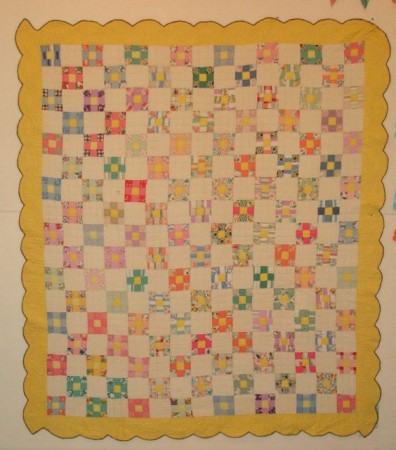
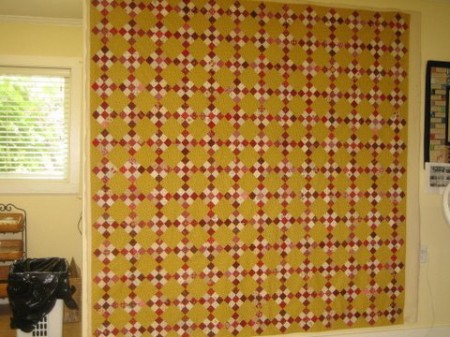
    Here’s a vintage nine-patch quilt that’s in my collection.  Very scrappy, but every center is yellow.

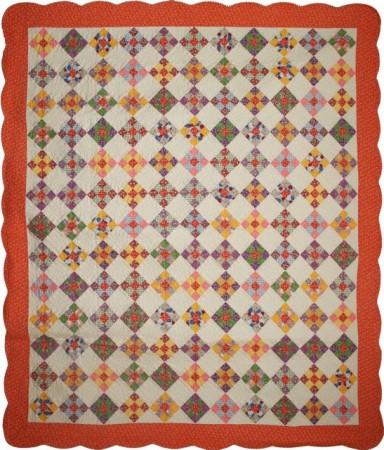
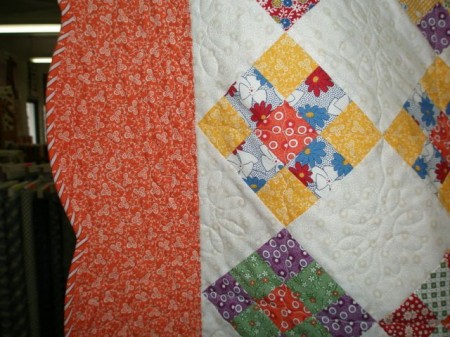
    Here’s my version of the above quilt, just using orange for my centers and setting the blocks on point.

    Here’s a controlled scrappy that I saw on the internet.  Again, all the centers are the same.

    Here’s another on-point version made by Marla.

    I sure hope you’ll join in the fun!