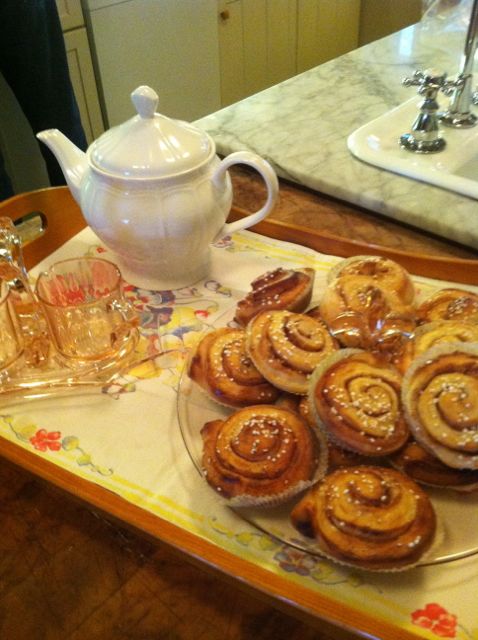
What’s not to love about a country that has a designated Cinnamon Bun Day!?! October 4 is Kanelbullens Dag – Cinnamon Bun Day! As a Swedish-American, I feel compelled to celebrate my heritage! 😉

If you want to celebrate your Swedish heritage, or just be a Swede for a day, I thought I’d share my Cinnamon Bun recipe with you. I make my dough in my bread machine, using the “dough” setting, but you could do it the old-fashioned way.
Bread dough ingredients
- 1-1/4 cups milk – room temperature
- 3/4 cup melted butter
- 1/2 cup sugar
- 1/2 teaspoon salt
- 1-1/2 teaspoon ground cardamom
- 2-1/4 teaspoons dry yeast (1 packet)
- 4 – 4-1/2 cups flour
Put all these ingredients in your bread machine and set it to the “dough” setting. Shortly before it’s done, gather/prepare the following ingredients.
Filling ingredients
- 1/4 cup melted butter
- 1/3 cup sugar
- 1 tablespoon cinnamon
- 1 egg
- pearl sugar
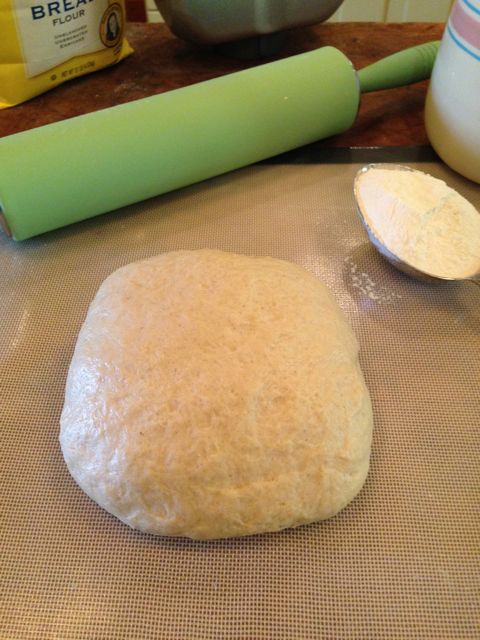
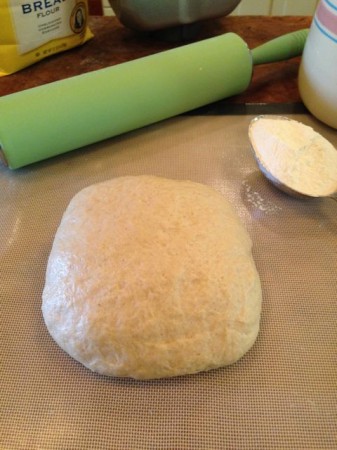
When the dough in the bread machine is done, turn it out onto a floured surface, punch it down and knead until smooth and shiny. Let rest a few minutes.
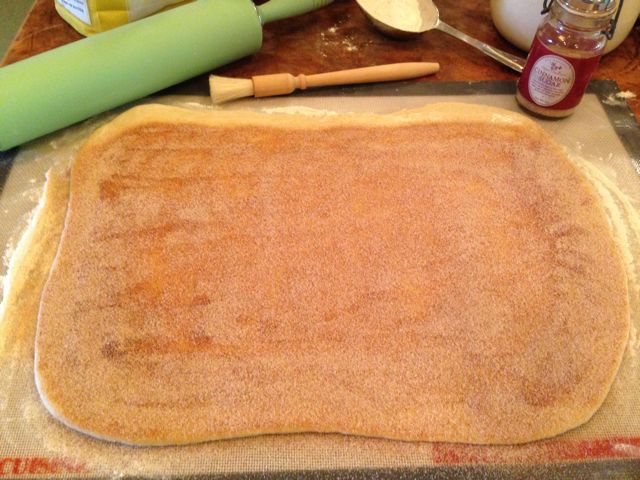
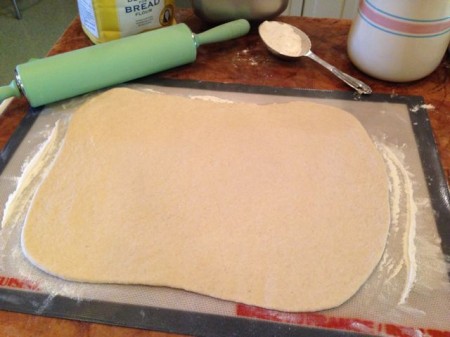
Roll dough into a 12″ x 18″ rectangle.
Brush with melted butter. Combine sugar and cinnamon; sprinkle over the dough.

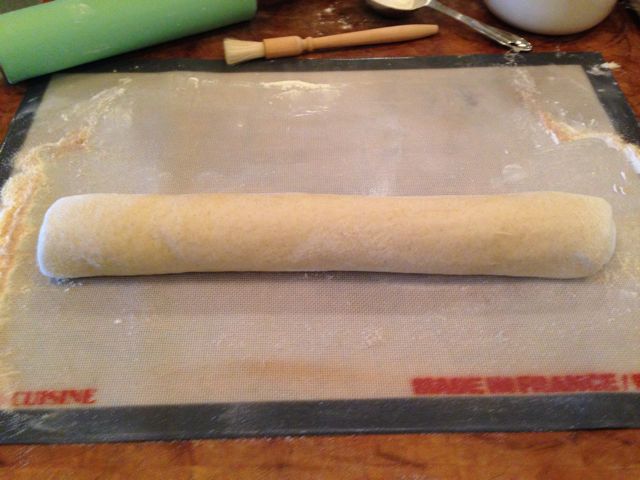
Beginning with the long side of the rectangle, roll up jelly roll style.

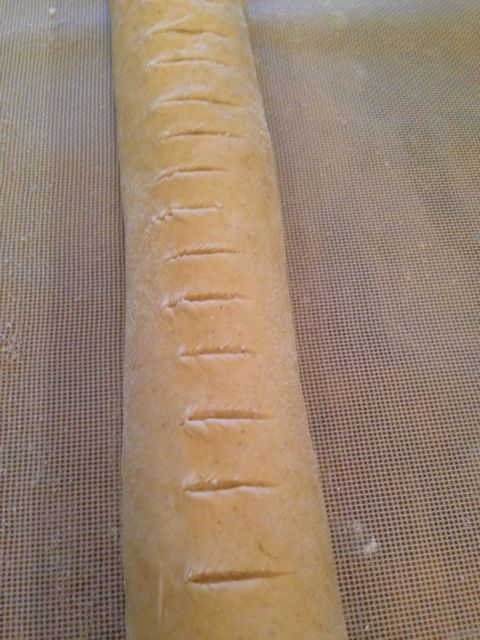
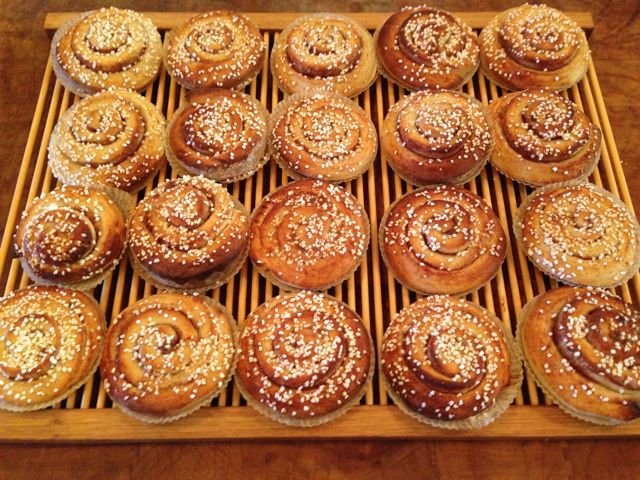
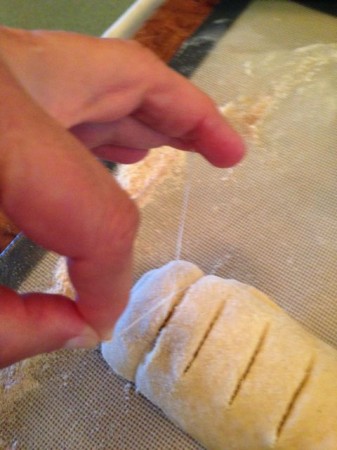
At this point, it’s time to cut the dough into 20 slices – or something close to that. I use a serrated knife to mark the top of the roll.

You can use a sharp knife or use a length of dental floss to do the cutting. If you use dental floss, slide it under roll, cross the ends and pull to make a clean slice! (I learned this tip from Bob, who used to watch his grandmother do this using a piece of string!)
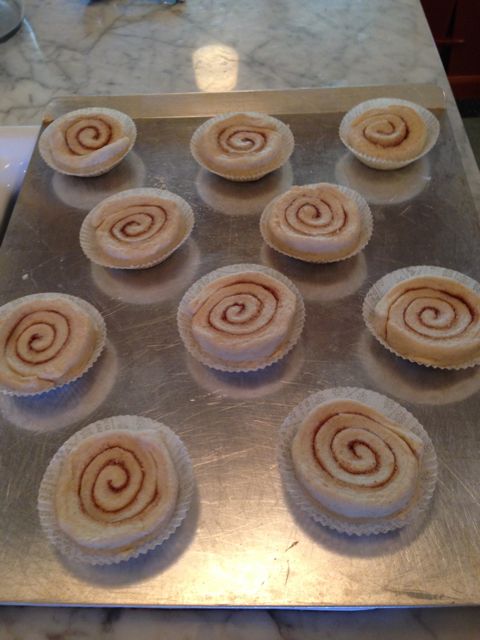
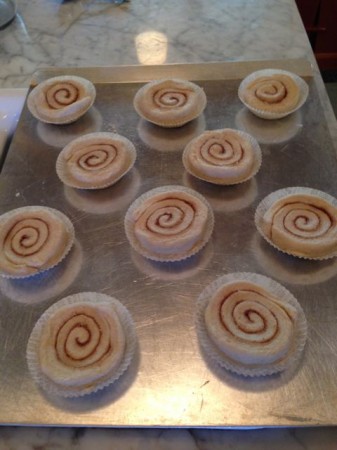
Swedish cinnamon buns aren’t crowded into a single pan, but baked in baking papers, individually, on a baking sheet. You can use cupcake papers for this, but they are a little deeper than needed. You should be able to find baking papers at a kitchen store.
Place each slice into a baking paper and place on a baking sheet. Cover and let rise until double—about 45 minutes.
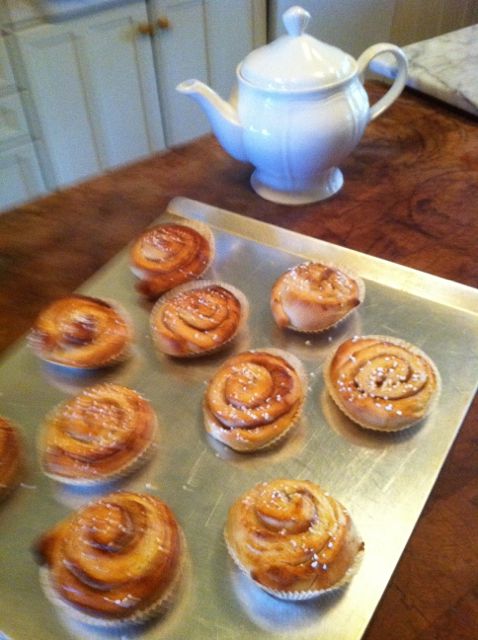
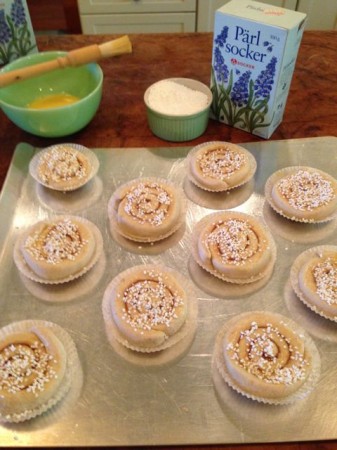
Make an egg wash with 1 egg and 1 tablespoon of water. Brush rolls with egg wash and sprinkle with pearl sugar. Don’t know about pearl sugar? It’s a coarse, dense sugar available at specialty food/kitchen shops or Ikea!
Bake at 425º for 7 – 10 minutes.
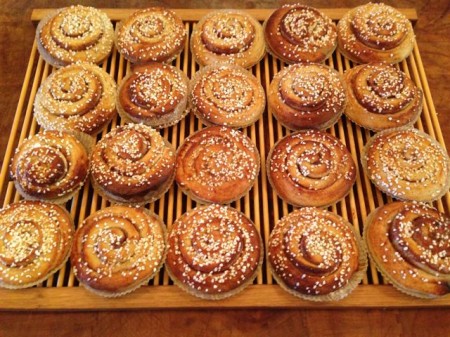
Enjoy!