“Sju sorter kakor” – that’s Swedish for “seven kinds of cookies.” Seven kinds of cookies is a centuries old tradition in Sweden. Any hostess worth her salt always offers her guests seven kinds of cookies.

Now I love to make cookies, but it’s a lot of work to make seven different batches of cookie dough. Last Christmas when I was in cookie making mode, I noticed how similar all the cookie doughs were for the different cookies I was making. I wondered if I could make one big batch of dough and turn it into seven different kinds of cookies. The hardest part was narrowing my list down to just seven! Once I’d decided on the seven cookies I would do, I mixed up the dough and began the experiment. I ended up with over 13 dozen delicious cookies. Here ere are the results.
Basic Cookie Dough
1 lb butter at room temperature
1 cup sugar
2 eggs
1 tsp vanilla
1 tsp salt
5 – 5 1/2 cups flour
In a large bowl, cream butter and sugar until light and fluffy. Add eggs, vanilla and salt and beat until incorporated. Slowly add flour until you have a soft dough. It’s better to have it a little soft, to make it easier to incorporate the additional ingredients. Turn dough out onto a lightly floured board and knead a few times until smooth. Form into a large log 10 1/2″ long.
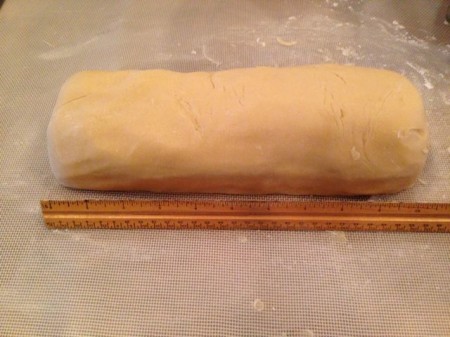
Make a mark along the top every1 1/2″.
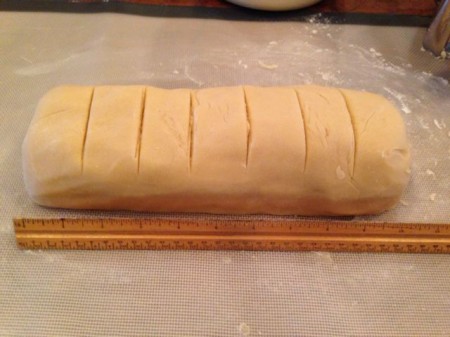
Cut the dough into seven pieces and set on a lightly floured Silpat or piece of parchment paper.
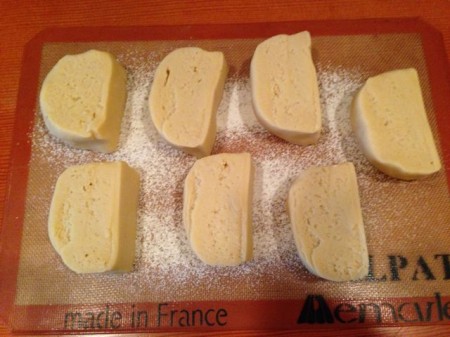
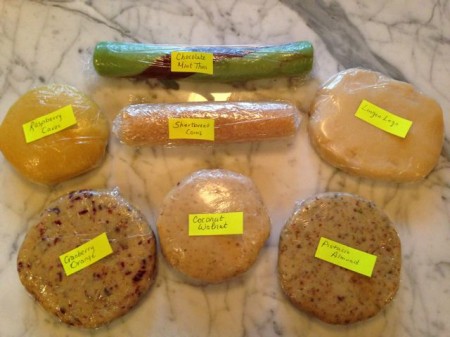
Now it’s time to add additional ingredients to the dough or shape it for seven different kinds of cookies! As you’re working with the different doughs, you might want to add more flour if you think it’s too soft—but not too much. The dough will firm up in the fridge. I labeled my doughs after I wrapped them so I didn’t get confused later.
1. Raspberry Caves – To one piece of dough add 2 tablespoons fresh orange zest. This adds additional moisture to the dough, so work in 2 – 3 tablespoons of flour until dough feels smooth. Form into a ball, press to flatten a bit, wrap in plastic wrap and refrigerate.
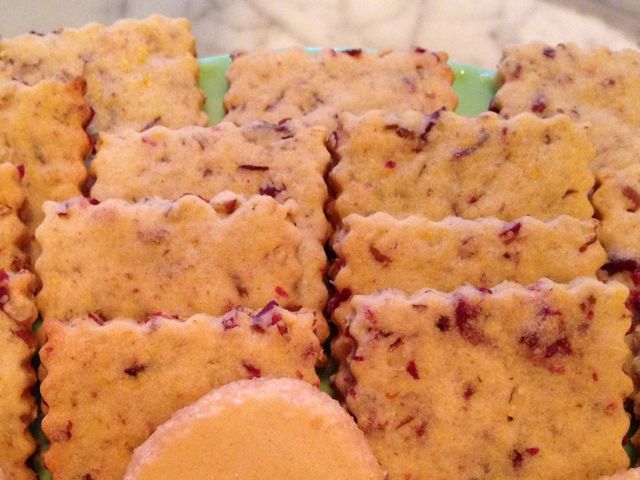
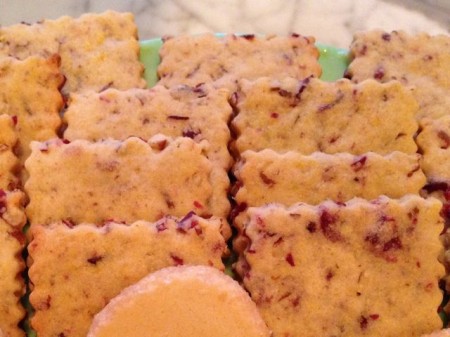
2. Cranberry Orange Squares – To one piece of dough add 1 tablespoon fresh orange zest, 1/4 cup finely chopped dried cranberries and 1/4 cup finely chopped pecans. Hint: Add a tablespoon of flour to the dried cranberries to keep them from sticking to the knife when choppin. Add additional flour to the dough if necessary. Form dough into a disk, wrap in plastic wrap and refrigerate.
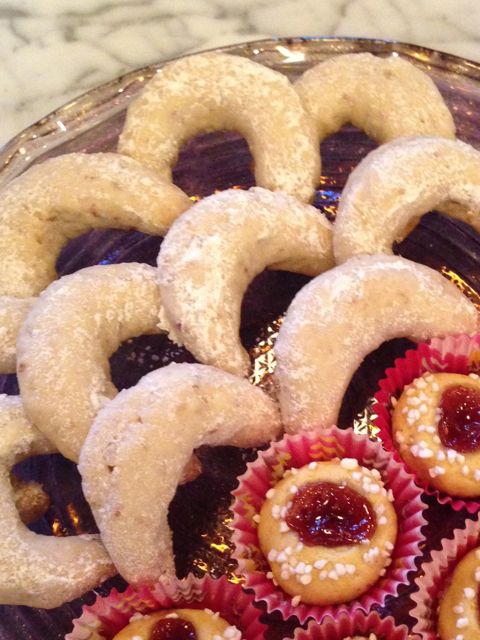
3. Coconut Walnut Crescents – To one piece of dough add 1/4 cup finely chopped walnuts and 1/4 cup finally chopped coconut. Form into a ball, press to flatten a bit, wrap in plastic wrap and refrigerate.
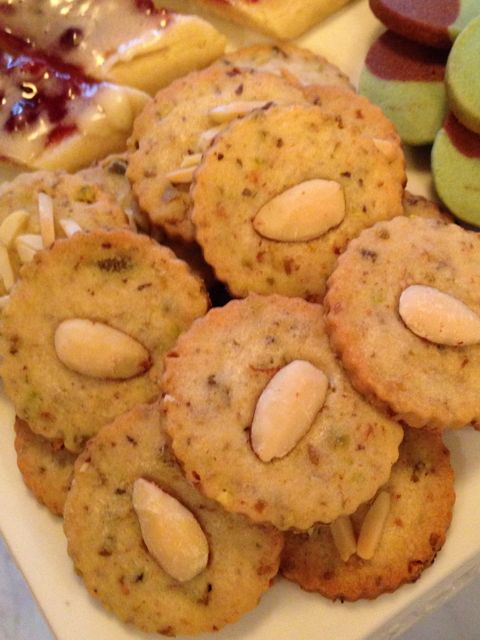
4. Pistachio Almond Cookies – To one piece of dough add 1/4 cup finely chopped pistachios and 1/4 teaspoon almond extract. Form dough into a disk, wrap in plastic wrap and refrigerate.
5. Chocolate Mint Thins – Divide one piece of dough in half. To the first half add 2 teaspoons of cocoa powder. Once cocoa powder is incorporated, roll dough into a log 6″ long. To the second half add 1/4 teaspoon peppermint extract and 2 – 3 drops of green food coloring. Form into a log 6″ long. Wrap the two logs around each other and roll a bit more until the log is about 8″ long. Wrap in plastic wrap and refrigerate.
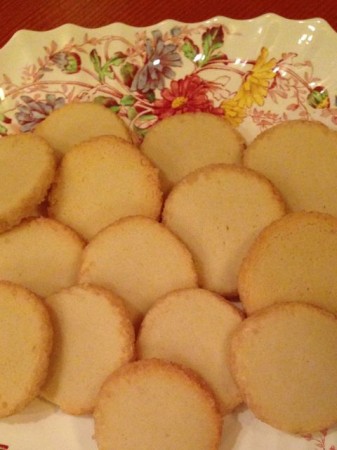
6. Sanded Shortbread Coins – Roll one piece of dough into a log 6″ long. Roll in 2 tablespoons of sanding or colored sugar. Wrap in plastic wrap and refrigerate.
7. Lingonberry Logs – Shape the last piece of dough into a ball, flatten slightly, wrap in plastic wrap and refrigerate.
At this point you can start making your cookies or leave the dough(s) in the refrigerator for up to three days.
When you’re ready to bake, preheat the oven to 350 degrees. All the cookies will be baked at this temperature. I use Silpats on my cookie sheets. If you don’t have Silpats, use parchment paper.
Raspberry Caves – This is one of my favorite Swedish cookies. If you want to make a big batch of just these, I’ve blogged about it before. You can find the recipe here. Divide the dough into 18 pieces. Roll each piece into a ball and place into a small fluted paper. Brush the top of each cookie with a little cream. Sprinkle with pearl sugar. With the end of a wooden spoon make a hole in each ball. Put a small amount of seedless raspberry jam in each indentation. Bake for 15 minutes.

Cranberry Orange Squares – Roll the dough into a 7″ x 10 1/2″ rectangle. Cut into 24 1 3/4″ squares. Bake for 10 minutes.
Coconut Walnut Crescents – Divide dough into 12 pieces. Roll each piece into a rope about 4″ long that is a bit thicker in the middle than on the ends. Form into a crescent. Bake for 10 minutes. Let cool about 2 minutes and press tops into powdered sugar.

Pistachio Almond Cookies – Roll dough 1/4″ thick. Cut with a 1 3/4″ round cookie cutter. Press a blanched almond into the top of each cookie. Bake 10 minutes. Makes 24.

Chocolate Mint Thins – Cut dough into scant 1/4″ slices. Bake 10 minutes. Makes 36.

Sanded Shortbread Coins – Slice log into 1/4″ slices. Bake 10 minutes. Makes 24.
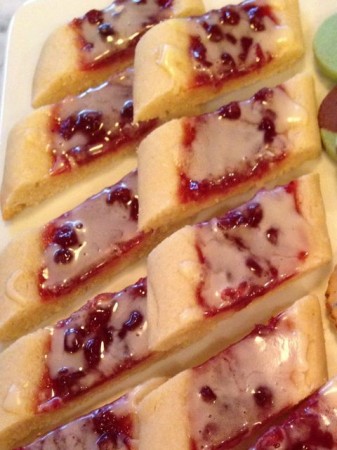
Lingonberry Logs – Divide dough in half. Roll each into a 9″ log. Press a shallow trough down the length of the log. Fill with lingonberry jam. Bake 15 minutes. While cooling, make a glaze from 1/4 cup powdered sugar, 1/2 teaspoon almond extract and 1 – 2 tablespoons of cream. After the cookies have cooled for 10 minutes, drizzle with glaze and cut into 1″ pieces on a slight diagonal. Makes 20.
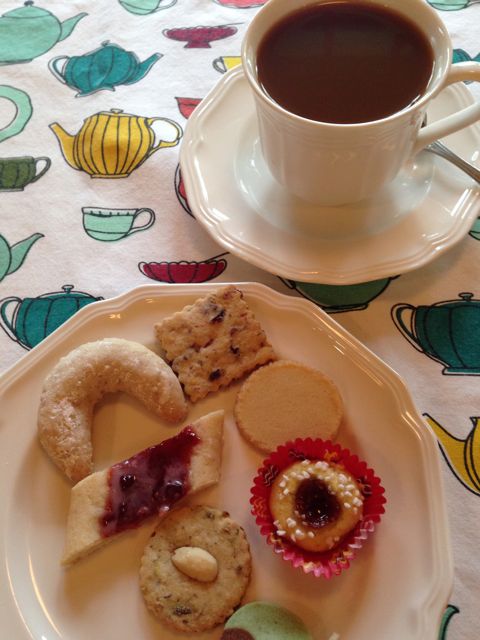
Brew up some strong coffee and enjoy!