

It’s time to start another A-Quilt-Block-A-Day project. This time, it’s the versatile Flying Geese block!
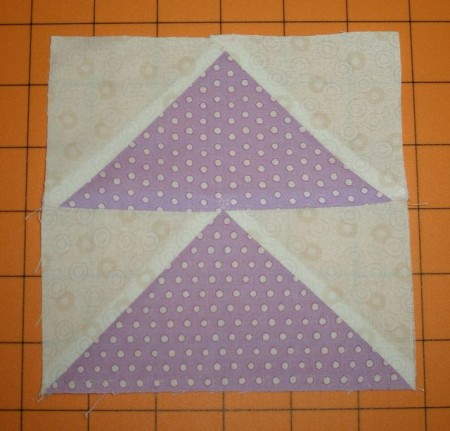
Oh, did I just hear groaning? At one time, I might have groaned right along with you. I used to use a couple of different methods to make flying geese–the Sew-and-Flip and the traditional cutting of two sizes of triangles. No matter how I tried, my goose always looked like he had one shoulder hunched up in the air.
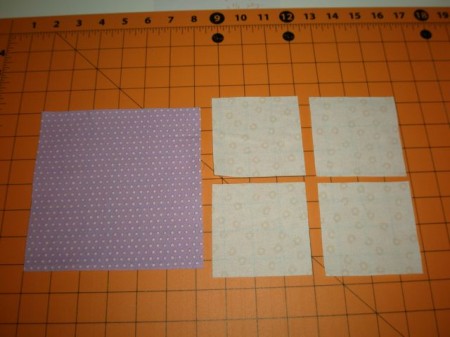
Then I discovered a method where you use one large square and four small ones, do some stitching and slicing, and end up with four perfect geese every time! Now you can make perfect flying geese, too! These geese are going to finish 2-1/2″ x 5″, but I’ll give you a formula at the end so you can make them any size you want.
Here’s what you do:
Cut one 6-1/4″ square of “goose” fabric and four 3-3/8″ squares of sky fabric.
Did I hear more groaning about having to cut something that ends in 3/8″? Here’s a little trick. Get a role of blue masking tape, also known as painter’s tape. Roll off a chunk and put it on your ruler at the 3-3/8″ mark.
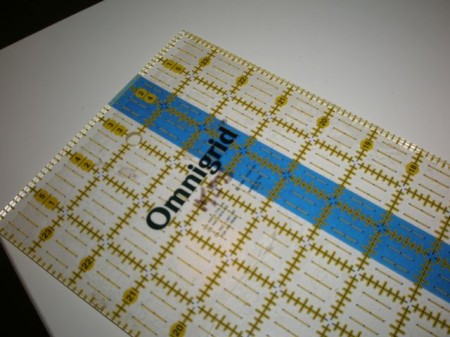
Pile up some “sky” fabrics and trim the left edge. Now, just align the tape on your ruler with the freshly cut edge. In fact, because of the thickness of the tape, you can “feel” when the tape is against the edge of your fabric. This is so slick anytime you have a lot of strips to cut.
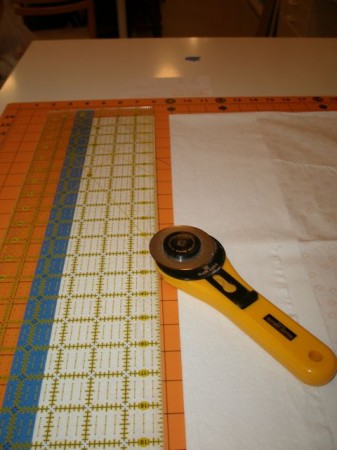
Once you’ve cut your strips, just rotate them and cut again, letting the tape be your guide.
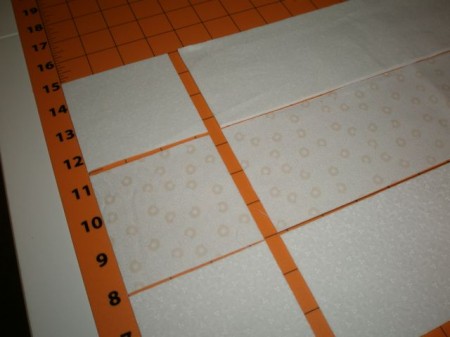
Take a minute and draw diagonal lines on your “sky” fabric. Yes, I have an orange pen AND an orange cutting mat!!
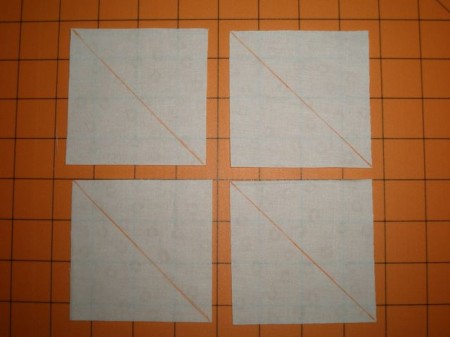
Place two of your “sky” squares on opposite corners of the “goose” square. Make sure the drawn lines make one continuous line across the diagonal. Your small squares will overlap a bit at the middle.
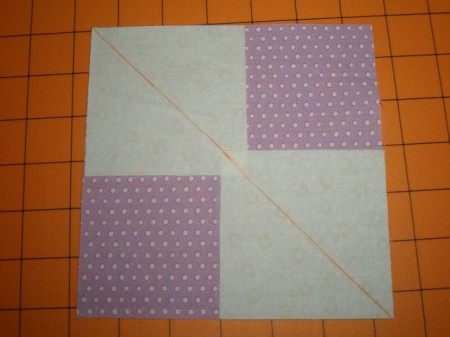
Now, take this to your sewing machine and sew a scant 1/4″ on both sides of the drawn lines.
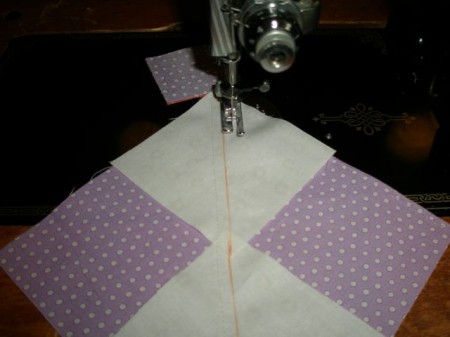
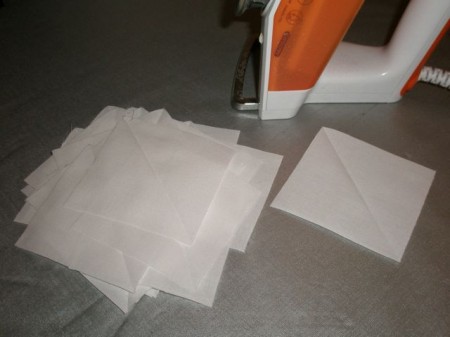
Before cutting, I like to touch the iron to the fabric to set the stitches. Once that’s done, slice along the diagonal line.
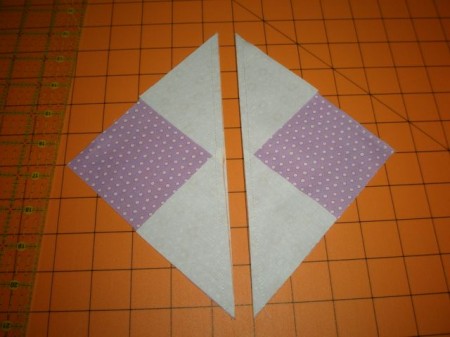
Finger press the “sky” triangles away from the “goose” triangles.
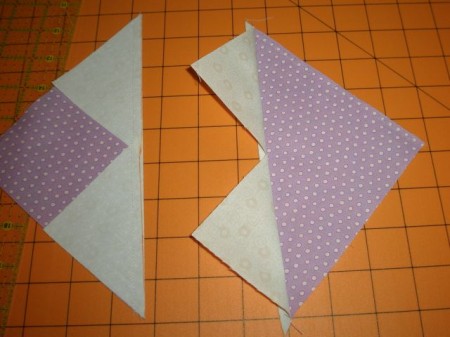
Do it with both pieces. (At this point, they remind me of hearts–if you turn them, that is!)
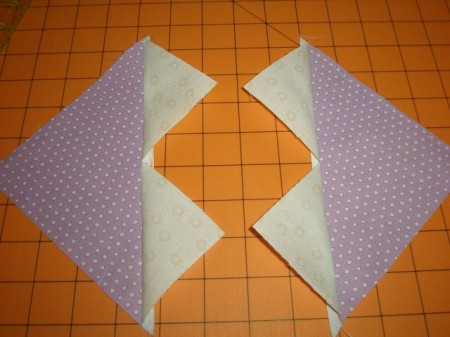
Place the two remaining “sky” squares as shown and sew a scant 1/4″ on both sides of the drawn lines.
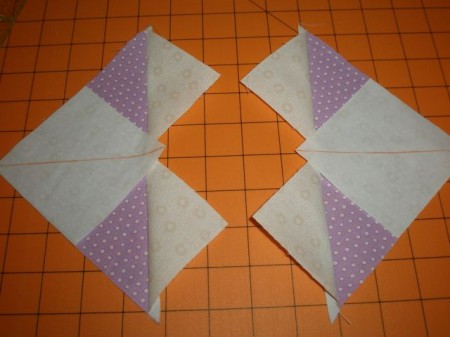
Press with the iron and slice on the drawn lines.
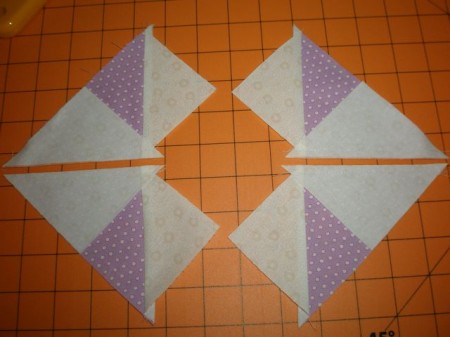
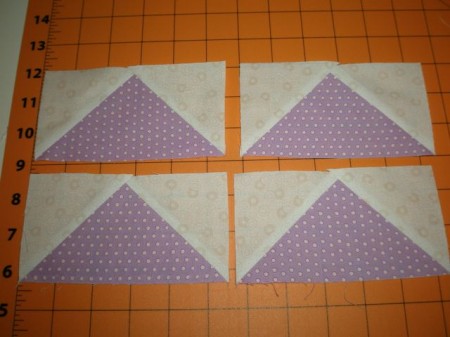
Believe it or not, you now have four perfect flying geese! Just press the “sky” fabrics over, and there they are!
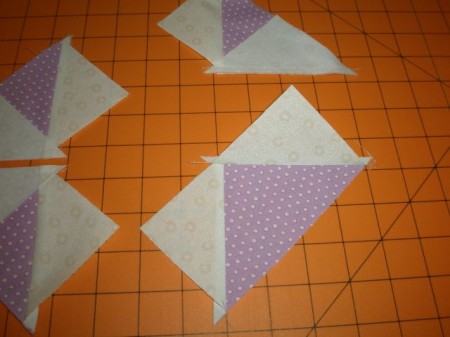
Voila! Trim the little ears off and you’re done! At this point, each block will measure 3″ x 5-1/2″ and will give you a 2-1/2″ x 5″ finished block.
Be sure to follow the fun on A Quilt Block A Day by clicking “Like” on the Facebook page. I’ll be showing you lots and lots of ways to arrange flying geese blocks for a variety of quilts.
And here’s that formula. Note: A Flying Geese unit is always twice as long as it is tall.
Decide on the finished width you want your block and add 1-1/4″. That’s the size you need to cut your “geese” fabric, or the large square.
To the height (which is half the width), or your “sky” fabric, add 7/8″.
Now you can make any size block you want!
For tutorials on other methods for making Flying Geese, check out Quilter’s Cache.
P.S. I HATE drawing diagonal lines on the back of my squares. This is what I do in real life—press them with my iron which, of course, is orange!
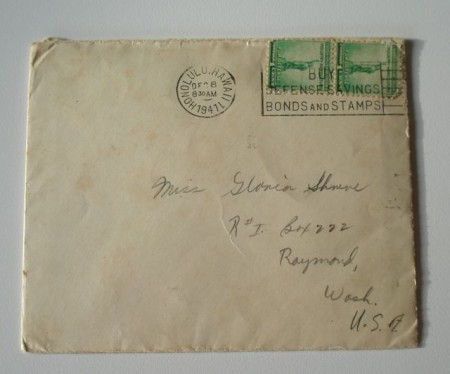
This old Christmas Card is addressed to my Aunt Gloria.
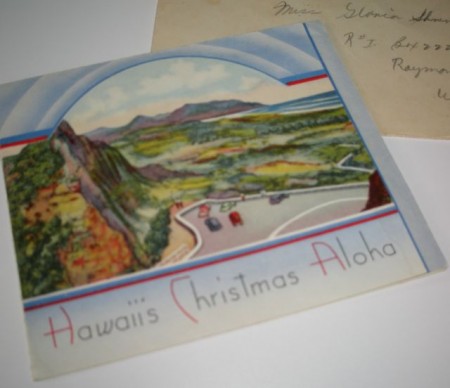
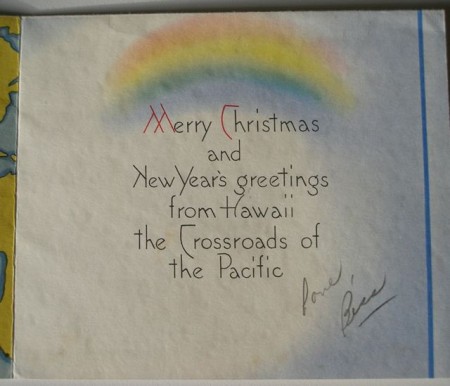
Inside is a fabulous Christmas card from Hawaii.
It took two 1¢ stamps to send it to the “states” from Honolulu.
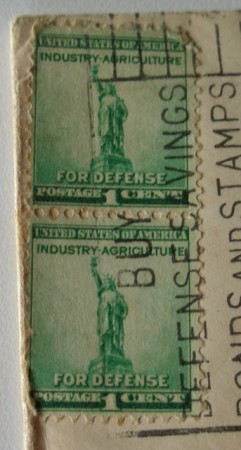
The post mark is encouraging people to buy defense savings bonds and stamps.
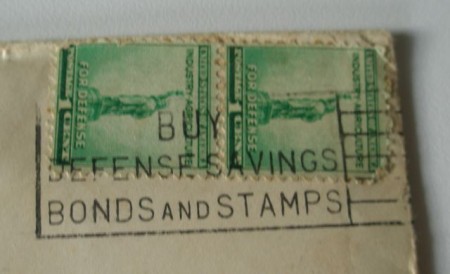
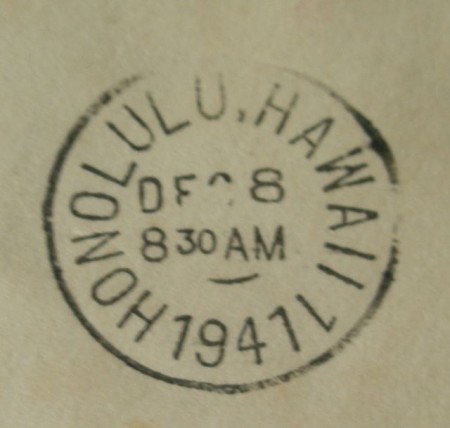
You see, it was postmarked the day after Pearl Harbor was attacked–December 8, 1941. The post mark is at 8:30 in the morning. I’m amazed the post office was even functioning after the chaos of the day before.
It was sent to my aunt by her boyfriend, Bethel Nichols.
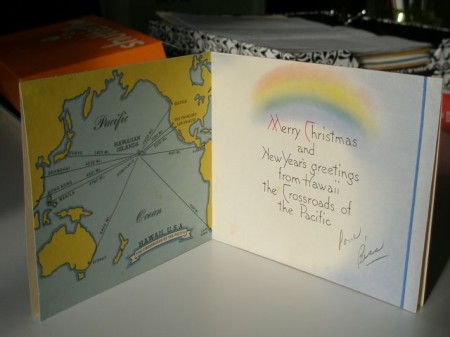
I love the map inside, showing how Hawaii was the “Crossroads of the Pacific.”
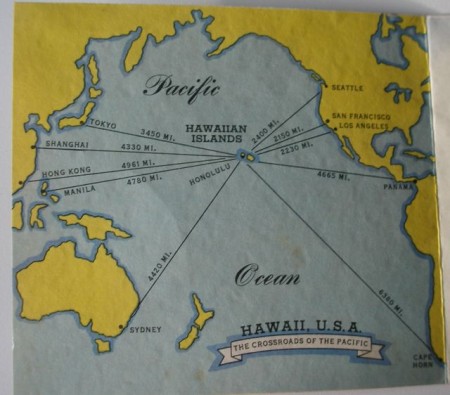
Bethel must have mailed it late Saturday, perhaps one of the last things he did. He was killed on the USS Arizona on December 7th.
Last Month, Bob and I took a lovely driving trip to Eureka, California.
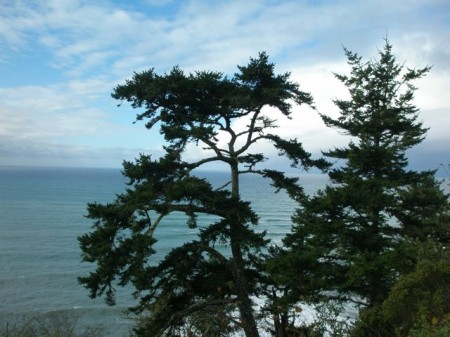
On our way south, we hit the coast at Crescent City, California.
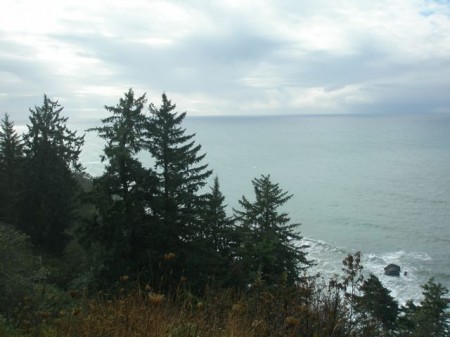
The views were spectacular.
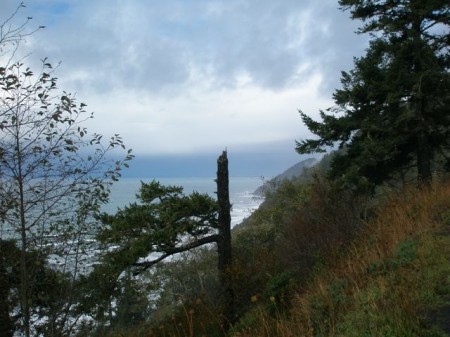
Bob was really good about pulling over for photo ops.

As you can see, there was quite a bit of cloud cover…

…but it wasn’t raining, and that’s always a good thing!

I always love the haystacks along the coast.

Every stop was amazing.
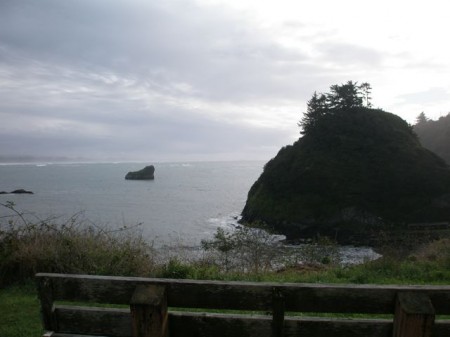
Can you imagine exploring the coast and trying to come ashore through these rocks???

After a few wonderful days in Eureka, we headed north along the coast again.
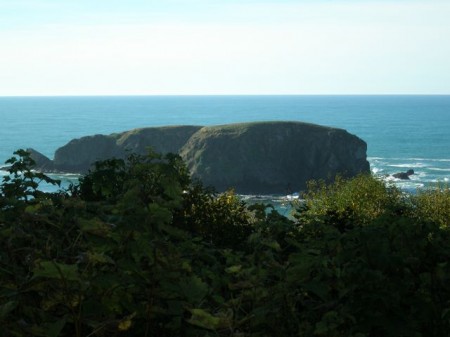
This time, we had a gorgeous day!

The water was an amazing shade of blue.

We stayed on the coast all the way north to Oregon…
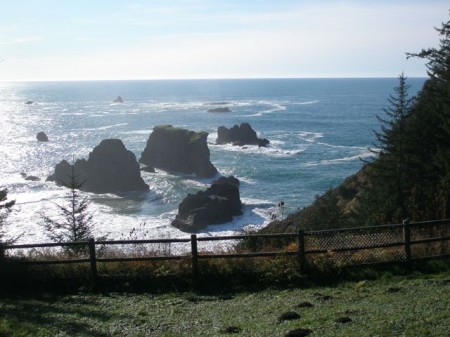
…and all the way through Oregon…
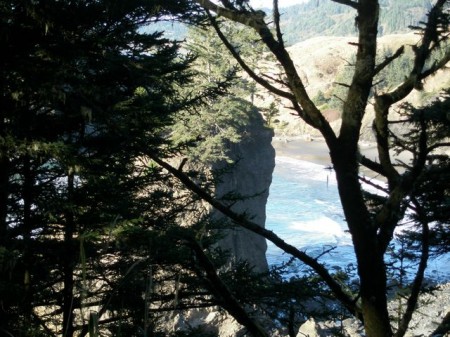
…from border to border!

Even though I live on the coast, I never tire of the changing views.

This little cove looked so inviting.

And who doesn’t love an arched rock?!?
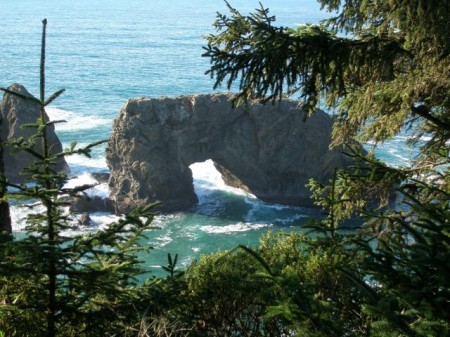
Even the coastal trees are beautiful.
It was nice that we weren’t in a hurry.

That doesn’t happen very often.
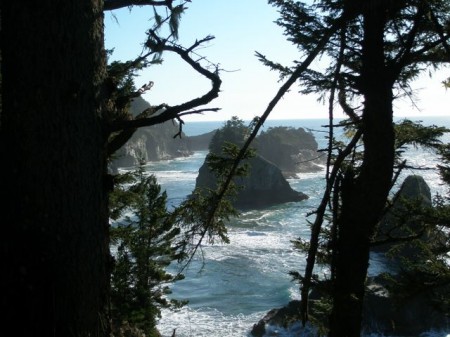
We took our time….

…stopping when we wanted. We spent the night in Newport.

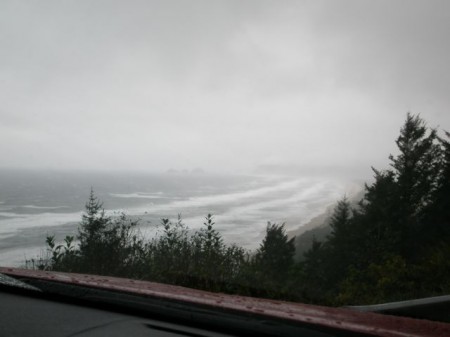
When we got up the next day to very different weather. This is the view looking out to the ocean from a park on the beach. Really.
It did clear up some later in the day.
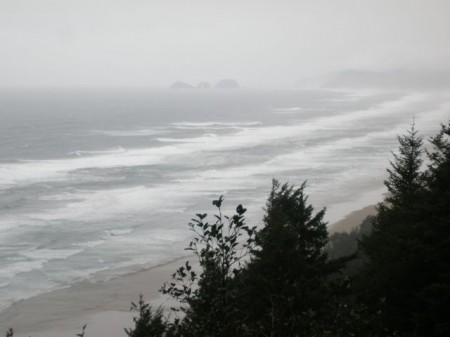
But even wearing a shroud of fog, there’s still something beautiful about the coast.
I know it’s almost winter now, but I just have to share with you a wonderful new book written by my quilt-y friends Sally Bell and Susan Maw, Summer at the Lake Quilts. Just look at the cover. Does that say SUMMER, or what!?!

This book is full of great quilts, bags and projects, but more than that, the photography is stunning! Susan and Sally had the projects for this book photographed on beautiful Swan Lake in Montana. What a perfect setting to showcase this Alpine Lake Quilt. This quilt, with it’s myriad shades of blue, really is reminiscent of the sun shimmering off the surface of a wind riffled lake.
And just look at these Water Lily Pillows! Can’t you just imagine making these for a little girls room? It would be so fun to pick out fabrics to match the room’s decor.
As I turn the pages of this book, I think, “Ah, this is my favorite quilt in the book.” Then, I turn another page, and think, “No, THIS is my favorite quilt in the book. I can’t quite choose between the Sunflower Picnic Blanket and the Meadowsweet Basket Quilt. They’re both wonderful. Here’s the Meadowsweet Basket Quilt. I’m in love with the circle of forget-me-nots in the center of the quilt.
What would a summer at the lake be without a picnic, and what would a picnic be without ants? Susan and Sally didn’t overlook a thing–they even have a Picnic Ant Pincushion pattern in the book!
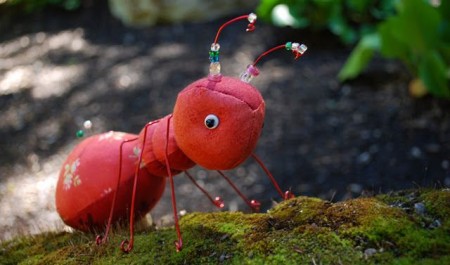
But, hey! I promised you a give-away! Right now, Sally and Susan are giving away a copy of their book AND an ant pincushion. All you have to do is click over to their blog and leave a comment. Tell them Karen sent you!
HERE’S the link. Good luck!