It’s time to start another A-Quilt-Block-A-Day project. This time, it’s the versatile Flying Geese block!
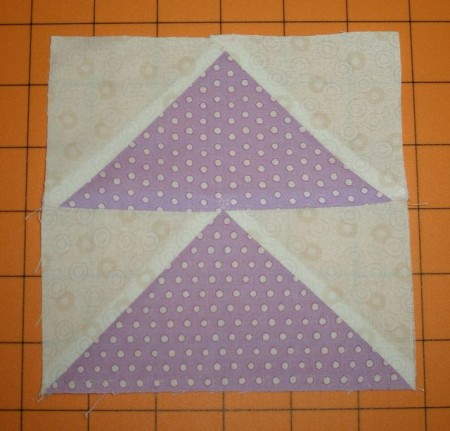
Oh, did I just hear groaning? At one time, I might have groaned right along with you. I used to use a couple of different methods to make flying geese–the Sew-and-Flip and the traditional cutting of two sizes of triangles. No matter how I tried, my goose always looked like he had one shoulder hunched up in the air.
Then I discovered a method where you use one large square and four small ones, do some stitching and slicing, and end up with four perfect geese every time! Now you can make perfect flying geese, too! These geese are going to finish 2-1/2″ x 5″, but I’ll give you a formula at the end so you can make them any size you want.
Here’s what you do:
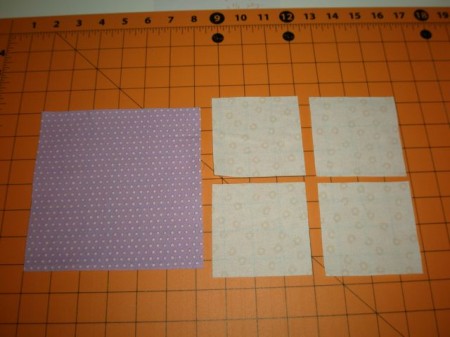
Cut one 6-1/4″ square of “goose” fabric and four 3-3/8″ squares of sky fabric.
Did I hear more groaning about having to cut something that ends in 3/8″? Here’s a little trick. Get a role of blue masking tape, also known as painter’s tape. Roll off a chunk and put it on your ruler at the 3-3/8″ mark.
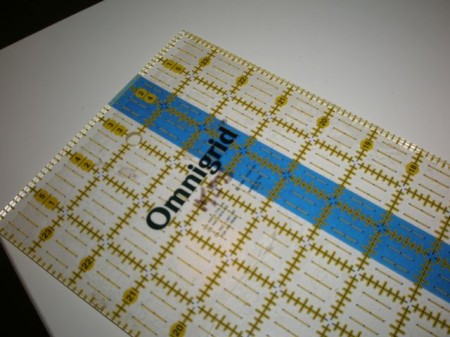
Pile up some “sky” fabrics and trim the left edge. Now, just align the tape on your ruler with the freshly cut edge. In fact, because of the thickness of the tape, you can “feel” when the tape is against the edge of your fabric. This is so slick anytime you have a lot of strips to cut.
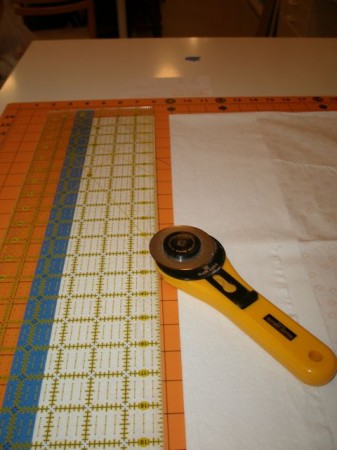
Once you’ve cut your strips, just rotate them and cut again, letting the tape be your guide.
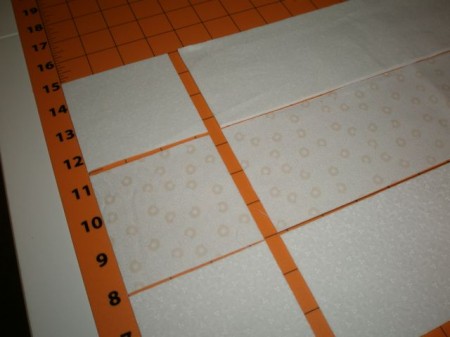
Take a minute and draw diagonal lines on your “sky” fabric. Yes, I have an orange pen AND an orange cutting mat!!
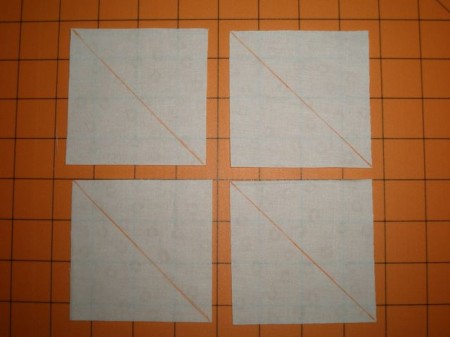
Place two of your “sky” squares on opposite corners of the “goose” square. Make sure the drawn lines make one continuous line across the diagonal. Your small squares will overlap a bit at the middle.
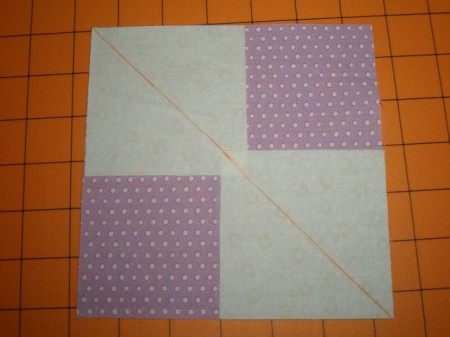
Now, take this to your sewing machine and sew a scant 1/4″ on both sides of the drawn lines.
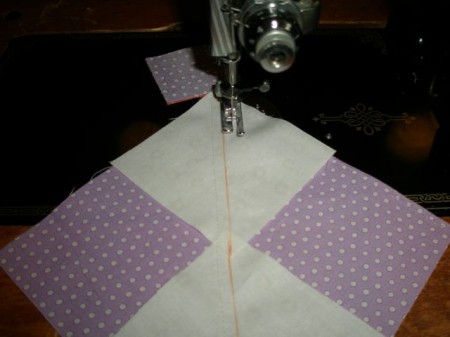
Before cutting, I like to touch the iron to the fabric to set the stitches. Once that’s done, slice along the diagonal line.
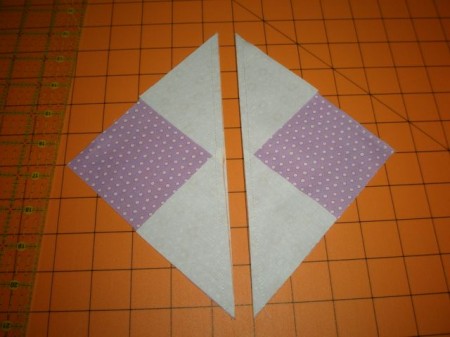
Finger press the “sky” triangles away from the “goose” triangles.
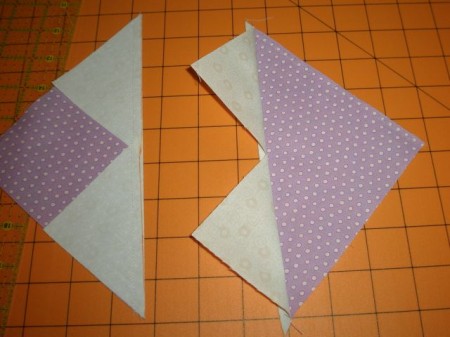
Do it with both pieces. (At this point, they remind me of hearts–if you turn them, that is!)
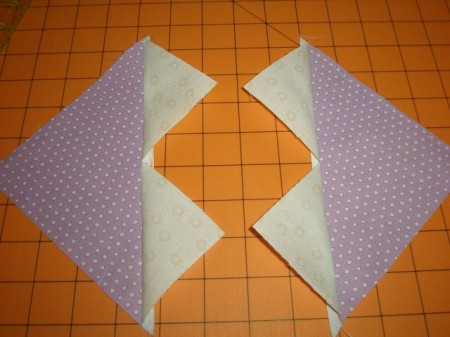
Place the two remaining “sky” squares as shown and sew a scant 1/4″ on both sides of the drawn lines.
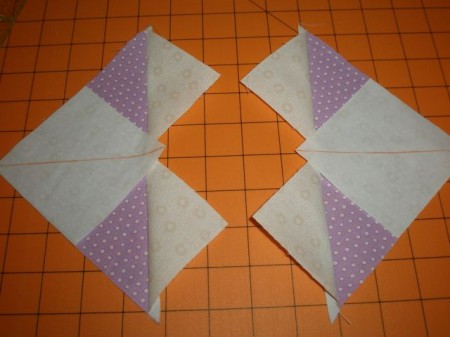
Press with the iron and slice on the drawn lines.
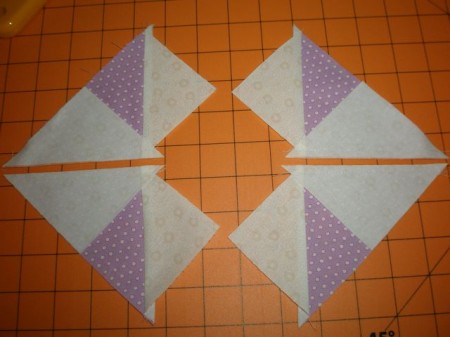
Believe it or not, you now have four perfect flying geese! Just press the “sky” fabrics over, and there they are!
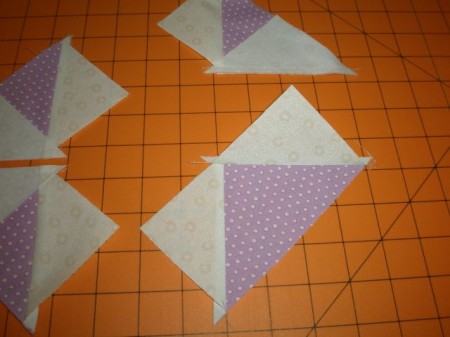
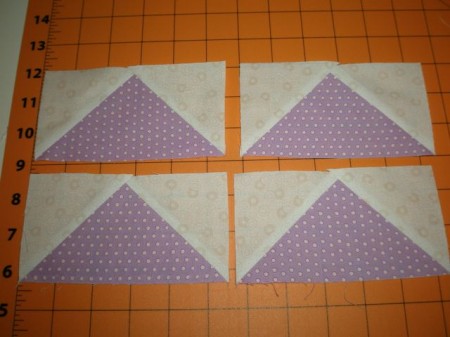
Voila! Trim the little ears off and you’re done! At this point, each block will measure 3″ x 5-1/2″ and will give you a 2-1/2″ x 5″ finished block.
Be sure to follow the fun on A Quilt Block A Day by clicking “Like” on the Facebook page. I’ll be showing you lots and lots of ways to arrange flying geese blocks for a variety of quilts.
And here’s that formula. Note: A Flying Geese unit is always twice as long as it is tall.
Decide on the finished width you want your block and add 1-1/4″. That’s the size you need to cut your “geese” fabric, or the large square.
To the height (which is half the width), or your “sky” fabric, add 7/8″.
Now you can make any size block you want!
For tutorials on other methods for making Flying Geese, check out Quilter’s Cache.
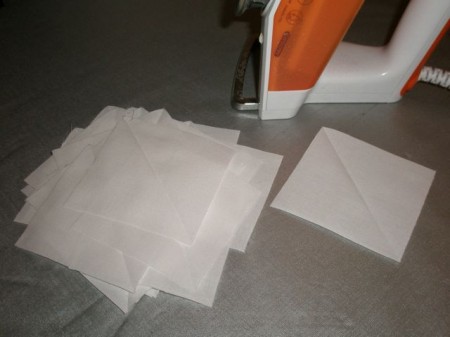
P.S. I HATE drawing diagonal lines on the back of my squares. This is what I do in real life—press them with my iron which, of course, is orange!
