• 14Feb

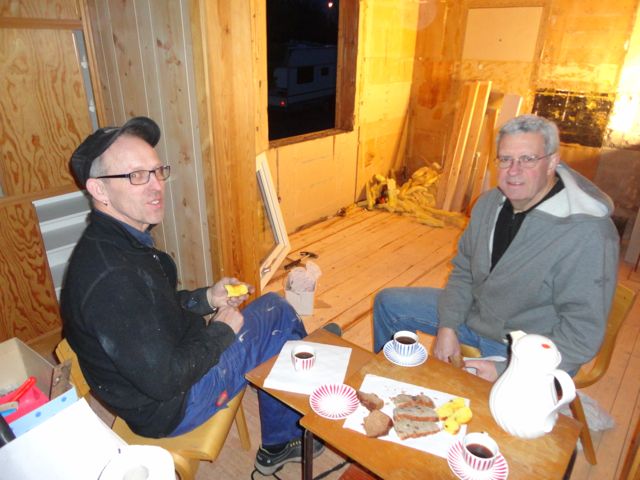
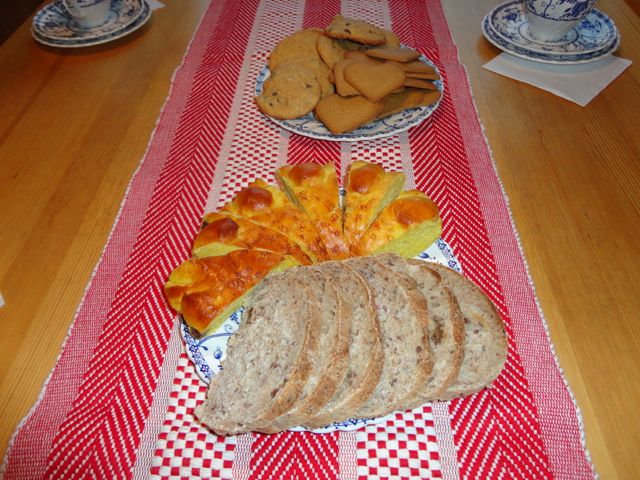
    While we only took a day and a half off from working on the house while we were in Sweden, don’t think it was all work and no food!  From the very first day, we made sure there was coffee and a little something to eat, even if the atmosphere left something to be desired.  In Swedish, a coffee break is called a fika (FEE-kah).  And in Sweden, fika is taken very seriously.

    fd07

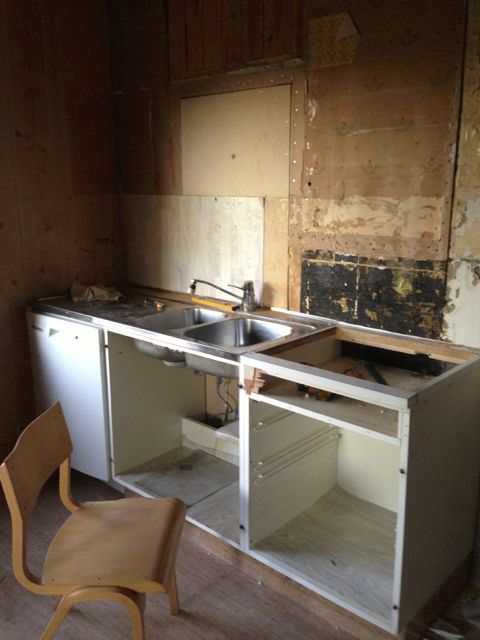
    Luckily, Bertil and Sonja left us a dining room table.

    tbl1

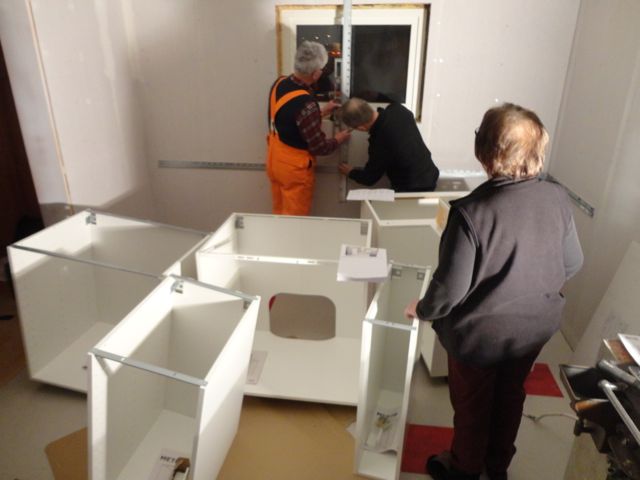
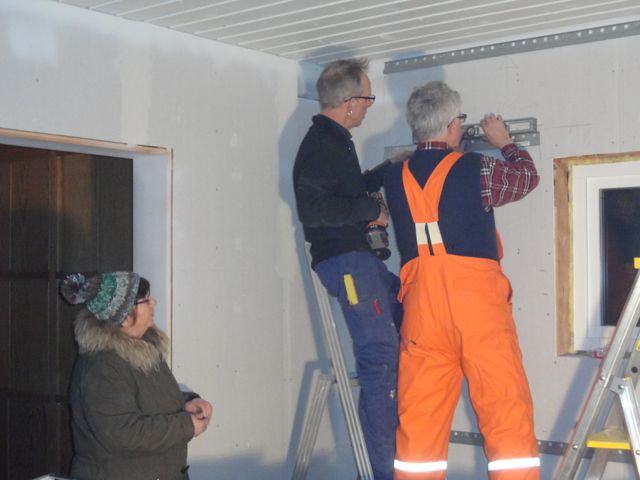
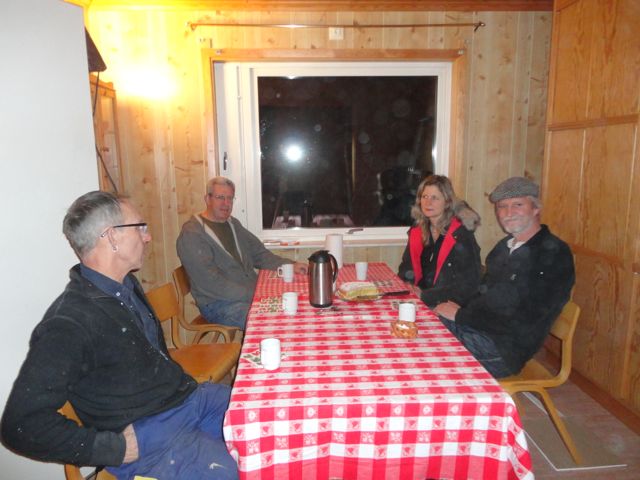
    Berit and Gunnar came often to help—and bring fika!

    fd08

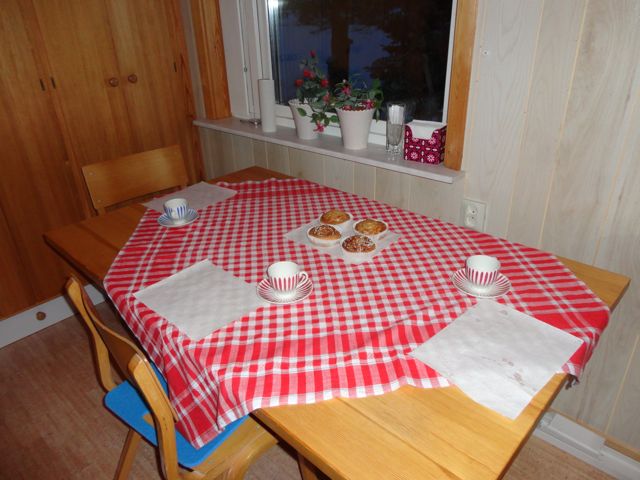
    And our neighbor, Byns Mats and Annacari welcomed us with a pensionärer kaka — a special and delicious cake.  Good thing I’d brought linens!

    fd09

    For awhile we had to move the table into the bedroom, but that didn’t mean we skipped fika!

    fd18

    My Aunt Evelyn was responsible for keeping my family in contact with our Swedish relatives, and I thought it fitting that I bring her china with me to our Swedish house.

    dsh1

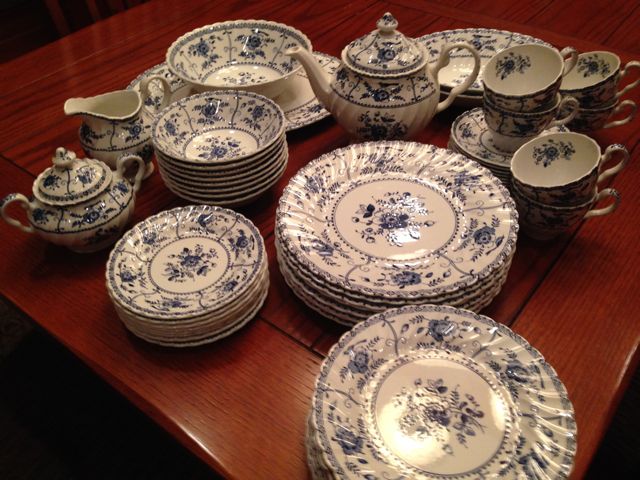
    I used it for the first time when Sven-Eric and Anna came for fika.

    fd20

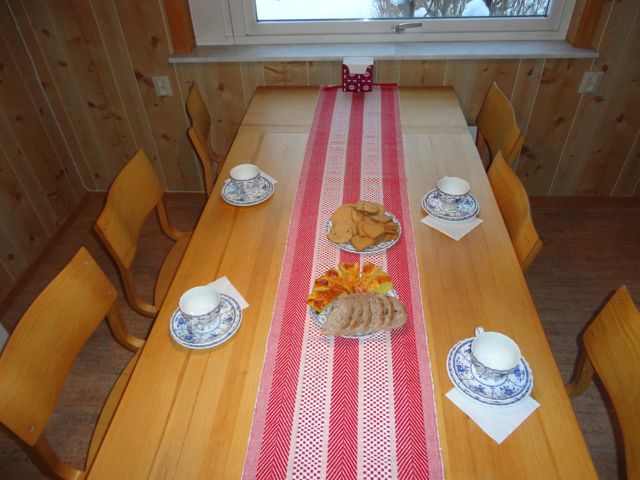
    It was very special.

    fd21

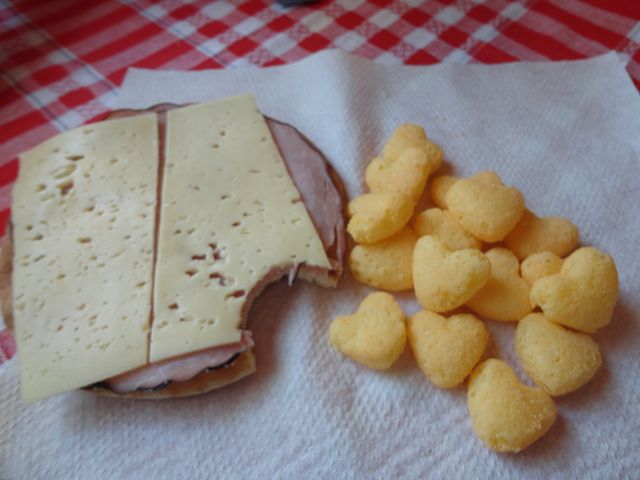
    Fika isn’t always something sweet.  Sometimes it’s a sandwich.   Don’t you love a country whose cheese puffs are shaped like hearts!?!

    fd16

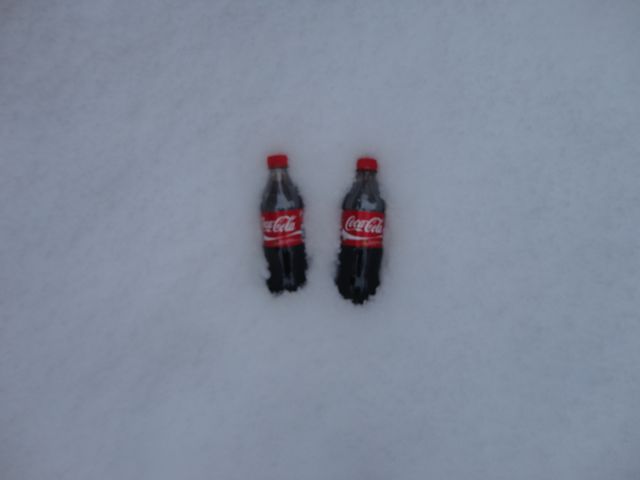
    And if we had Coke instead of coffee, there was no problem keeping it cold!

    fd17

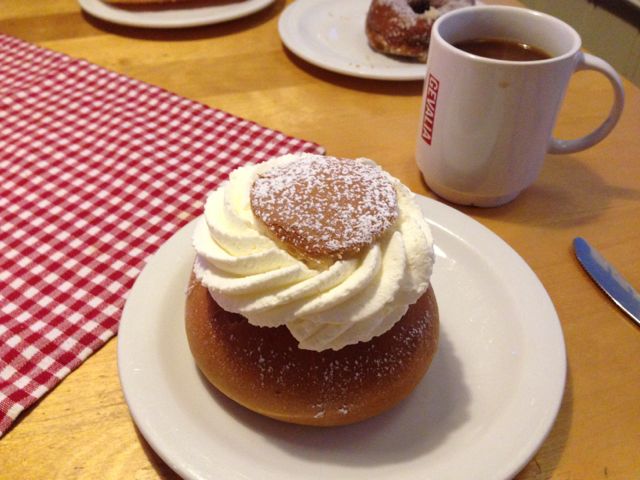
    One day, when I had to drive to Vansbro to the hardware store, I stopped at the Vansbro Konditori for semlor – wonderful buns filled with almond paste and whipped cream!

    fd11

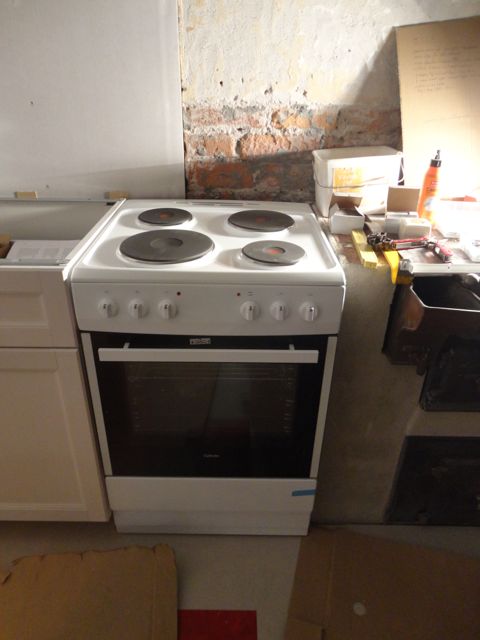
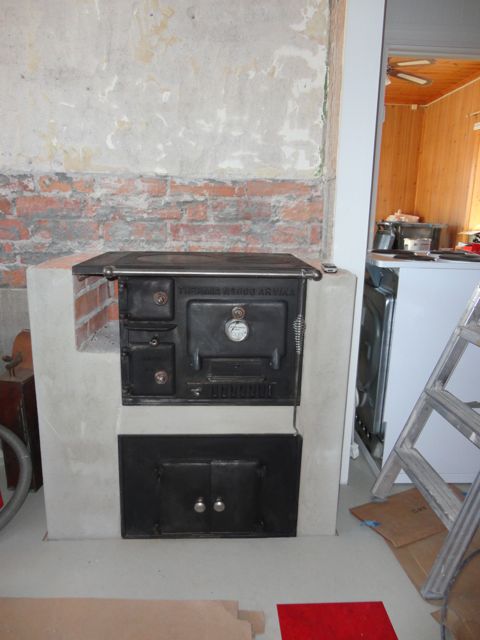
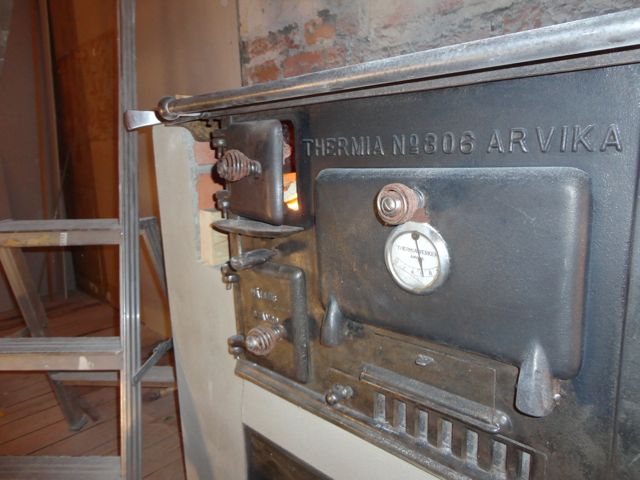
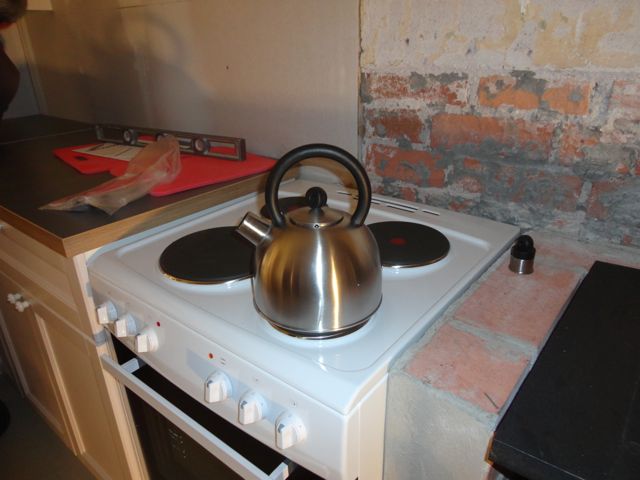
    Sometimes we brought a Thermos of coffee from Torsten’s, sometimes we got coffee at the mini-mart, and sometimes family or friends brought coffee.  Luckily, a few days before we left, we got our electric stove and were finally able to boil our own coffee!

    fd19

    So, as you can see, we worked hard, but, like good Swedes, we didn’t skip fika!


  • 08Feb

    At the end of December, we returned to Sweden with the plan to get the new kitchen done in just under a month!  We were down to bare walls and floor.  My first job, hammering in all of the nails on the floor to be sure everything was smooth!

    kch01

    I mentioned in an earlier post that the existing window came down too low to allow a counter under it, so we bought a new window.

    kch02

    You can see how much lower the other one was.  You can also see that it’s very dark out!  Sunrise was at 9:30 and sunset at 3:00!

    kch03

    We covered the walls with new plasterboard and decided to paint the ceiling white.  Bob suited up and put on four coats of paint–two of oil based sealer and two latex.

    kch04

    In the meantime, I painted the panels for the wainscoting a pale gray.

    kch06

    I had chosen linoleum tiles for the floor, mostly gray with a few red.

    kch08

    Torsten and Bob did a good job of interpreting the design I sketched out on a piece of plasterboard!

    kch09

    Ever since we’d bought the house in September, I’d been planning the kitchen on Ikea’s nifty kitchen planner.

    Screen shot 2013-12-07 at 9.41.22 AM

    So off we went to Ikea, plan in hand.

    ikea1

    Bob and Torsten looked over installation brochures while we waited for assistance.

    kch12

    Here’s our kitchen – in boxes!

    kch13

    It took two rooms to put them all!

    kch14

    And then the fun began!  Torsten and Gunnar figuring it out.

    kch15

    Is it all going to fit?

    kch16

    The Ikea system uses rails that are mounted on the wall, and the cabinets hang from them.

    kch17

    You have to love the Swedish instructions, because they tell you to take a “fika” (coffee break) after getting the rails up!

    kch22

    We did as told, then the guys started hanging the cabinets.

    kch18

    Let’s see, put tab “A” in slot “B”.

    kch24

    Like all old houses, are walls weren’t exactly straight, but with some tweaking, everything went up.

    kch23

    It was exciting when the doors started going on.

    kch25

    I couldn’t resist putting a Dala horse in one of the cabinets!

    kch26

    The new stove fit perfectly between the cabinets and the wood stove!

    kch27

    Once the cabinets were in, the wainscoting was next.

    kch28

    A little electrical work….

    kch29

    ….and the proud installers!

    kch30

    Next, the finishing touches!

  • 07Feb

    I think at one time, every Swedish house had a vedspis – wood stove.  Often they had one in the kitchen and one in an upstairs apartment.  Many houses still have them, but many have been removed.  Our house had one originally, but it had been replaced by the freestanding fireplace which we removed when we dismantled the old kitchen.  They are quite different than wood cookstoves in America.  I decided right away that I wanted one, and when I mentioned to one of my Swedish relatives, Sven-Eric, that I was going to look for a renovated one, he told me he had two in his barn, and I was welcome to take one!  I learned this on my way to the airport, so I didn’t get a chance to look at them.  Luckily, Torsten took charge and uncovered them.  One was cracked, but one was in good shape.  Well, relatively speaking!

    vdsps01

    Before we returned to Sweden, Torsten and his mason friend, Mikael, got the vedspis put in place for us.  First they had to shovel a path to the barn where it was stored.

    zsn1

    These wood stoves aren’t freestanding, so a brick base had to be built.

    vdsps03

    They could see where the original vedspis had been.

    vdsps02

    This part is for wood storage.

    vdsps04

    It is cast iron like the stove and has two doors.

    vdsps05

    Once the base was built, the vedspis was set on top.  Nice and level!  The top left door is the firebox, the one below is the clean-out and the big one is the oven door, with a built-in thermometer!

    vdsps06

    More bricks to surround it.

    vdsps07

    The right side is complete.

    vdsps08

    Mikael is leaving a space for a water cistern next to the firebox.

    vdsps09

    Then the bricks get covered with a special cement.

    vdsps10

    It’s beautiful!  If you compare this photo to the first one, you can see that Torsten did a lot of work removing old rust and, undoubtedly, years of grime!

    vdsps11

    Here’s the wood storage with the doors on.

    vdsps13

    The stove was in relatively good shape, leading Mikael and Torsten to speculate that it was in an upstairs apartment and not used too much.

    vdsps12

    You can see the layers of paint on the old chimney–and evidence of a chimney fire!

    vdsps14

    We had to grind all of the old paint off so it can be re-cemented.  Ugh.  It was a nasty job.

    vdsps15

    We found an old copper cistern on an online auction site.

    vdsps17

    The heat from the firebox heated the water, so you always had hot water to wash your dishes!

    vdsps18

    Did you know there is really something called Stove Black—and it does just what the name says?

    vdsps19

    You can see what a difference it made!

    vdsps20

    The cement will be painted white, as will the hood which will be built over this and the electric stove.

    vdsps21

    And it makes the kitchen so cozy when you have a fire!

    vdsps16

    Thank you, Sven-Eric, Torsten and Mikael!


  • 06Feb

    When we bought our house in Sweden in September, we knew the first thing we wanted to do was remodel the kitchen.

    It had a large, freestanding fireplace that kind of blocked the door as you entered.

    ktde01

    We knew it had to go!  Let me tell you, it was one heavy dog!

    fp1

    There was a lovely window that let in a lot of light, but it was so big, that there was no room to put a counter under it.

    ktde02

    And the sink and stove were right next to each other.  I thought it would be nice move the sink under the window.

    ktde03

    There was an island and two floor to ceiling cabinets on the left in this photo….

    ktde04

    …one of which held the oven.

    ktde05

    And on the opposite wall was a huge refrigerator and huge freezer!  It was all quite cramped.

    ktde06

    We decided to take it all out!

    ktde07

    Right down to the bare walls.

    ktde08

    So that’s what we did!

    ktde09

    It’s amazing what you uncover in an old house, like an old doorway, layers of old wallpaper and signs of a chimney fire!

    ktde10

    I loved looking at the old wallpapers, and tried to preserve a little of each.  This is the oldest and original, from 1930 when the house was built.

    ktde11

    This one, which has orange in it, was next.  It almost looks like old linoleum.

    ktde12

    There was this rather plain basket weave.

    ktde13

    My color scheme for the new kitchen is white, gray and red, so imagine my delight when I found this one in those very colors!

    ktde14

    Tearing out a kitchen is a big job–and we did it in two days–then headed back home.

    ktde15

    Of course we were anxious to get back and start on the new kitchen, but that had to wait.


  • 26Dec
    Categories: Everything! Comments: 9

    I’m lucky enough to live very close to my mom, and we go out to lunch almost everyday.

    mom1

    But Bob and I are heading to our Swedish house for almost a month, and Mom’s worried she’s going to really, really miss us.  And when you’re 90, it can be hard to remember just when we’re coming back.  So, I decided a little visual reminder might be good!

    adv1

    I got some adorable little bags and stickers at Scrapuccino’s.

    adv4

    I did the countdown and Bob punched holes.

    adv2

    I added a few notes here and there.

    adv3

    And then it was candy time!

    adv5

    I filled each bag with a piece of candy.

    adv6

    Then I added a little pink ribbon—Mom’s favorite color.

    adv6

    Luckily, I had an empty box from Christmas…

    adv7

    …and they fit perfectly!

    adv8

    I hope it helps the days go by a little faster.

    Tags:
  • 12Dec

    Today we leave Sweden and travel to Scotland for out latest cookie — Scottish Shortbread.

    shy1

    While not Swedish, they are a perfect, buttery cookie to go along with our others.  And, besides, they’re a tradition in Bob’s family.  This is his Scottish grandmother’s recipe and has been passed down through his dad.  And, now, I’m happy to say, his boys are sharing it with their kids, too!

    This simple cookie has only three ingredients — butter, sugar and flour!  The final product can take on many shapes, but this year, we did “coins.”  Start by dividing the dough into fourths and rolling out a log 1-1/2″ to 2″ in diameter.

    sht1

    We like to roll these in colored sugar.

    sht2

    Just sprinkle some on a piece of waxed paper…

    sht3

    …and roll!

    sht4

    You can use lots of different colors.

    sht5

    Roll each log up in waxed paper and refrigerate for a few hours or overnight.  Then, slice them with a sharp knife into little coins.

    sht6

    Bake until they just start to brown.  I overcooked some of mine.  ;-(

    But, we still plan to eat them!

    sht7

    Scottish Shortbread

    Ingredients:
    4 sticks butter
    1 cup sugar
    4 cups flour

    In a stand mixer fitted with a paddle, cream butter and sugar about 2 minutes.

    Add flour in three or four parts to butter mixture.  Mix until a nice ball comes together.

    Knead lightly and divide into four pieces.  Roll each piece into a log approximately 1-1/2″ to 2″ in diameter.

    Roll in colored sugar, wrap in waxed paper and refrigerate two hours or overnight.

    Slice into “coins” and bake at 350 degrees for 10 – 12 minutes.

    Yields 100 cookies.

  • 09Dec
    Categories: Everything! Comments: 4

    It is the tradition in Sweden that you offer your guests seven kinds of cookies when you have them over for coffee.  Now that Christmas is coming, cookie baking is in full swing for me, so I thought I would share my seven favorite cookie recipes with you.  First is Hallongrotor – Raspberry Caves.  This is the first year I have made them, and they are my new favorite!

    hal7

    Once you make the dough, which has fresh orange rind in it, you roll them into little balls and put them into lined mini-muffin tins.

    hal2

    You need to make a “cave” for the jam.  You could use your finger, but I found the end of this scoop worked great for me.

    hal3

    Then it’s time to add a bit of jam.  Raspberry is traditional, but I suppose you could use whatever you like.  Before you put the jam in, brush the tops with a bit of water.  Then, add the jam and sprinkle with pearl sugar.

    hal4

    I used to bring pearl sugar home from Sweden with me, but now you can find it at Ikea!

    hal5

    The jam bubbles up a bit during baking.

    hal6

    Enjoy!

    hal1

    Hallongrottor – Raspberry Caves

    Ingredients:
    2 sticks butter
    1 cup sugar
    zest of 1 orange
    2 tsp vanilla extract
    1 egg plus 1 egg yolk
    2-1/2 cups flour
    1 tsp baking powder
    1/2 tsp salt
    Pearl sugar
    3/4 cup raspberry jam

    In a stand mixer fitted with a paddle, cream butter and sugar about 2 minutes.  Add orange zest, vanilla, egg and yolk.  Mix until well blended.

    In a separate bowl, combine flour, baking powder and salt.  Whisk together to mix, then add in three or four parts to butter mixture.  Mix until a nice ball comes together.

    Using you hands, shape pieces of dough into balls, about the size of a walnut, and place in lined mini-muffin tins.

    Make an “cave” in the top with your finger or the end of a kitchen utensil, like the scoop I used.

    Brush the top of the cookies with a little water.  I did one pan at a time.

    Fill caves with raspberry jam and sprinkle with pearl sugar.

    Bake 15 minutes at 350 degrees.

    Yield 48


  • 05Dec

    A good friend of my sister’s lost her husband a few years ago.  She still had three of his Hawaiian shirts in her closet, and when she saw a quilt made out of old shirts, she knew she wanted to use the Hawaiian shirts for quilts for her three children.  Since she’s not a quilter, Sally put the SOS out to me.  The timing was perfect, as we were going to a retreat at The Wild Rose.

    Sally brought along the shirts and I started unstitching them.

    haw02

    It was really a bigger job than I thought, but I wanted to make the most of the fabric.  I ended up cutting the shirts into 4-1/2″ squares.  I divided them in thirds and put one stack up on the design wall to balance out the colors.

    haw01

    I wanted the quilts to be similar, but still different, and I wanted the prints to be the “stars” of the show.  So I decided I would use solids and set the blocks together with sashing and cornerstones.

    haw03


    It’s a very simple setting, but I think it served its purpose.

    haw06


    haw05


    I finished them off with a simple stipple.

    haw04

    Each shirt had a pocket, so I stitched one to the back of each quilt.

    haw09

    I was pleased with the way they turned out.

    haw07

    I’m sure the kids will treasure them.

    haw10


    If you want the fabric requirements to make one of your own, they’re below.  This is also a great way to show off fussy cut, novelty prints or even photo transfer blocks.

    Hawaiian Shirt Quilt

    Materials

    1 Hawaiian shirt (I got enough squares from each shirt to do one quilt, but I mixed them up for interest)

    7/8 yard cornerstones and inner border fabric

    2-1/4 yards sashing and outer border

    4 yards backing

    From the Hawaiian shirts cut 80) 4-1/2″ squares

    From the cornerstone/inner border fabric, cut 10) 2-1/2″ strips.  Cut four strips into 2-1/2″ squares for cornerstones. Use remaining squares for inner border.

    From the sashing/outer border fabric cut 18) 2-1/2″ strips; crosscut into 142) 4-1/2″ x 2-1/2″ rectangles for the sashing.  Then cut 7) 4-1/2″ strips for the border

    Cut the backing into two equal pieces.

    I pulled the backing around to the front of the quilts and machine stitched for the binding.


  • 13Oct

    Yesterday I taught a class on the Hunter’s Star at Boardwalk Quilts.

    husp1

    I love the ruler from Deb Tucker, that makes this pattern so easy and precise.  I made step-by-step samples for class from solid yellow and  vintage white.

    hus08

    My goal was to have each student complete at least four units to make one star–and they did!

    Joe Ann was the first.  She used fabrics she’d bought at my store before it closed five years ago!  Who says it isn’t important to have a stash?!

    hus03

    Right behind her was Earlene, who was outside her comfort zone, using browns.

    hus02

    This dark blue batik on a stark white that Suzy made was really striking.

    husbb1

    Sandy’s black and gold on cream looked great.

    hus04

    Susan had success with the green and white tone-on-tone fabrics she used.

    hus05

    Barbara told me she hadn’t taken a class in years, but you’d never know it when you look at her block.

    hus07

    Isn’t Joyce’s red and yellow version stunning?

    hus09

    I wish you could see Susan’t fabric in person as it was really beautiful and her blocks turned out great.

    hus10

    Judy’a gold and red combination was a winner.

    hus11

    Elena had never taken a quilt class before!  The icy blue and silver snowflakes worked together great.

    hus12

    And Lonna’s choice of a rich batik and pale aqua looked amazing.

    hus13

    Joe managed to get all 16 units finished and sewn together.  You can see how the secondary star forms in the middle where the blocks come together.

    hus06

    I was so proud of all of them and have confidence they’ll all get their tops finished at home.

    Tags:
  • 31Aug

    I recently harvested a lot of lavender from my garden.  It’s all dried and clean, so it must be time to make some sachets!  It’s so easy and they’re perfect to tuck into closets and drawers—and to give away as little gifts.

    sash01

    I make these in two parts—a little muslin bag and a sachet pillow from the pretty fabric!  First, I make a little pouch to contain the lavender and cedar shavings.  This can be any fabric.  I generally use muslin, but it’s a great way to use up some scraps or ugly fabric, as it won’t be seen when the sachet is finished.  Cut a piece 5-1/2″ by 11″

    sash02

    Fold it…

    sash03

    …and stitch down the two long sides.  This is a perfect project for assembly line sewing!

    sash04

    I use both cedar shavings and lavender in my sachets.  I got the cedar shavings at the local hardware store in the pet department.  I think they’re used for hamster bedding!  They smell great, though, and are a great deterrent for moths.  In the studio I have a little doll’s tea set, so I used a cup from that.  I’d say it’s about a quarter cup.  I used four scoops of cedar shavings and one of lavender.

    sash05

    The bags are cut a little oversized so it’s easy to sew them closed.  I sewed with about an inch seam allowance.

    sash07

    Then, to reduce bulk when I put it in the sachet pillow, I trim away the extra.

    sash08

    All done with this step!

    sash09

    Now it’s time to pick some pretty fabric.  I bought this beautiful piece in Sweden this summer.  To make the sachet pillow, you need one piece 4-1/2″ x 5-1/5″ and two pieces 3-1/4″ x 5-1/2″.

    sash10

    You need to finish one long side of each of the smaller pieces.  To do this, press over 1/4″, then press again—another 1/4″.

    sash11

    Take the pieces to your machine and stitch down.

    sash12

    Now place one of the hemmed pieces on the 4-1/2″ x 5-1/2″ piece, lining up raw edges.  The hemmed edge will be in the middle.

    sash13

    Take the other small piece and do the same thing, lining it up with the remaining raw edges.

    sash14

    At this point, you could pin, but I don’t.  Just take this to your machine and sew around all four sides with a 1/4″ seam allowance.

    sash15

    Trim the corners.  This makes it easier to get nice, sharp edges when you turn the pillow right sides out.

    sash16

    Open the little pillow at the hemmed edge and turn right sides out.

    sash17

    Push out the corners and press.

    sash18

    Now it’s time to insert the little muslin bag.  Just slip it one edge of the pillow cover.

    sash19

    Then tuck it up under the remaining side!

    sash20

    You may have to wiggle it a little bit to get it to lay in there nicely, but that’s it, that’s all there is to it!

    sash21

    You have a pretty little sachet!

    sash22

    When I’m making them for gifts, I like to put two together with a pretty ribbon.

    sash23

    You can use any kind of fabric for these.  Home dec fabric works great.  Here’s some hand woven fabric that I bought at a handcraft shop in Sweden.

    sash24

    I hope you’ll try making some of these—and send me photos when you do!

    sash25


    Tags: