Pottery Barn taste on an IKEA budget
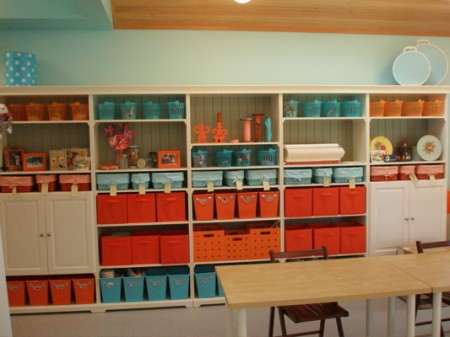
I had several questions about the shelves in my quilt studio after my last post. So here goes….. When we were building the studio, I looked through all kinds of magazines and catalogs trying to get ideas. Then I saw that there was a new book coming out from one of the quilt publishers. It was called Creating Your Perfect Quilting Space by Lois Hallock.
I could hardly wait for the release date! As soon as it came out, I bought a copy and read it from cover to cover. I wanted every sewing room in it! I wanted the green one! I wanted the knotty pine one! I wanted the one with the antique armoire! I wanted this Lois Hallock person to make me a pretty room and put me in a book! I read all of the helpful hints and thoughts on organizing, then I read the author’s bio. It said she grew up in Pennsylvania. Wow, that’s a long ways from Long Beach, Washington. But, it mentioned a web site. I checked it out. She lives just north of Seattle! Now THAT’S do-able! So, I bribed Lois with a weekend at Long Beach and hired her to consult on the studio. She drew out my layout, explained why ironing boards are big space wasters, explained why book shelves are perfect for fabric storage, talked to me about proper heights for cutting and sitting and sewing. But, best of all, she recommended IKEA. But I LOVED those Pottery Barn units that I’d seen in the PBK catalog. But, dang! They were expensive!
So, here’s what we did. Bob and I went to IKEA, found shelving units that we liked, and dressers that we liked and would work for cutting and ironing surfaces and brought home all these flat boxes. Be prepared for lots of assembling if you buy IKEA stuff. Oh, and no words in the instructions, but great pictures!
Now the one thing that set those Pottery Barn shelves apart was the placement of the doors–not at the top, not at the bottom, but just above the bottom shelf. So clever. So artsy. So glad I have Bob! The IKEA shelves were made so that you could put doors on the top OR the bottom, but not in between. Enter Bob. Sure, he says, he’d love to figure out how to do it some other way than the instructions say. Well, okay, not really love it, but he must love me, because he did. Then you need my sister, Sally, to find you all kinds of great bins and baskets to fill up your shelves. Didn’t she do a good job? She even found the Pottery Barn basket liners on close-out sale–and they were orange and aqua! They were too big for my baskets, but, guess what? I know how to sew!
There are 5 book cases in the long wall unit, then two double sets for fabric storage. On those, I let Bob put the doors on the bottom!
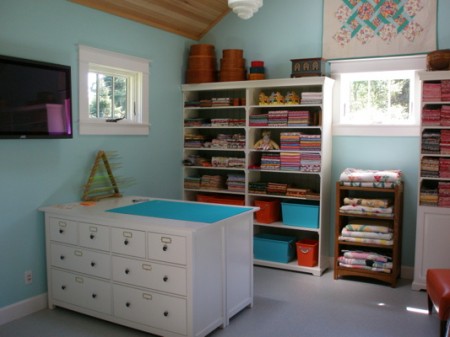
We bought two dressers for the cutting surface and put them back to back. It’s a great surface, and great storage, too. We also bought an additional dresser and Bob made an pressing surface for it. More storage and a great, big place to press (or pile things–no, wait, I don’t do that anymore!).
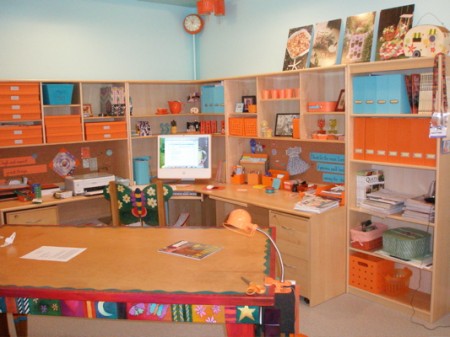
The corner desk unit is also an assemble-it-yourself, but it came from Dania. The drafting table and butterfly chair were a treat to myself and made by a company called Sticks.
Now, regarding the new resolution for organizing. I was gone over the weekend, and on the long drive home decided that the best way, the way that might work for me, is to spend the first hour of everyday working on organizing. It has to be the first hour, or I’ll never get to it. So, this morning, when I heard Bob get out of bed, I jumped up (well, I stiffly eased my way out of bed), pulled on my sweat pants, and headed to the Ann Frank room–my equivalent of an attic–and dug in. I made some real progress and plan to be back in there with my timer tomorrow morning!
I’m Karen Snyder and I approve this message!
