Really!
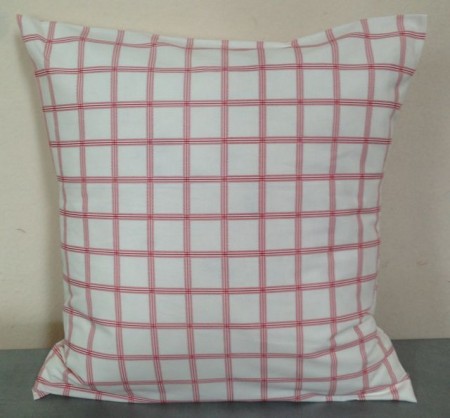
I actually made this pillow in nine minutes—and, I was taking photos along the way!
It only required sewing two seams–TWO SEAMS! This is for an 18″ pillow form.
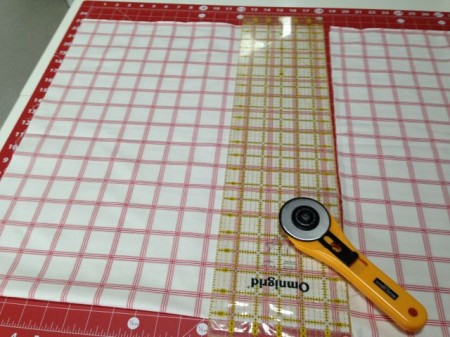
First, cut a half yard piece of your chosen fabric, 18″. I got to thinking if you bought a half yard of fabric, you could skip this step! And, no, I didn’t add anything for seam allowances, because I like my pillow to fit snugly.
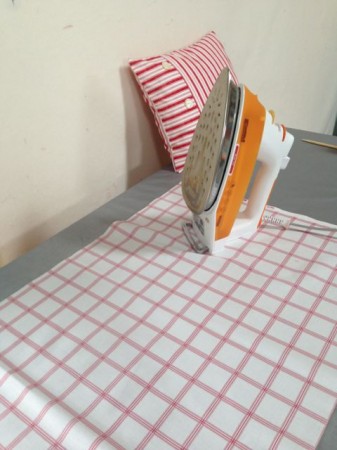
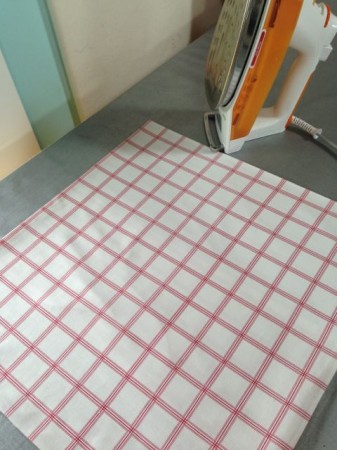
Take it to the ironing board and press it, getting rid of that fold mark in the middle.
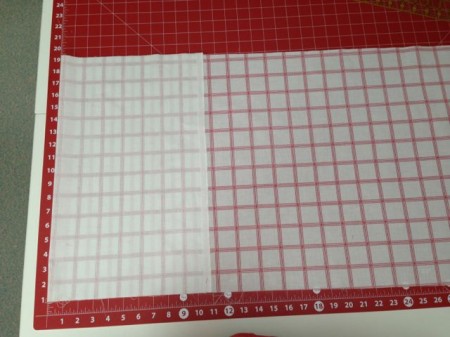
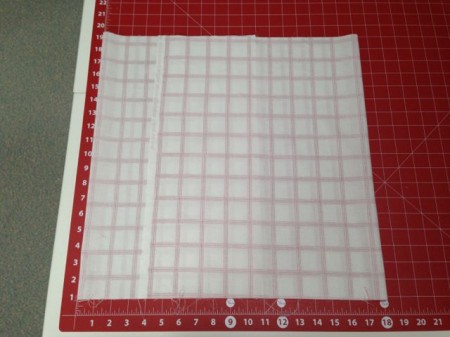
Now, back to the cutting board. Lay the fabric facedown, lengthwise, with about 11″ hanging off to the left of your first mark. Fold that hanging down part over so that the fold is along the first mark on your cutting board. We’re taking advantage of the selvedges here, so this should be the selvedge without the printing on it.
Now fold the other half over, making that fold along the 18″ mark.
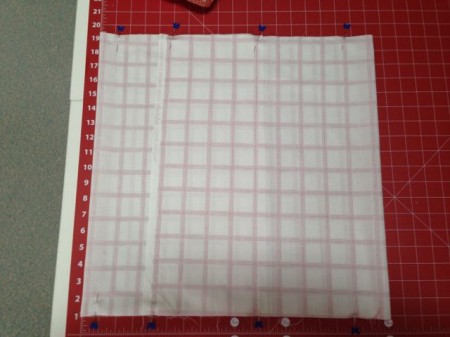
Stick some pins in along the top and bottom edges.
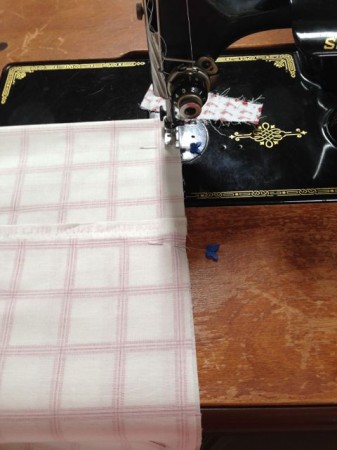
Take it to your machine and sew the two seams! I went back and forth where the fabrics overlapped.
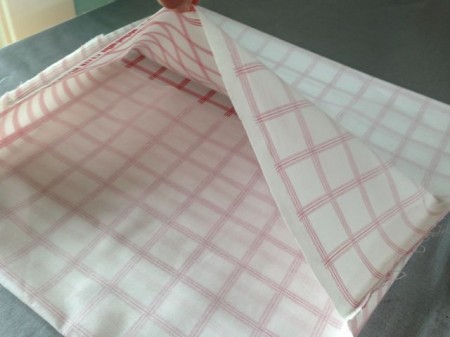
Reach in and turn it right side out!
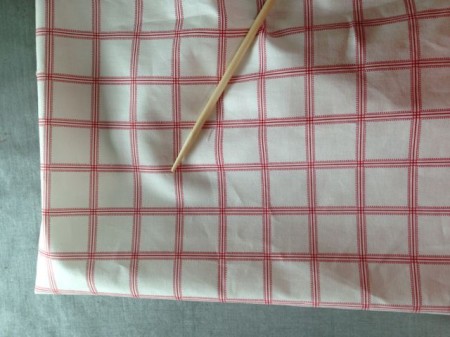
I use this little wooden gizmo to poke out the corners.
Press again.
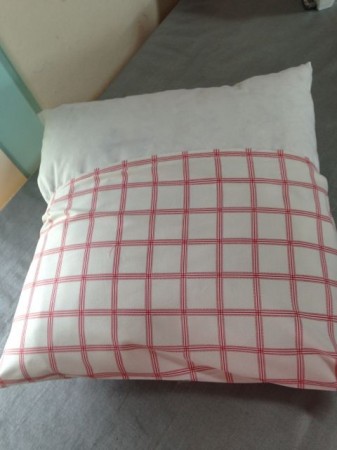
Stuff in your pillow form and, voila!
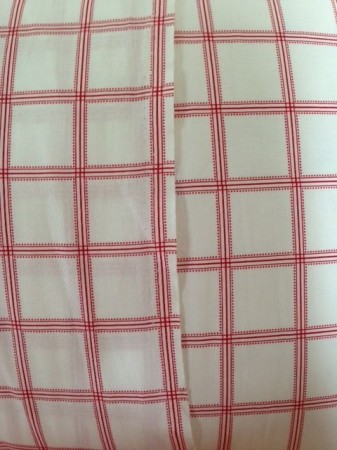
A quick pillow in just 10 minutes—or less! It even looks good on the back!
2 Responses
May 31st, 2014 at 4:03 pm
What is not to love w/this?? I have used that process for some laminated fabric for outdoor pillows….Lickety split it’s done!!!
This will look really nice w/your new quilts!!
ps…love the red cutting mat…I got a couple for myself, recently!! xoxox
September 14th, 2014 at 8:55 pm
Thank you so much. I love this! Hate spending time making pillows for my husband’s den when he comes in all hot & sweaty from the garden and uses them. Even washable ones get pretty nasty after a while.