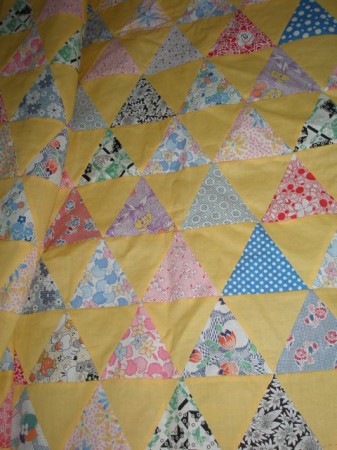
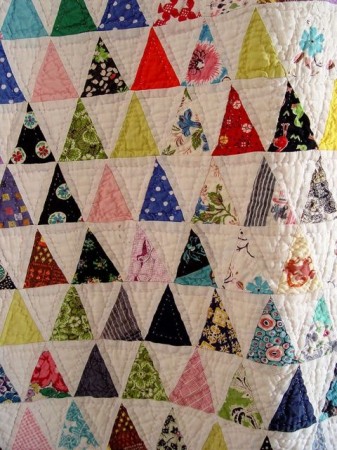
Spring 2012 has arrived. Whoop, whoop! That means it’s time for the next Quilt Block A Day project. This time, we’re doing Pyramids, also known as 60 Degree Triangles. The quilt top pictured here is one I remade from a vintage top……but that’s another story!
You can achieve many different looks with 60 degree triangles. One of my favorites is using scraps and a solid, like I did here. I’ll give you lots of ideas as we go along, but here’s a tutorial to get you started making your own Pyramid Quilt!
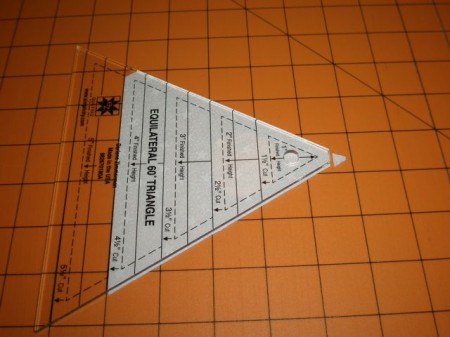
I highly recommend a 60 Degree Ruler for this project. I like this one by EZ. It will make your life sooooo much easier! If you’re like me, you probably have a lot of rulers. Check them out. Maybe one of the is a 60 degree ruler. The important thing is the flat spot at the top of this ruler.
Yes, I know that there is a 60 degree angle mark on most 24″ rulers and I even know how to use it to cut 60 degree triangles! You could certainly use one for this project. BUT, there’s a huge advantage with a 60 degree ruler like this one that will let you nip off the ends It will help you align everything perfectly–no guessing needed.
You can make finished blocks from 1″ to 5″ with this ruler. I did 4″ finished blocks. If you want to do 4″ finished blocks, too, you’ll need to cut 4-1/2″ strips from your fabric or scraps. You’ll notice that the top of this ruler doesn’t quite come to a point. Place this little flat end along the top of your strip. The bottom of the strip should be under the 4-1/4″ line on the ruler.
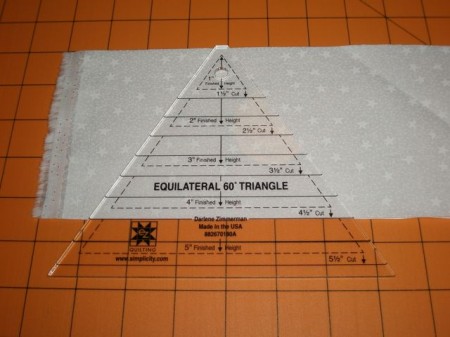
My fabric is doubled. You could stack four to six layers if you’re confident about your cutting. Make a cut on each side of the ruler.
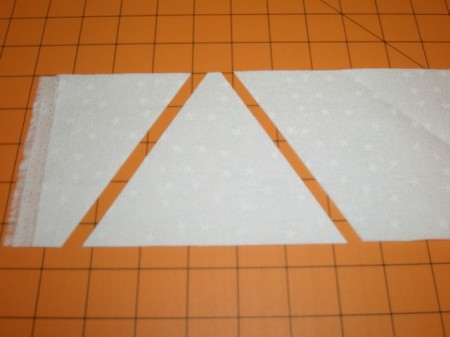
Now turn the ruler and cut again. This time, that little flat edge is at the bottom of the strip. Continue cutting along your strip.
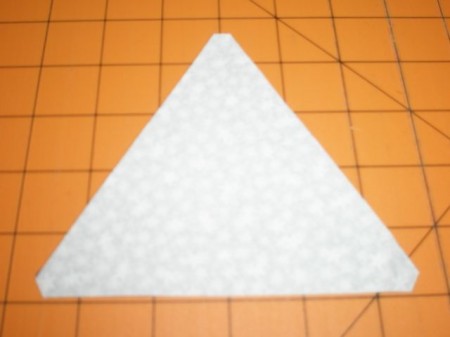
You’re not quite finished with the cutting of your triangles, but this next step is what makes these pieces go together perfectly. The triangle pieces that you just cut will have two pointy ends and one flat one. You need to make them all flat. If you do this, it will make it so easy to line up your blocks and find your proper seam allowance. Place the blunt and of the ruler on your fabric so you can nip off the points.
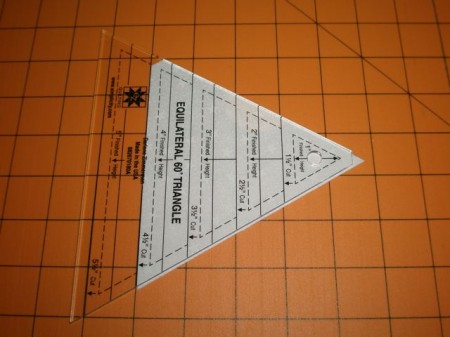
A quick swipe with your rotary cutter and it’s done! Do this to the remaining point. Do ALL your triangles this way.
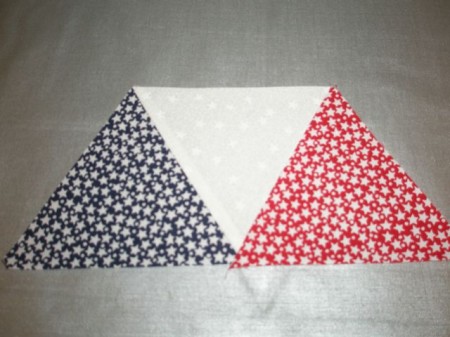
When you’re ready to stitch, just place two triangles, right sides together…
…and stitch along one edge, using a 1/4″ seam allowance.
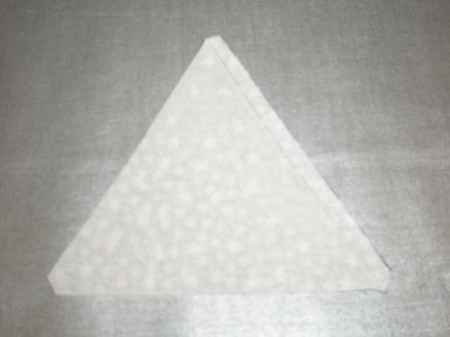
Press. This quilt is assembled in rows. I press all the seams in one row to the right, the next row to the left, and so on.
Keep adding triangles…
…pressing after each addition. Finger pressing is okay.
Since we don’t really have a pieced block, if you do eight triangles a day each day this spring, you’ll have enough for a quilt that’s 56″ wide and 62″ long!
Here are a couple of other Pyramid Quilts for inspiration.
I’m in love with the bright colors and the quilting in this quilt. It’s from the Armchair Quilter.
I love the clean, crisp look of this scrappy quilt set with white. I found it on Ebay.
This one is delightfully scrappy. I found it on Quilting Adventures.
Whatever you decide to do, I hope you’ll share your photos with us on the A Quilt Block A Day page on Facebook.