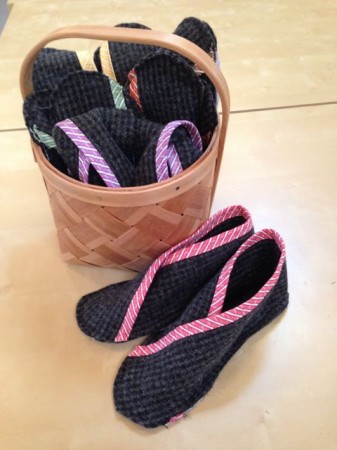
In Sweden, everyone takes their shoes off when they enter your house. Since floors can be cold, I thought it would be fun to have a basket of slippers for my guests.
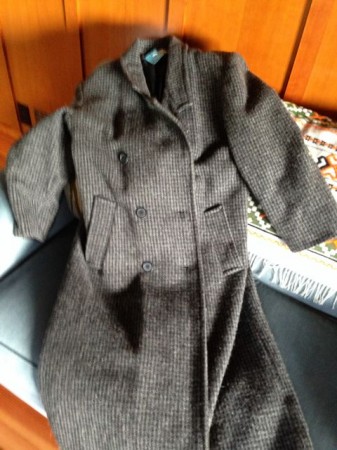
So I went to the local thrift store and bought a wool coat.
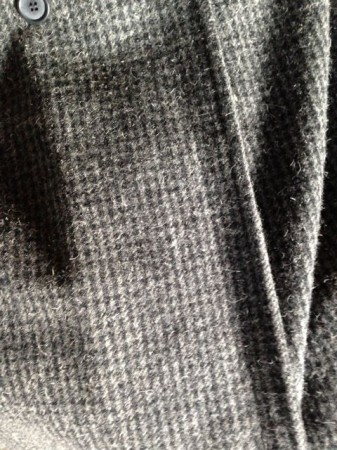
It was 100% wool and very nicely made.
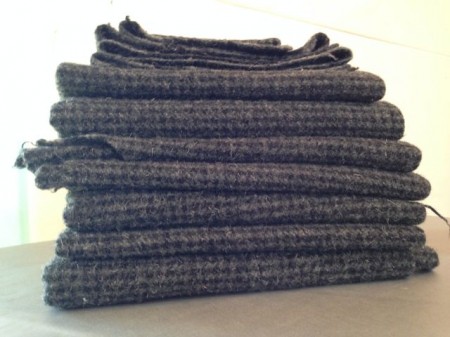
It took me about a half hour to take it all apart. I tossed the lining and any interfacing, and was left with a nice stack of wool. I wanted to felt it so I tossed into the washer with a little soap and set the machine for the longest, hottest cycle to felt the wool. Then I tossed it into a hot dryer. Voila! Felted wool! Now the slippers will be washable!
I looked around the web for tutorials on how to make slippers and found quite a few. I found the one I liked best here and adapted it.
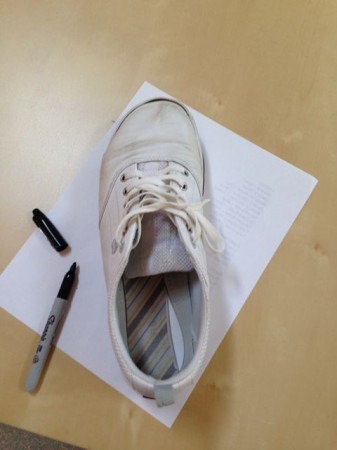
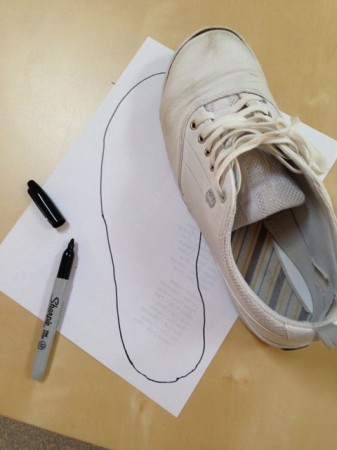
Instead of tracing around my foot to make a pattern, I started by tracing around my shoe.
I figured if I used the outside of my shoe, I’d be just right for seam allowances.
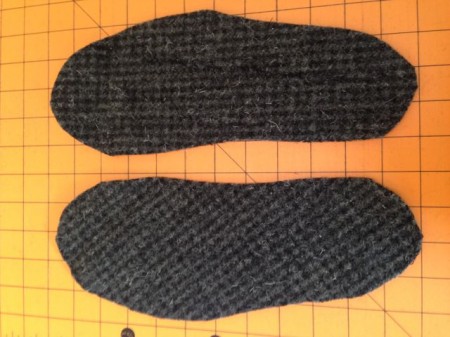
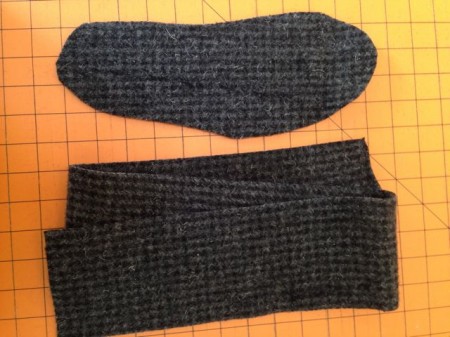
I stacked up two pieces of wool and cut two soles.
I also cut two long pieces 4″ x 31″.
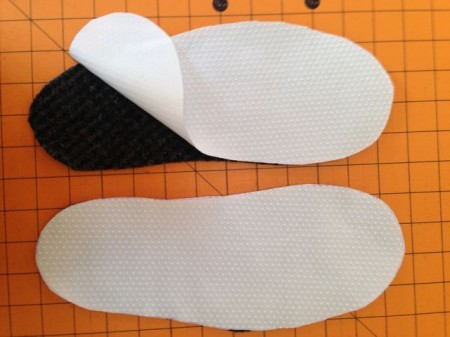
I bought some non-skid slipper stuff for the bottom and cut out two of those, slightly larger than the soles, planning to cut them down later. I used some spray baste to stick them to the bottom of the soles.
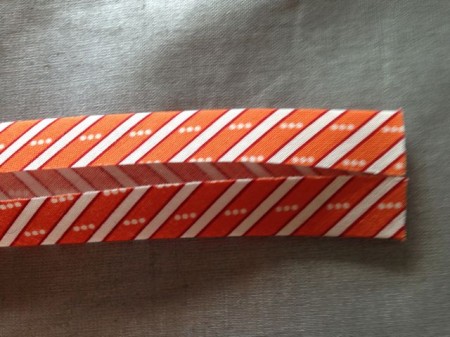
Then I made some bias binding. I used scraps, but you can cut what you need out of 1/3 yard of fabric. I cut six strips on a 45 degree angle and sewed them together. Then I pressed the strip in half, opened it up and pressed the edges to the middle.
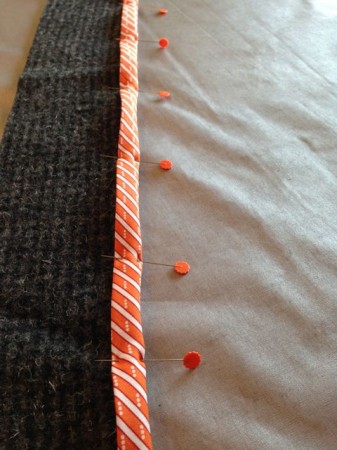
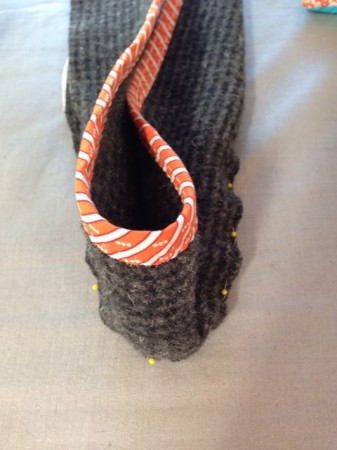
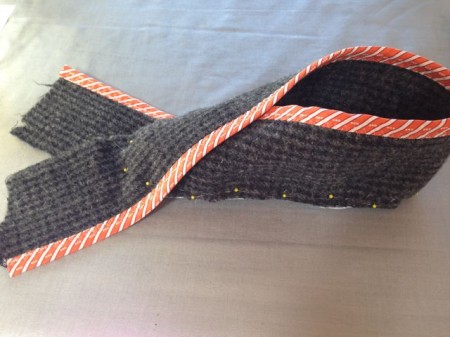
I pinned the binding along one long edge of the strip.
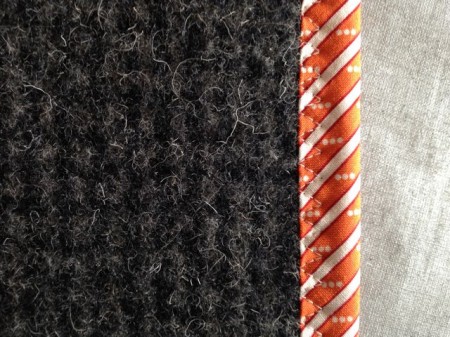
I used a triple zigzag stitch to attach it.
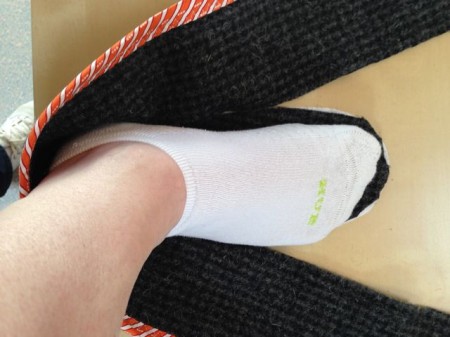
I folded the long strip in half to find the middle, then started pinning at the heel and about half way along each side.
Then I stuck my foot in there!
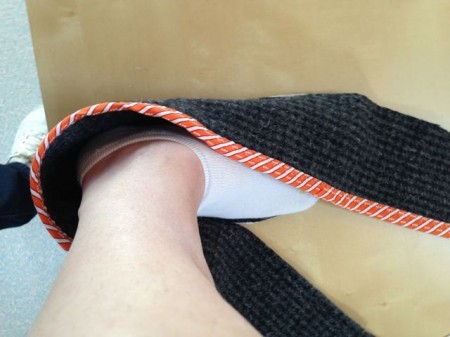
I lapped one side over…
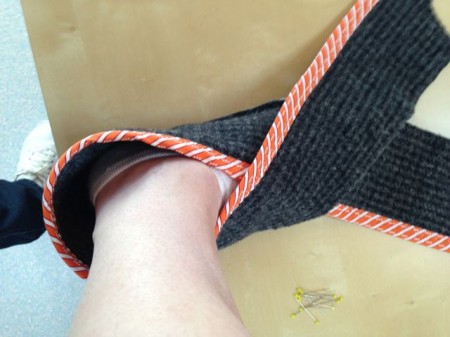
…then the other.
Then I continued pinning, feeling the sole underneath, and pinning around the toe.
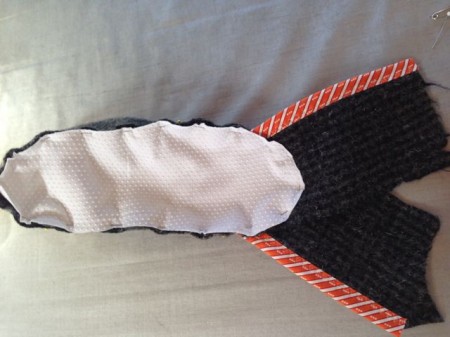
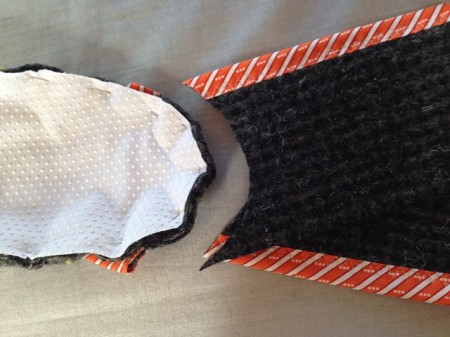
Here’s what it looked like from the bottom.
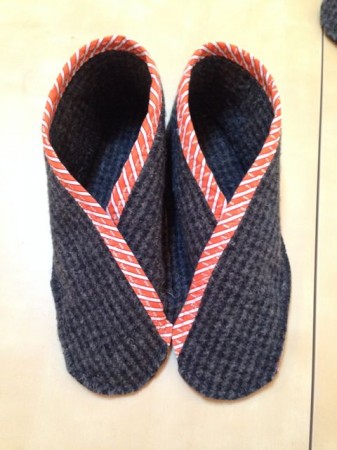
I trimmed away the excess, took it to the machine and stitched around the perimeter.
When you make the second one, be sure you lap the strip in the opposite direction.
Then I borrowed Robin’s serger and went around the edges again.
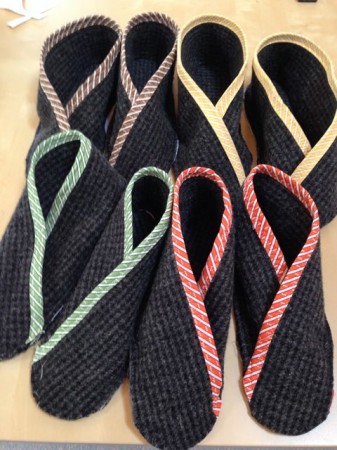
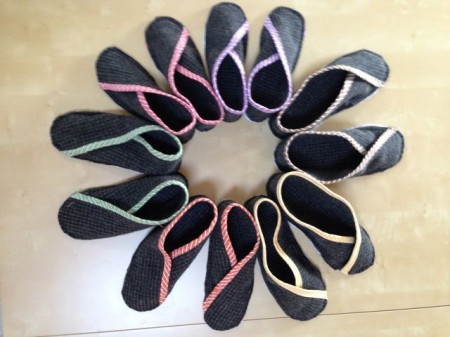
I made two small, two medium and two large! I used Bob’s shoe for the large and just reduced mine for the small.
Hopefully, everyone will have toasty toes when they visit!
8 Responses
May 8th, 2014 at 9:37 am
Cool idea, Karen. How easy too.
May 8th, 2014 at 10:14 am
Those are cute. But yours are waaaaaayyyyyyy cuter than the tutorial!!!!
May 8th, 2014 at 11:45 am
They turned out great! And I agree with the above comment, your slippers are way cuter than mine! lol! 😀
May 8th, 2014 at 12:16 pm
Fun,fabulous & functional……perfect!!
Xox
May 8th, 2014 at 3:39 pm
Love them. You might have chosen a better-looking shoe for the tutorial (instead of something you purchased from your sister’s garage sale!).
May 9th, 2014 at 3:17 am
Love it! Where did you get the non skid stuff for the bottoms?
November 9th, 2014 at 8:49 am
Thank you! My husband’s cousin has had a stroke, and has asked me to make her a slipper with a non-skid sole that she can easily put on by herself (limited range of motion) so that as she learns to get herself out of bed by herself in the night to use the bathroom, she can walk safely (she also uses grab bars) and still have warm feet. Your pattern looks like it will be perfect for her. I’ll visit the thrift store for a wool jacket to use this week!
November 4th, 2015 at 1:13 pm
Howdy would you mind sharing which blog platform
you’re using? I’m planning to start my own blog in the near future but I’m having a
tough time making a decision between BlogEngine/Wordpress/B2evolution and Drupal.
The reason I ask is because your design and style seems different then most blogs and I’m looking for something completely unique.
P.S Sorry for being off-topic but I had to ask!