It’s time again for a new round of quilts at A Quilt Block A Day. That is the Facebook page I have where a group of us does a block a day for three months, four times a year! We change blocks with the seasons, and, since tomorrow is the first day of fall, it’s time for a new block!
This is an easy block with a lot of impact—the Tessellating Cross. This is one I made for my book Fat Quarter Fun.
In this quilt you have the same design in the light and dark areas. In other words, you have light crosses, the white, and dark crosses—the black in the sample above and the red in the sample below.
I’ve chosen to use a bunch of my lavender scraps for my quilt. Here’s how I did it. I grabbed my bin of lavender scraps. I pulled out several hunks that were still full width, i.e. from selvedge to selvedge. From each of those I cut a 2-1/2″ strip. Then I cut 2-1/2″ strips of a cream-on-white print. (*See below if you don’t want to use strips.)
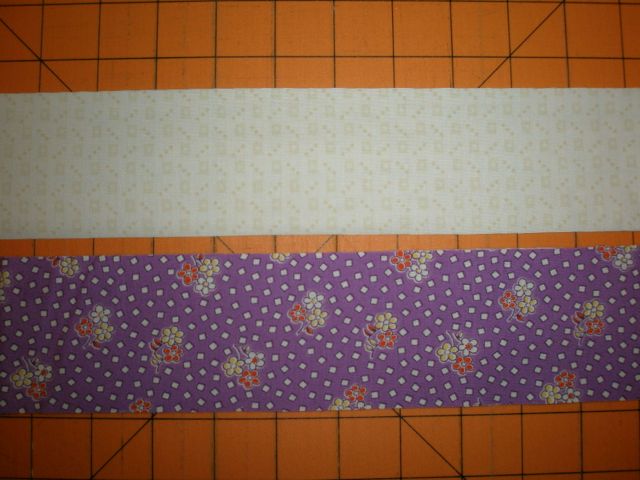
Stitch the two strips together along the long sides. Set the seam with your iron.
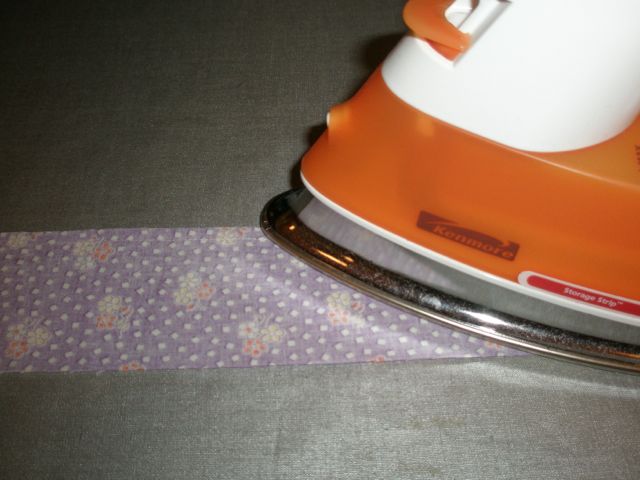
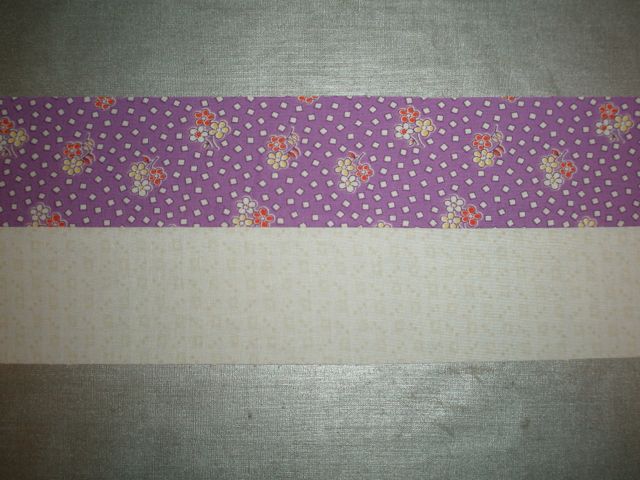
Fold back the dark strip and press. Do you know that if you have your dark fabric on top, when you lift and press it, the seam below will always be pressed toward the darker fabric?
From your strip, cut eight 4-1/2″ segments. This is enough for two blocks.
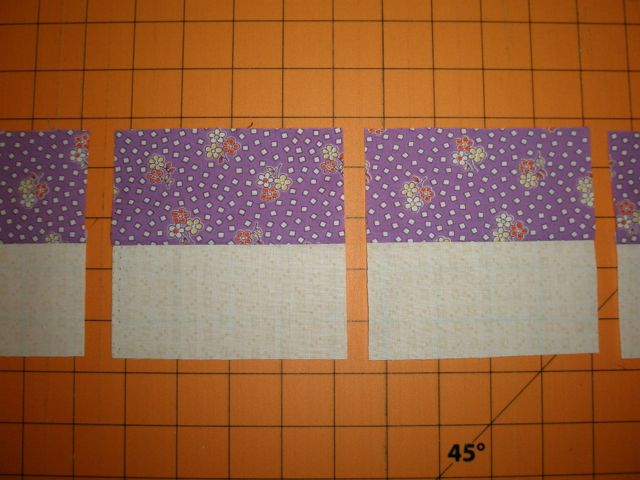
You should have a little more left, so cut two 2-1/2″ segments. You can use these later in the border, if you want, or use them to make four-patches for another project.
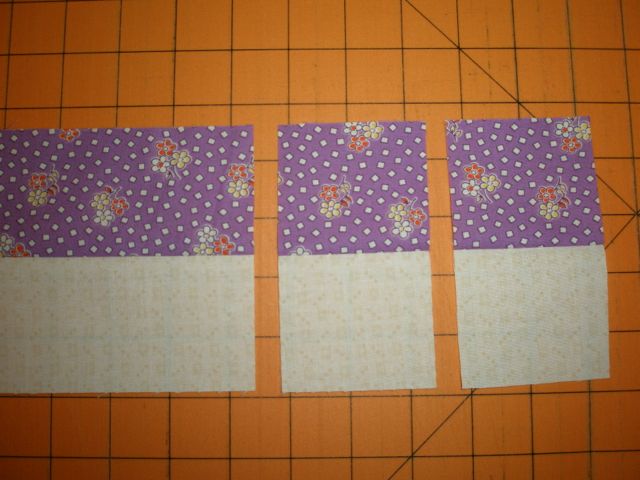
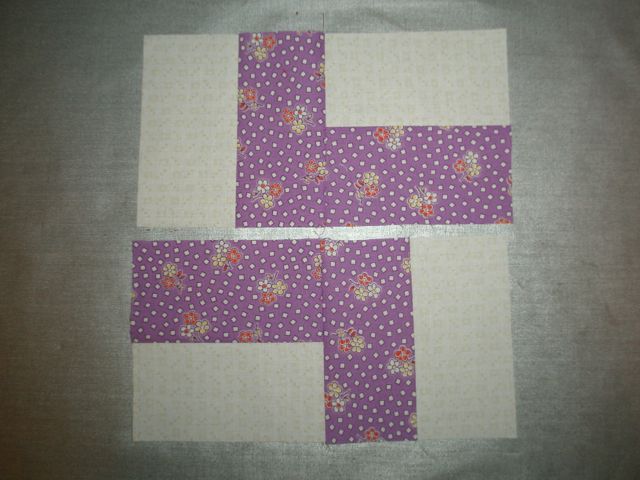
Take your 4-1/2″ segments and lay them out as shown below.

Stitch the top half, then the bottom half. Press toward the long dark strip and stitch the two halves together.
From the back, you can see that I pressed that last seam in two different directions. On the left, I pressed it up (toward the lavender print) and on the right, I pressed it down (toward the lavender print). To do this, you have to wiggle the seam in the middle a bit. It will open up and everything will lay nice and flat!
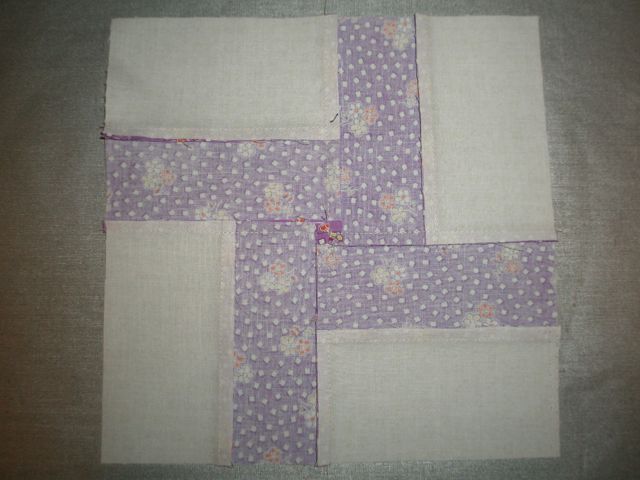
The finished block! There are only four seams here—three if you strip pieced the first part!

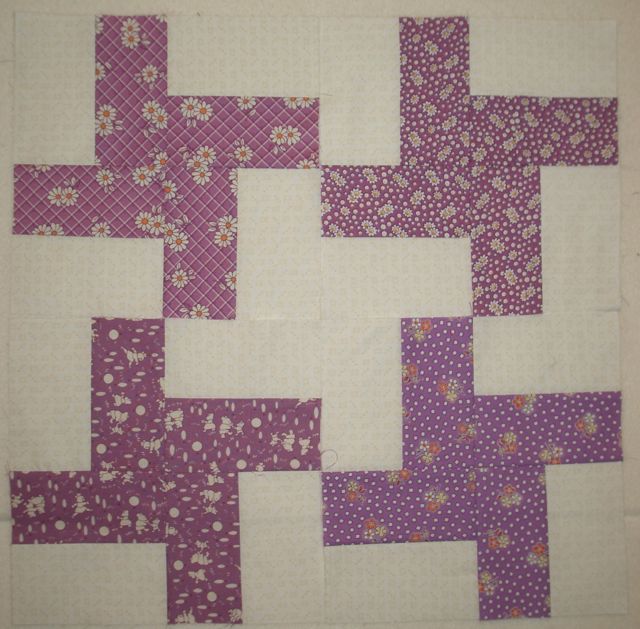
When I put four of them up on the design wall, you can see the white cross in the center!
So, won’t you come on over the A Quilt Block A Day, click “Like” and enjoy the progress of the rest of the group? If you make just one block a day (three seams!), you’ll have 90 blocks by the time winter rolls around!
You can CLICK HERE for the tutorials for previous A Quilt Block A Day tutorials.
*If you don’t want to use strips, you can use scraps for your blocks. You will need four 2-1/2″ x 4-1/2″ of light and the same of dark fabric for each block.