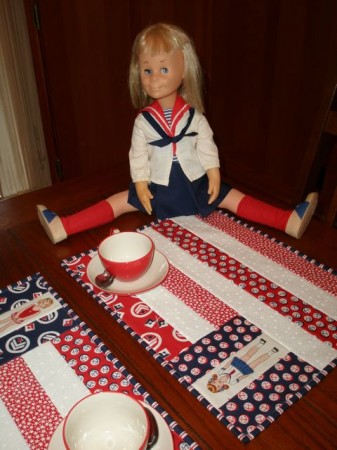
Are you ready for a patriotic tea party? My favorite paper dolls have joined the USO and are all dressed up in their favorite patriotic outfits…
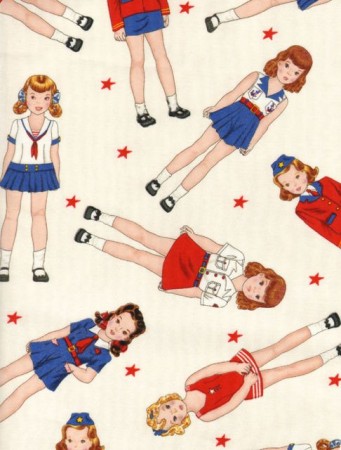
..just perfect for a red, white and blue tea party!
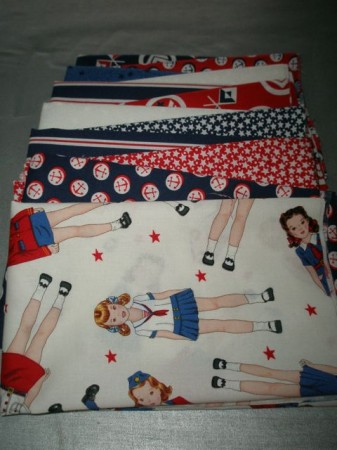
There are ten prints in my new Red, White and True Blue collection. To make a set of four quilt-as-you-go flag placemats, you need a fat quarter of each, plus an extra fat quarter of the white stars and the navy stripes. You will also need four 16” x 20” pieces of batting.
Select one of the girl figures and fussy cut her from the fat quarter. This piece needs to be 2-1/2” x 6-1/2”. Repeat until you have cut out four girls.
The four blue fat quarters are going to become the backs of your placemats. But first, you need one 2-1/2” strip to frame the dolls. Lay the fat quarter on your cutting mat with the long side along the bottom of the mat. Cut one 2-1/2” strip. From this strip, cut two 2-1/2” x 6-1/2” rectangles. Do this with all four blue fat quarters.
From each white fat quarter, cut six 2-1/2” strips. Crosscut into four 2-1/2” x 12-1/2” rectangles and eight 2-1/2” x 18-1/2” rectangles.
From each red fat quarter, cut six 2-1/2” strips. Crosscut into eight 2-1/2” x 12-1/2” rectangles and eight 2-1/2” x 18-1/2” rectangles. You’ll have a little left over, but, hey! We’re quilters. We know what to do with leftovers!
For your first placemat, choose the following:
two 12-1/2” red strips and one 12-1/2” white strip
two 18-1/2” red strips and two 18-1/2” white strips
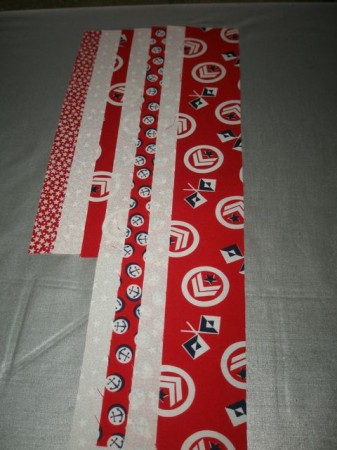
On a flat surface, lay one of the blue backing pieces wrong side up. Place a piece of batting on the backing. Near the top left corner, place a 12-1/2” red strip, right side up. Directly over the red strip, place a 12-1/2” white strip, right side down.
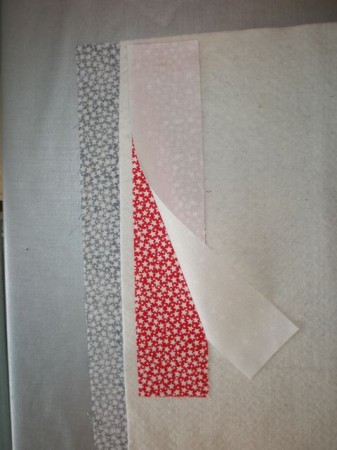
Take the whole works to your sewing machine and stitch ¼” from the edge of the fabric, stitching through the batting and backing.
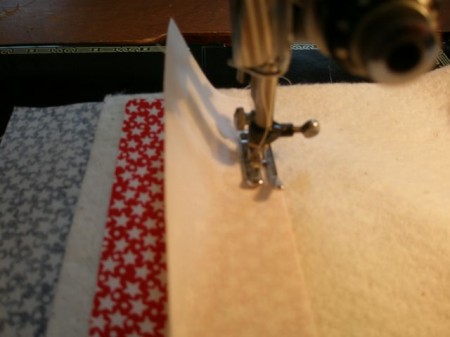
Press the white strip open.
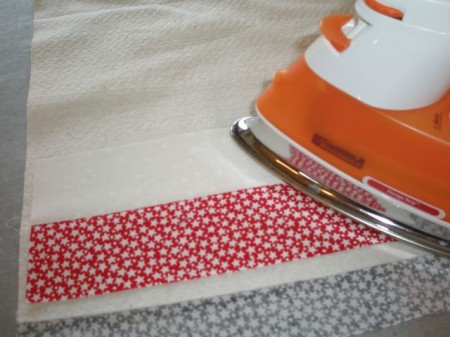
Put the remaining 12-1/2” red strip on top of the pressed white strip, right side down…
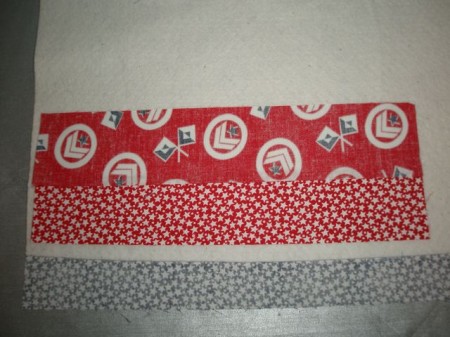
…sew, flip and press!
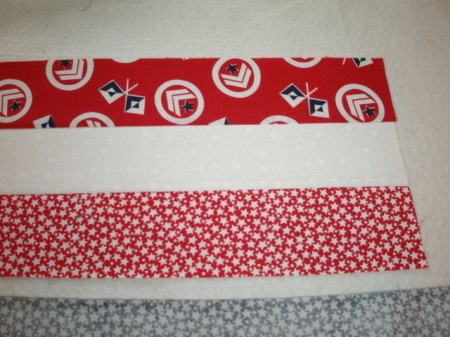
Now it’s time to make the blue “field” part of your flag placemat.
Place a 6-1/2” blue strip, right side down, over the inside end of your previously sewn strips.
Sew, flip and press.
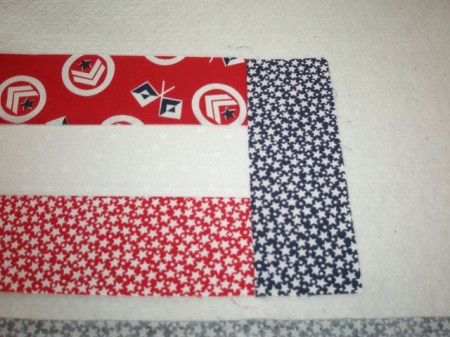
Now it’s time for your first girl. Remember, you’re working upside down, so place the strip appropriately!
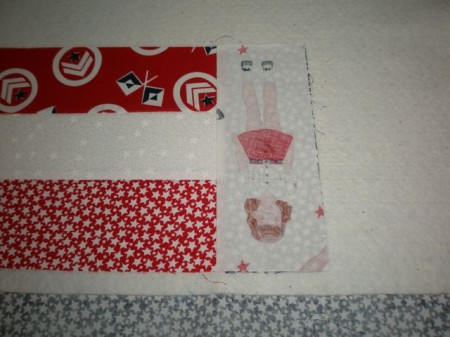
Sew, flip and press.
Now add the matching 6-1/2” blue strip.
Stitch, flip and press.
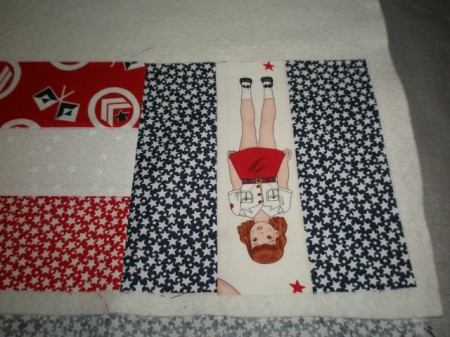
Now it’s time to start adding the 18-1/2” strips. First you’ll add a white one. Sew, flip and press.
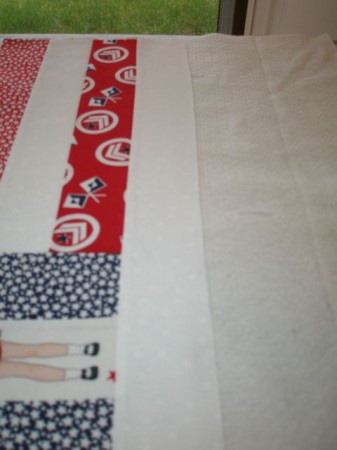
I bet you’re getting the hang of this now! Add the three remaining strips, sewing, flipping and pressing after each addition.
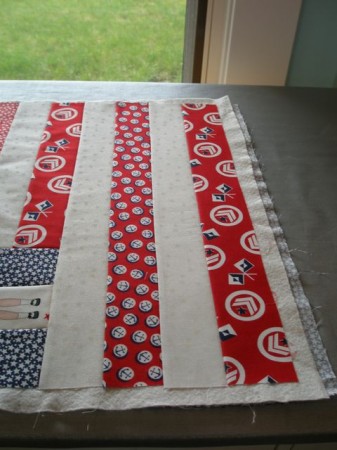
Trim the placemat to 18-1/2” x 14-1/2”. If your measurement is a little different, it doesn’t matter!
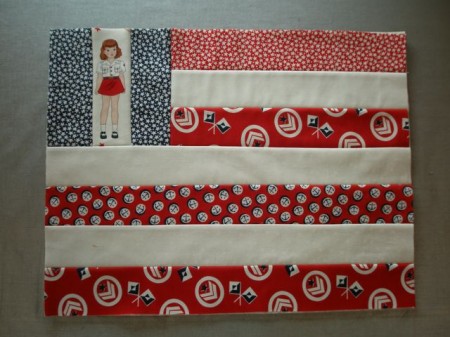
Cut the two striped fat quarters into 2-1/4” strips. Join strips together for binding. Bind the placemats.
Repeat to make four placemats.
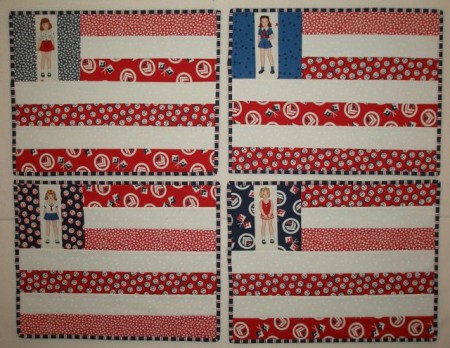
Make sure to ask your local quilt shop for my new collection, Red, White and True Blue, so you can whip up these fun placemats in time for your next tea party! And don’t forget to visit my website for more fabric fun. Happy sewing!
