• 20Mar
    Categories: fabric design Comments Off on Red, White and Blue Placemat Tutorial

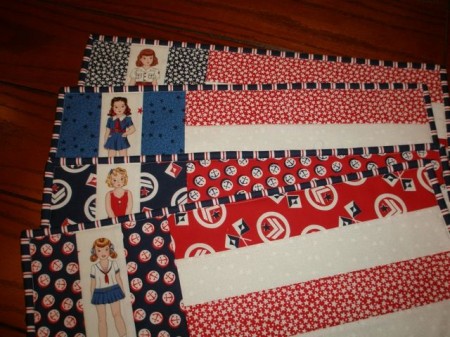
    Are you ready for a patriotic tea party?  My favorite paper dolls have joined the USO and are all dressed up in their favorite patriotic outfits…
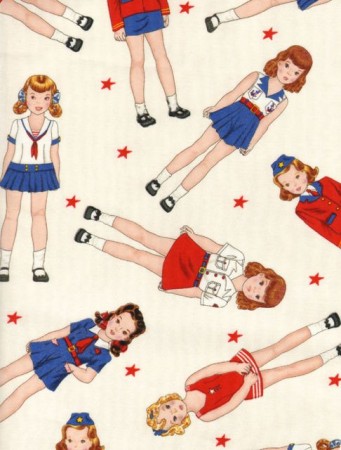
    ..just perfect for a red, white and blue tea party!

    There are ten prints in my new Red, White and True Blue collection.  To make a set of four quilt-as-you-go flag placemats, you need a fat quarter of each, plus an extra fat quarter of the white stars and the navy stripes.  You will also need four 16” x 20” pieces of batting.
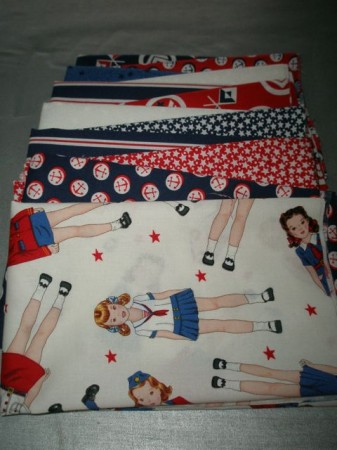
    Select one of the girl figures and fussy cut her from the fat quarter.  This piece needs to be 2-1/2” x 6-1/2”.  Repeat until you have cut out four girls.

    The four blue fat quarters are going to become the backs of your placemats.  But first, you need one 2-1/2” strip to frame the dolls.  Lay the fat quarter on your cutting mat with the long side along the bottom of the mat.  Cut one 2-1/2” strip.  From this strip, cut two 2-1/2” x 6-1/2” rectangles.  Do this with all four blue fat quarters.

    From each white fat quarter, cut six 2-1/2” strips.  Crosscut into four 2-1/2” x 12-1/2” rectangles and eight 2-1/2” x 18-1/2” rectangles.
    From each red fat quarter, cut six 2-1/2” strips.  Crosscut into eight 2-1/2” x 12-1/2” rectangles and eight 2-1/2” x 18-1/2” rectangles.  You’ll have a little left over, but, hey! We’re quilters.  We know what to do with leftovers!

    For your first placemat, choose the following:
    two 12-1/2” red strips and one 12-1/2” white strip
    two 18-1/2” red strips and two 18-1/2” white strips
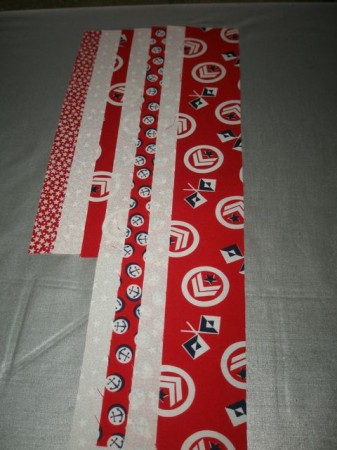
    On a flat surface, lay one of the blue backing pieces wrong side up.  Place a piece of batting on the backing.  Near the top left corner, place a 12-1/2” red strip, right side up.  Directly over the red strip, place a 12-1/2” white strip, right side down.
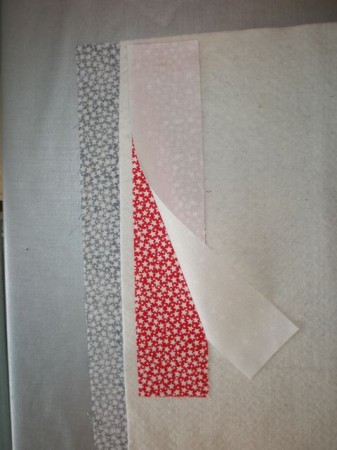
    Take the whole works to your sewing machine and stitch ¼” from the edge of the fabric, stitching through the batting and backing.
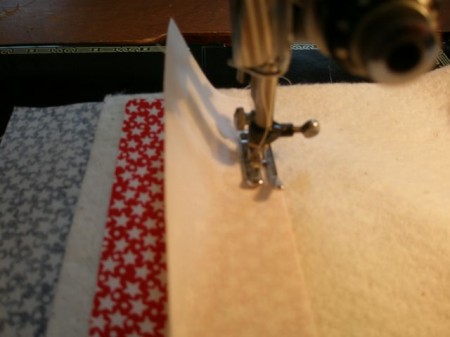
    Press the white strip open.
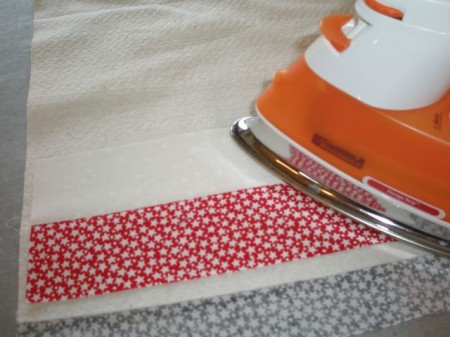
    Put the remaining 12-1/2” red strip on top of the pressed white strip, right side down…
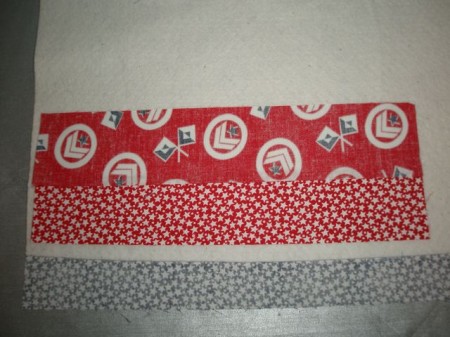
    …sew, flip and press!
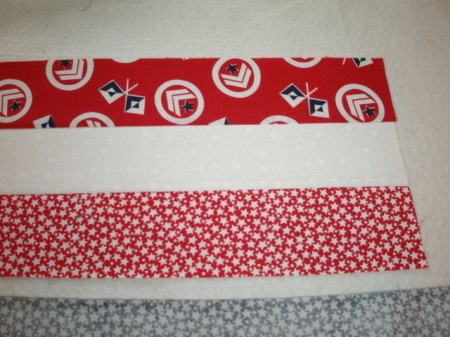
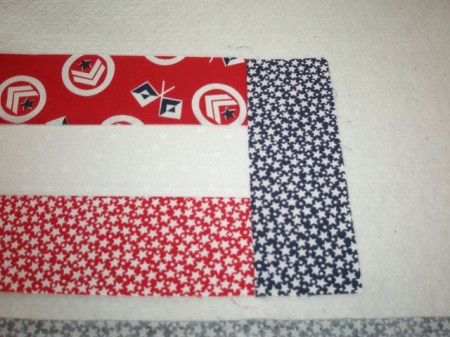
    Now it’s time to make the blue “field” part of your flag placemat.

    Place a 6-1/2” blue strip, right side down, over the inside end of your previously sewn strips.

    Sew, flip and press.
    Now it’s time for your first girl.  Remember, you’re working upside down, so place the strip appropriately!
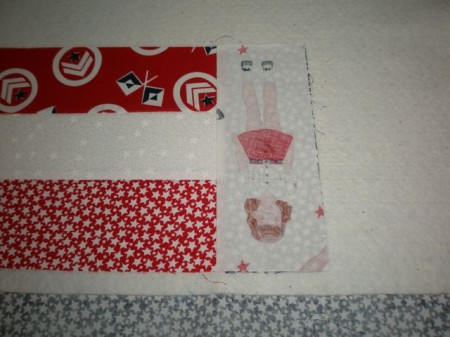
    Sew, flip and press.

    Now add the matching 6-1/2” blue strip.

    Stitch, flip and press.
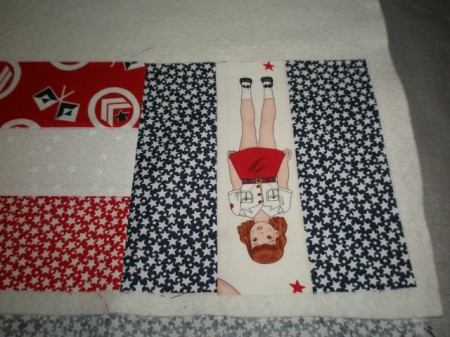
    Now it’s time to start adding the 18-1/2” strips.  First you’ll add a white one. Sew, flip and press.
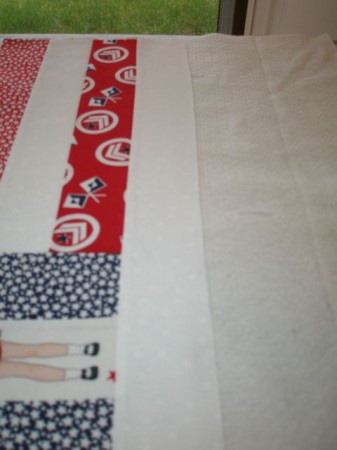
    I bet you’re getting the hang of this now!  Add the three remaining strips, sewing, flipping and pressing after each addition.
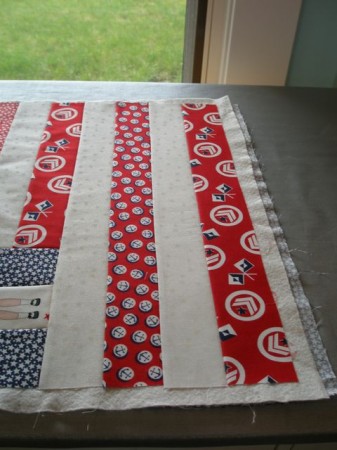
    Trim the placemat to 18-1/2” x 14-1/2”.  If your measurement is a little different, it doesn’t matter!
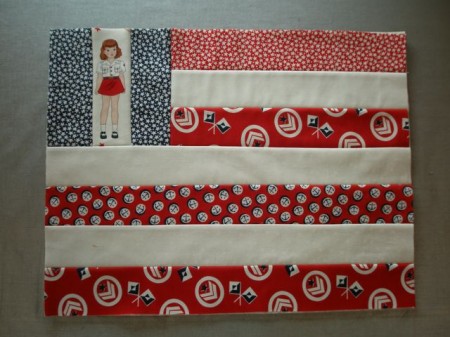
    Cut the two striped fat quarters into 2-1/4” strips.  Join strips together for binding.  Bind the placemats.

    Repeat to make four placemats.
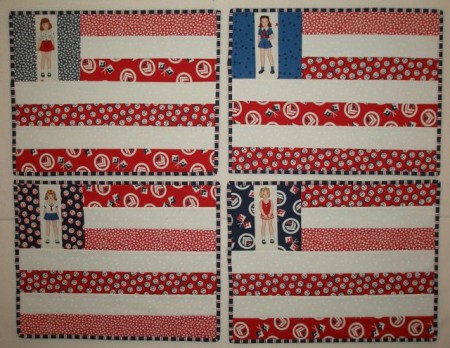
    Make sure to ask your local quilt shop for my new collection, Red, White and True Blue, so you can whip up these fun placemats in time for your next tea party! And don’t forget to visit my website  for more fabric fun. Happy sewing!
    Tags:
  • 20Mar
    Categories: Everything! Comments Off on A Quilt Block A Day Tutorial – Pyramids!
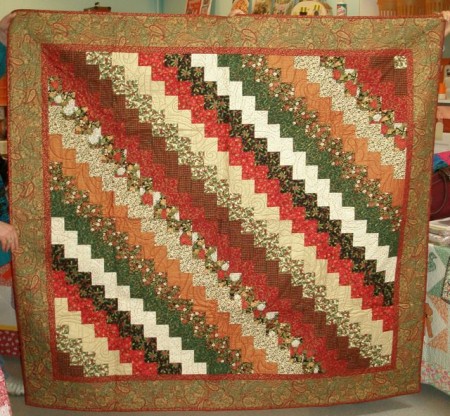
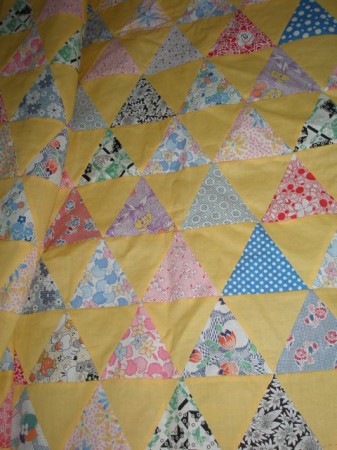
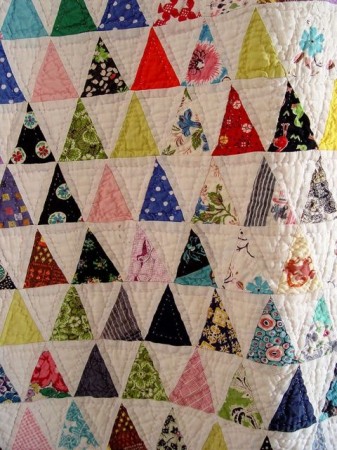
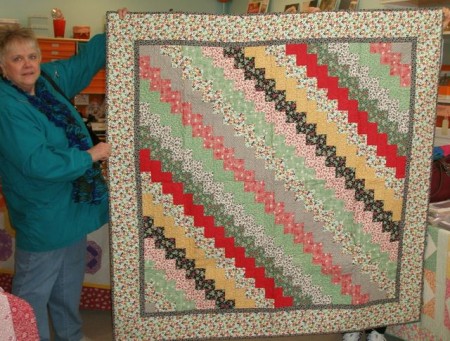
    Spring 2012 has arrived.  Whoop, whoop!  That means it’s time for the next Quilt Block A Day project.  This time, we’re doing Pyramids, also known as 60 Degree Triangles.  The quilt top pictured here is one I remade from a vintage top……but that’s another story!

    You can achieve many different looks with 60 degree triangles.  One of my favorites is using scraps and a solid, like I did here.  I’ll give you lots of ideas as we go along, but here’s a tutorial to get you started making your own Pyramid Quilt!

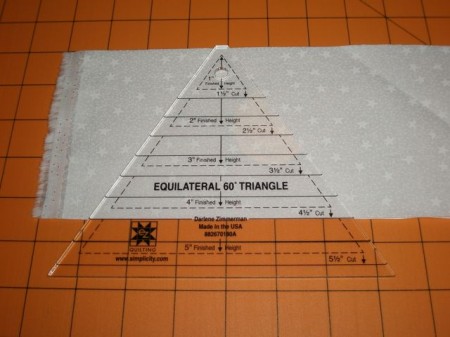
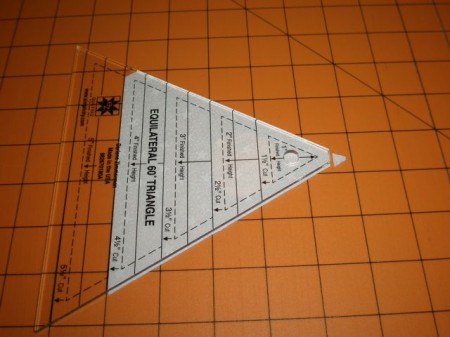
    I highly recommend a 60 Degree Ruler for this project.  I like this one by EZ.  It will make your life sooooo much easier!  If you’re like me, you probably have a lot of rulers.  Check them out.  Maybe one of the is a 60 degree ruler.  The important thing is the flat spot at the top of this ruler.

    Yes, I know that there is a 60 degree angle mark on most 24″ rulers and I even know how to use it to cut 60 degree triangles!  You could certainly use one for this project.  BUT, there’s a huge advantage with a 60 degree ruler like this one that will let you nip off the ends  It will help you align everything perfectly–no guessing needed.

    You can make finished blocks from 1″ to 5″ with this ruler.  I did 4″ finished blocks.  If you want to do 4″ finished blocks, too, you’ll need to cut 4-1/2″ strips from your fabric or scraps.  You’ll notice that the top of this ruler doesn’t quite come to a point.  Place this little flat end along the top of your strip.  The bottom of the strip should be under the 4-1/4″ line on the ruler.

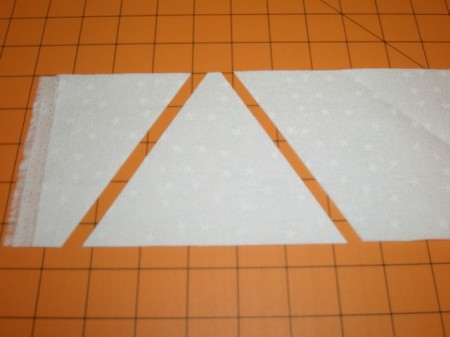
    My fabric is doubled.  You could stack four to six layers if you’re confident about your cutting.  Make a cut on each side of the ruler.

    Now turn the ruler and cut again.  This time, that little flat edge is at the bottom of the strip.  Continue cutting along your strip.

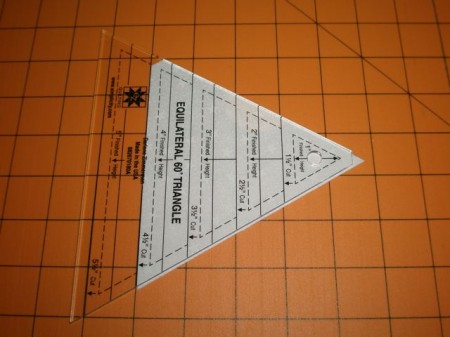
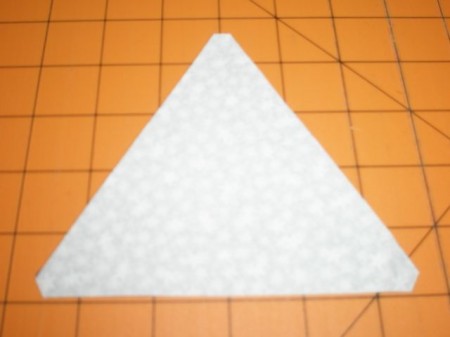
    You’re not quite finished with the cutting of your triangles, but this next step is what makes these pieces go together perfectly.  The triangle pieces that you just cut will have two pointy ends and one flat one.  You need to make them all flat.  If you do this, it will make it so easy to line up your blocks and find your proper seam allowance.  Place the blunt and of the ruler on your fabric so you can nip off the points.

    A quick swipe with your rotary cutter and it’s done!  Do this to the remaining point.  Do ALL your triangles this way.

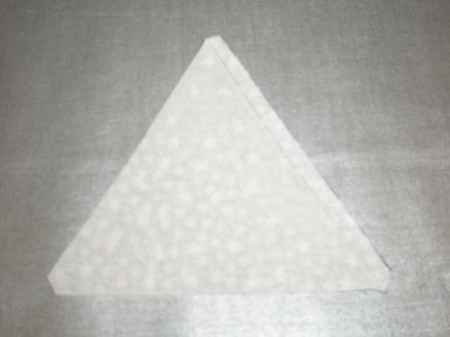
    When you’re ready to stitch, just place two triangles, right sides together…

    …and stitch along one edge, using a 1/4″ seam allowance.

    Press.  This quilt is assembled in rows.  I press all the seams in one row to the right, the next row to the left, and so on.

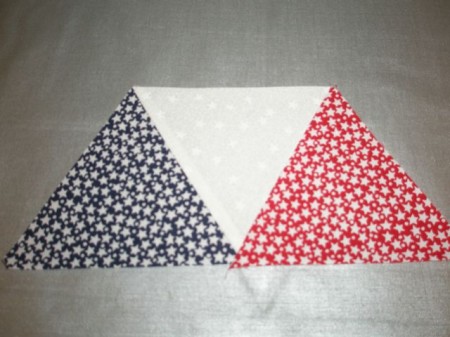
    Keep adding triangles…

    …pressing after each addition.  Finger pressing is okay.

    Since we don’t really have a pieced block, if you do eight triangles a day each day this spring, you’ll have enough for a quilt that’s 56″ wide and 62″ long!
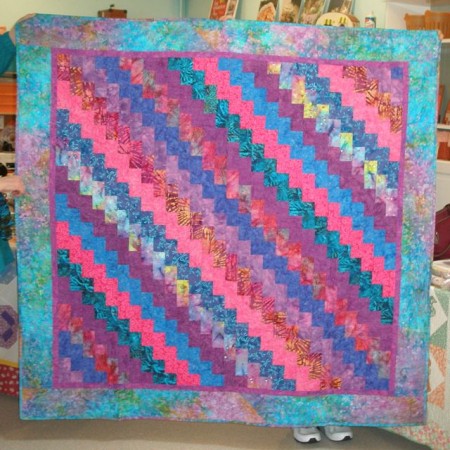
    Here are a couple of other Pyramid Quilts for inspiration.

    I’m in love with the bright colors and the quilting in this quilt.  It’s from the Armchair Quilter.

    I love the clean, crisp look of this scrappy quilt set with white.  I found it on Ebay.

    This one is delightfully scrappy.  I found it on Quilting Adventures.

    Whatever you decide to do, I hope you’ll share your photos with us on the A Quilt Block A Day page on Facebook.


  • 19Mar
    Categories: brilliant ideas, fabric design Comments Off on Chatty’s Tea Party

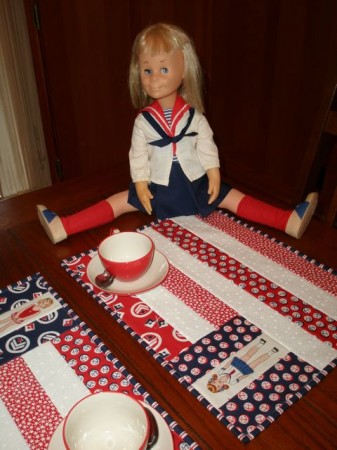
    I got to be Guest Blogger at SewTimeless this week! I was asked to create a project from my new Red, White and True Blue fabric collection and came up with these quilt-as-you-go placemats.  There’s a complete step-by-step photo tutorial.

    Once I finished them, I knew I had to invite my sister’s Charmin’ Chatty over for a tea party!

  • 15Mar
    Categories: Everything! Comments Off on Twelve Step Program
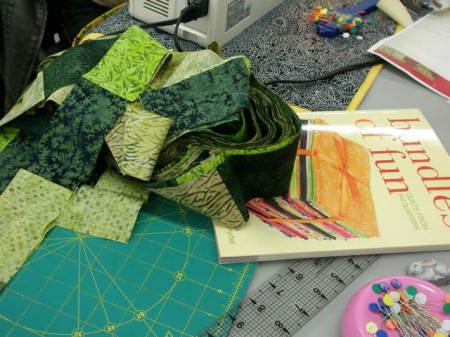
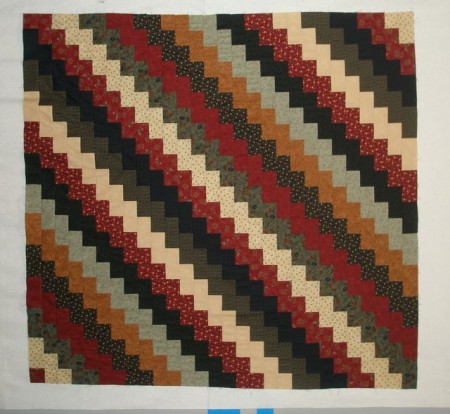
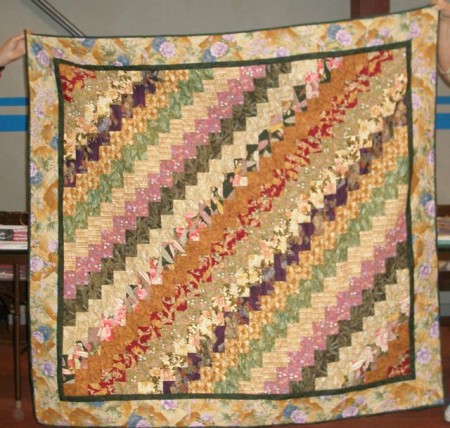
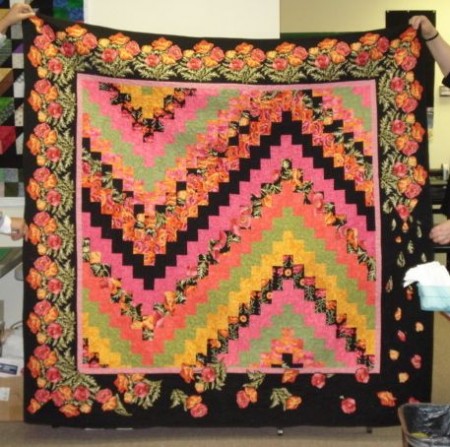
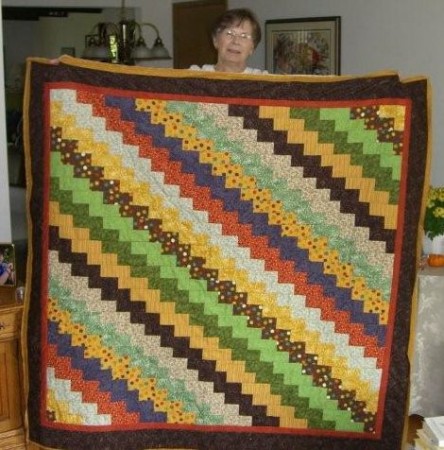
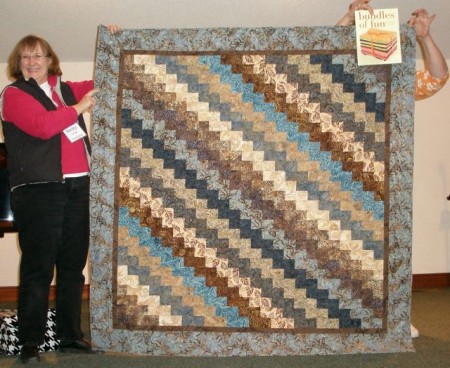
    When I wrote my first book, Bundles of Fun, I designed each quilt to be made from twelve fat quarters.  So, all the quilts have names like Midnight Cowboy, A Dozen Roses and Twelve Step Program.

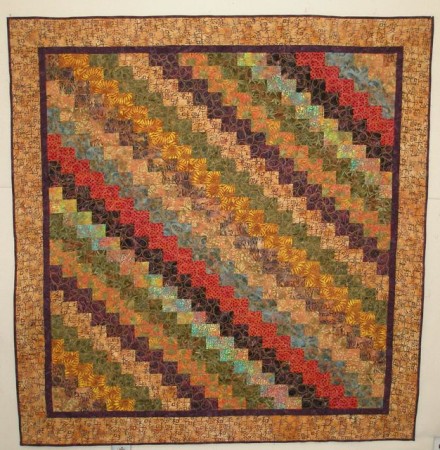
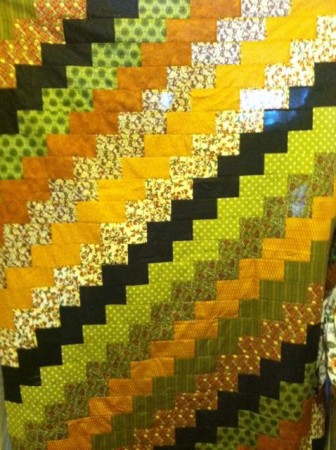
    As it turns out, Twelve Step Program has been the most popular quilt in the book.  I did two versions for the book, this one out of batiks…

    …this one…

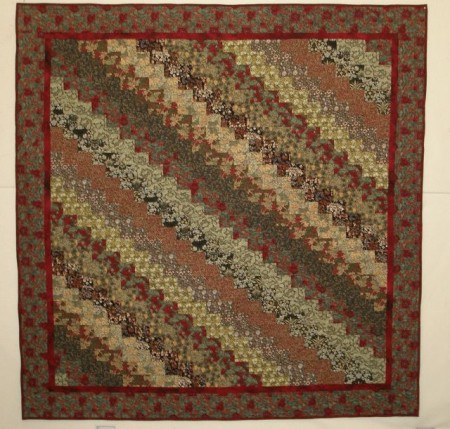
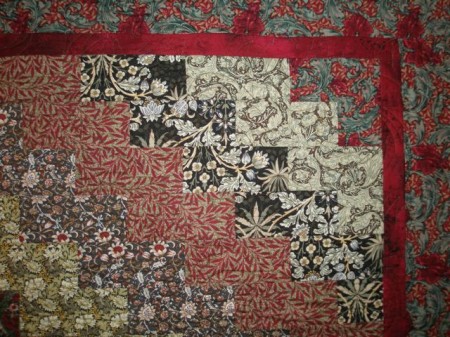
    …made with William Morris fabrics.  It’s much more bended looking because there isn’t as much contrast in the fabrics.

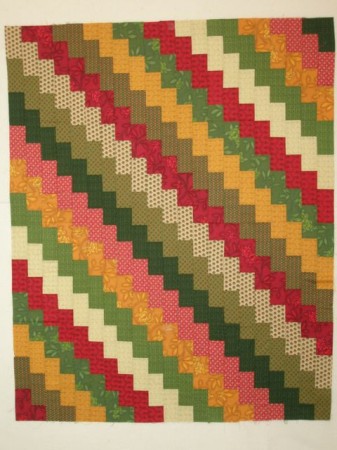
    You can sure see the difference in this one, which has lots of contrast.  I just stumbled across this top I started from a class demo.  I wonder if I have the borders somewhere???

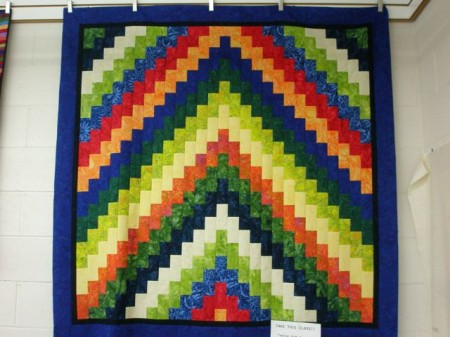
    As you can see, this pattern lends itself to any fabrics!  Teri at Boardwalk Quilts made this one, and instead of steps, did a chevron!
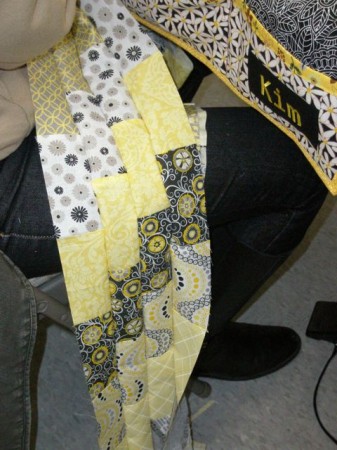
    Last Saturday, she offered a class on this quilt.  I stopped in just after lunch to see how everyone was doing.  It’s so much fun to see what fabrics everyone picked!

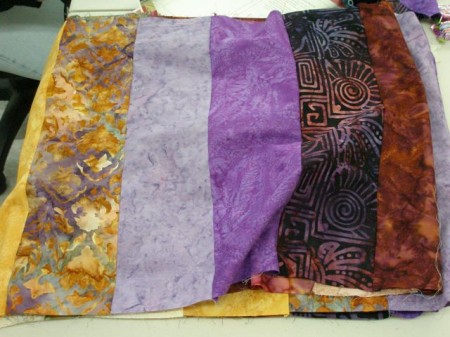
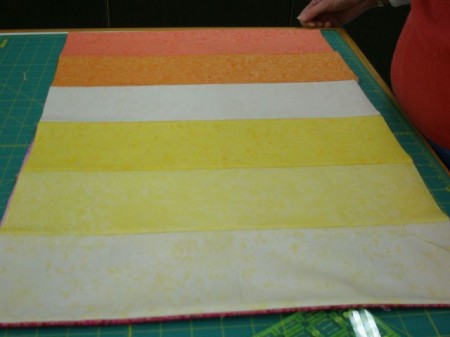
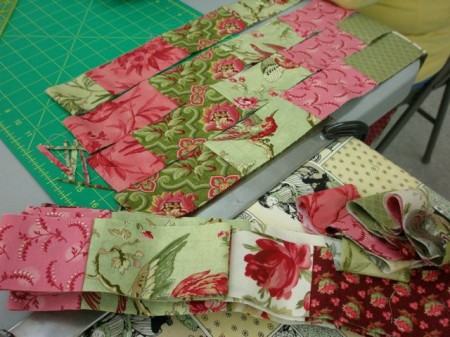
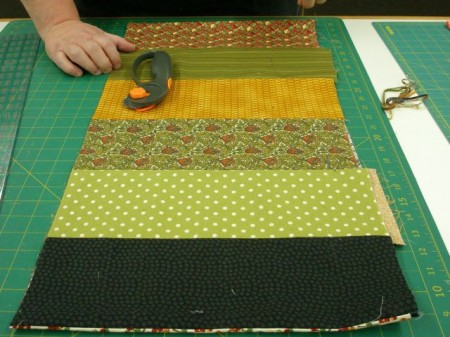
    After sewing strips together…

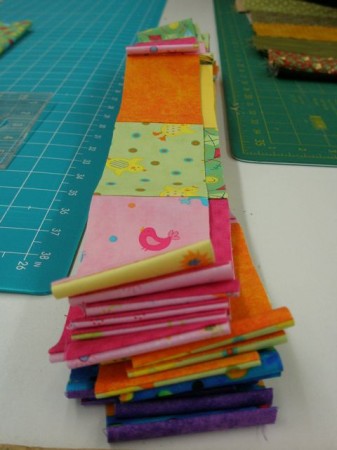
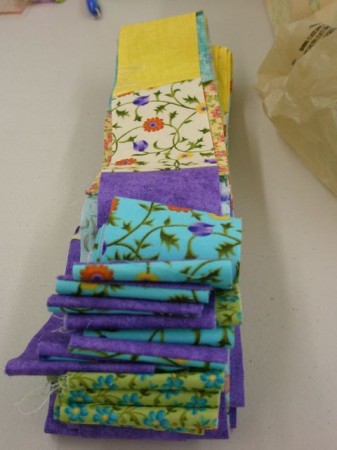
    …you sew one more seam to make a tube!

    Then you do some more cutting and end up with lots of loops.

    See what I mean about this working with lots of different fabrics!

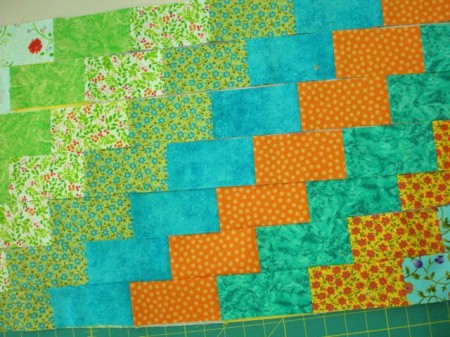
    I’m partial to the brights.

    But the florals are strikingly pretty.

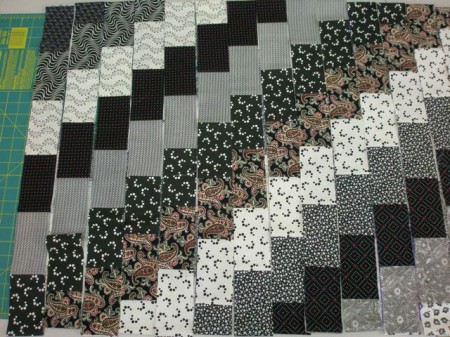
    It’s hard to beat black and white with a touch of red!

    One you cut have the loops, you start staggering the design.

    Magically, you have stair steps!

    Then it’s just a matter of sewing it all together.

    This quilt goes together very quickly.  I took this picture at the class on Saturday…

    …and when I saw Dianne on Monday, she had it all together!  I hope the ladies in the class will all send photos of their finished quilts.  When they do, I’ll be sure to post photos of them.

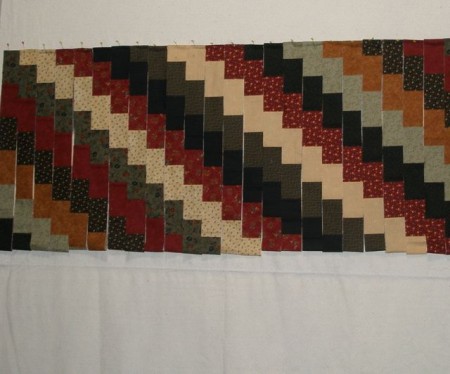
    The following photo is from one of my retreats.  Here, the loops are pinned to a design wall.

    Once the loops are cut in the proper places, it’s ready to sew.

    Here are a couple more that friends brought to retreats for show-and-tell.  Another beautiful batik version.

    Yummy colors here, and look at the fabulous border treatment.

    Good, strong contrast in these blocks.

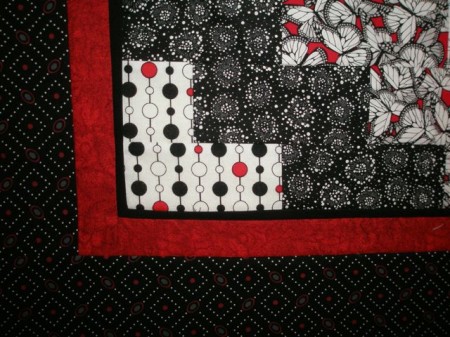
    And I love the vintage-y feel to this one.  Notice the little ad I’m doing in the corner!  Shameless!

    If you have photos of quilts you’ve made from any of my books, I’d love it if you’d share them with me.

    And here they are……..On Friday, Margaret stopped by.  This is the quilt she did in class.  It turned out to be amazing!

    She added a tiny flange between the quilt center and the first border.  If you don’t know what a flange is, it’s a 1/2″ strip of fabric, folded and sewn in, so it’s three dimensional.

    And after Kathi saw this post, she stopped by on Saturday, during my open house, to show me three quilts that she had made with this pattern!

    You can really see what I mean when I say this pattern looks good with any fabric combination!


    Tags: ,
  • 04Mar
    Categories: Everything! Comments Off on Doll Quilt

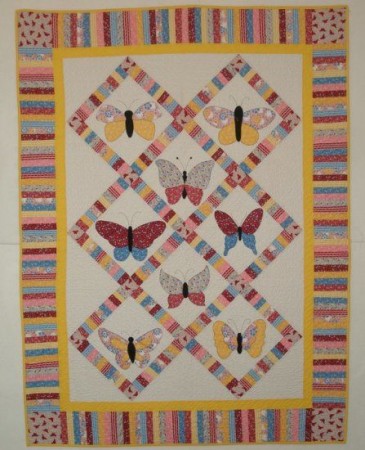
    Five or six years ago, I made this quilt.  It was to showcase my second fabric line, Wash Tub Butterflies.

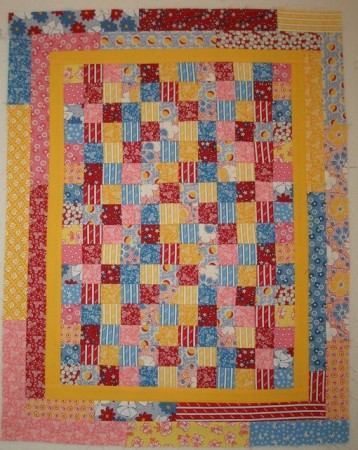
    When I was sorting through my scraps recently, I discovered I had some segments of the piano key border left, and some 1-1/2″ strips.  So, yesterday I sliced them up and put them back together.  Voila!  A doll quilt!

    I think a red binding will finish it off perfectly!  And, as you can imagine, my scrap pile is now much smaller.


    Tags: