Last fall at the Anna Lena retreat, Mary and Robin had a stack of really fun blocks that they had gotten in a block swap.
Once the blocks started going up on the wall, they drew a lot of attention. That led to a conversation about block swaps, and before you could say “Crossroads to Jericho” we decided we would do a block swap at our next retreat!
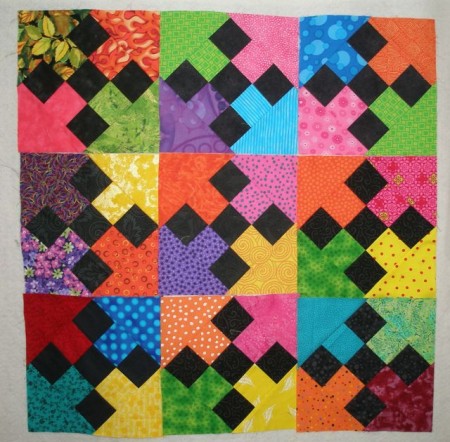
Robin and Mary’s blocks were so striking yet so simple that we decided to do this block for our first swap. You might want to organize a swap with your friends, too!
Blocks finish at 8-1/2″. Here are the fabric requirements for each block.
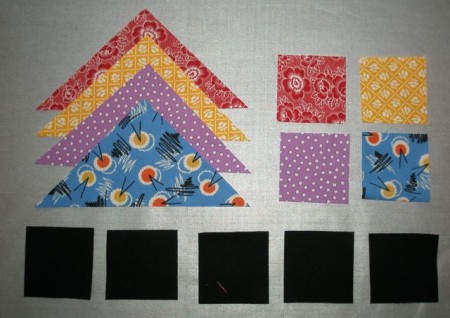
Black: 5) 2-1/2” squares
Four different bright prints: 1) 2-1/2” squares of each and 1) 5-1/2” squares of each cut once diagonally.
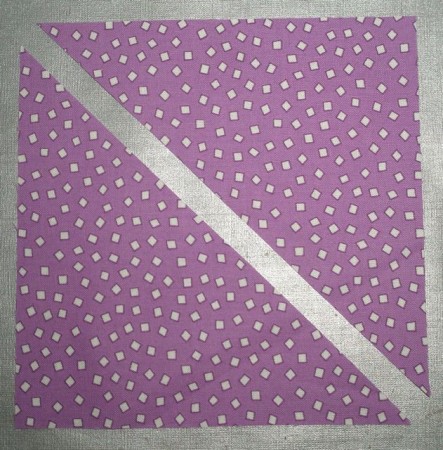
When you cut your large square diagonally, you will end up with two triangles. You only need one per color per block, so set half aside for another block.
 L
L
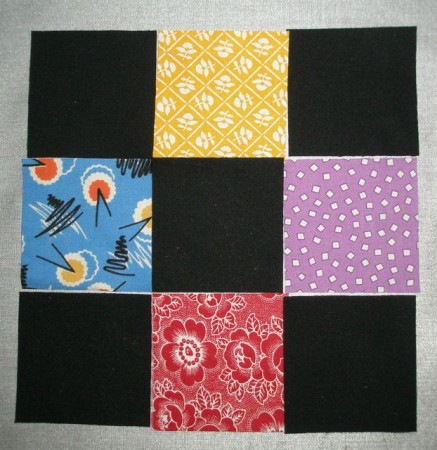
Lay out your squares to form a nine-patch with the black in the middle and on the corners.
Match the triangles to their companion prints. I love how this forms an arrow.
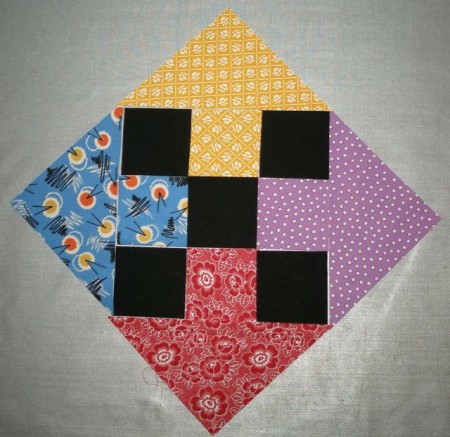
Once you have the nine-patch sewn together, line it up with one of the triangles as shown below. Make sure an equal amount of fabric is visible on each side then stitch. I like to do opposite sides first, press, then do the remaining sides. On the nine-patches, I press toward the dark. On the triangles, I press toward the triangle.
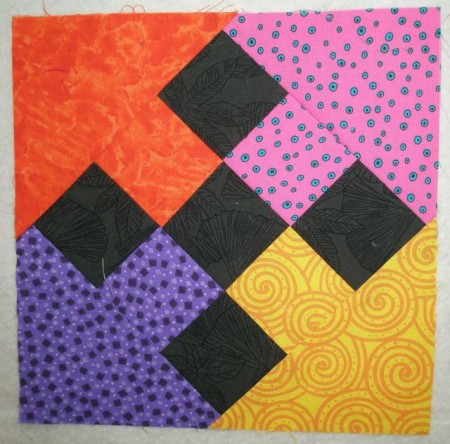
Voila! Your finished block.
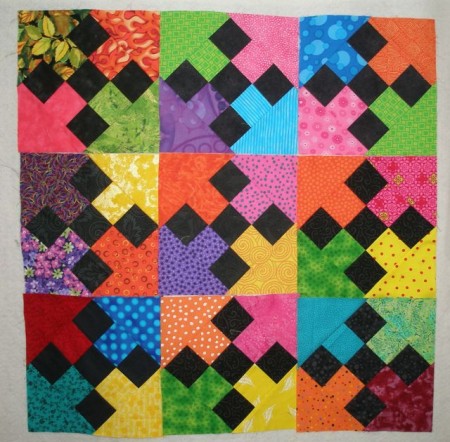
If you set the blocks straight, the black forms a chain through the bright arrows.
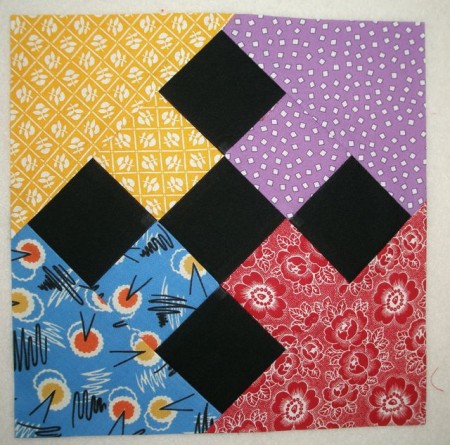
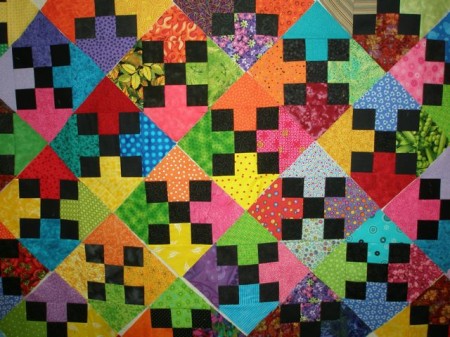
If you set the blocks on point, the nine-patch is more visible.
Every swap needs a few rules. Below are ours. The last one is the most important!
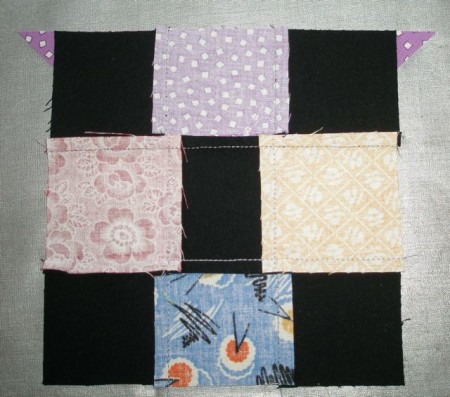
Your pieced block should measure slightly more than 9”. There’s a little wiggle room here, so blocks can be trimmed to 9”. If your block is smaller than 9”, it isn’t acceptable. Either restitch with slightly smaller seams or make another one to swap.
Don’t trim your blocks. Let the person receiving them do the trimming.
The black can be a solid black, or a black-on-black print, but be sure it “reads” black from a distance.
Bright means bright, clear colors. Nothing muddy!
You may make all your blocks the same, or use lots of different blacks and brights.
Have fun!
One Response
July 20th, 2015 at 9:45 am
Thanks! I’ve been thinking about this pattern, and that’s how I was thinking of putting it together. It’s nice to have a pictorial tute to follow.