• 19Mar
    Categories: brilliant ideas, fabric design Comments Off on Chatty’s Tea Party

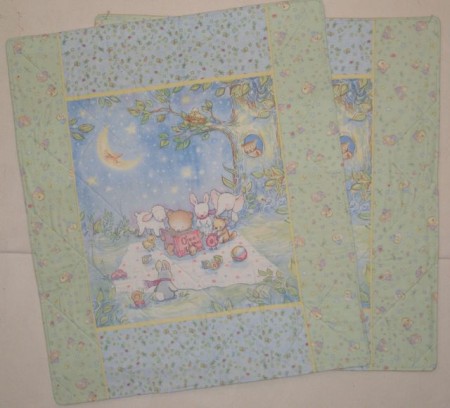
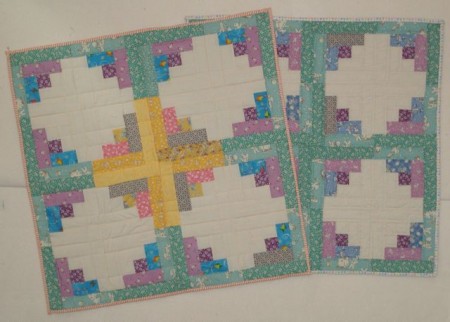
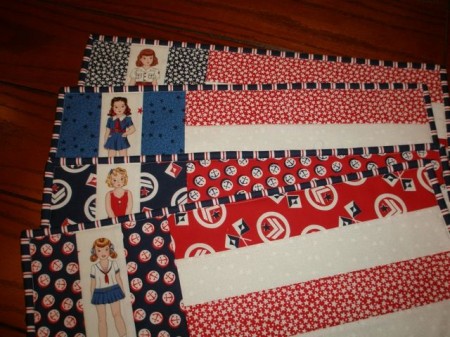
    I got to be Guest Blogger at SewTimeless this week! I was asked to create a project from my new Red, White and True Blue fabric collection and came up with these quilt-as-you-go placemats.  There’s a complete step-by-step photo tutorial.

    Once I finished them, I knew I had to invite my sister’s Charmin’ Chatty over for a tea party!

  • 29Jan
    Categories: brilliant ideas Comments Off on I’m on the Radio!

    Well, I’m going to be on the radio–tomorrow!

    Do you know about American Patchwork and Quilting Radio hosted by Pat Sloan?  It airs every Monday, and Pat usually has four guests.  Tomorrow, I’m one of them!  We’ll be chatting about fabric design, design inspiration—all kinds of things.  To listen live, tune in at:

    4pm Eastern
    3pm Central
    2pm Mountain
    1pm Pacific

    I’ll be the third guest.

    If you miss the live broadcast, you can download a podcast and listen later.  Just click this link to find all the info.

    http://www.allpeoplequilt.com/radio/index.html

    Tags:
  • 23Oct
    Categories: brilliant ideas, fabric design Comments Off on Laptop Sleeve

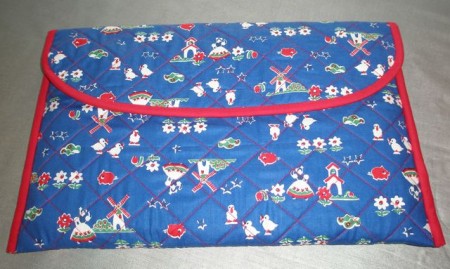
    I’m busy making Market samples from my new line of fabric – Bavaria.   Yesterday, I took a break from appliquéing roses to make a laptop sleeve.  I need to go shopping for a big red button and some Velcro for the closure.

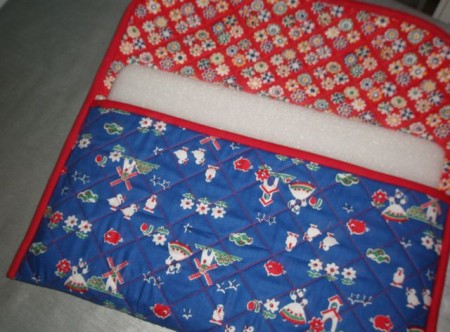
    Since it will be displayed in the booth at Quilt Market, I didn’t want to put my real laptop in it.  Luckily, my sister recently bought a laptop sleeve, and it came with a nifty foam insert.  Perfect!

    This was so simple to make.  Here’s the “formula!”  By the way, this would work for an i-Pad, Kindle or any size notebook!

    Measure the width of your laptop and add 2-1/2″.

    Measure the height of you laptop, double it an add 5″.

    Cut two pieces of fabric and some fusible fleece this size.

    Layer and quilt.

    Round off the corners on the top edge.  I used a sewing basket lid as my guide!

    Cut a strip of binding 2-1/4″ wide and bind the bottom edge.

    Fold up the bottom, using your laptop as a guide.  Stitch the edges with a scant 1/4″ seam.

    Using more 2-1/4″ binding, bind the sides and top of the sleeve, turning the binding under at the bottom edge to finish.

    Voila!  It’s that easy.

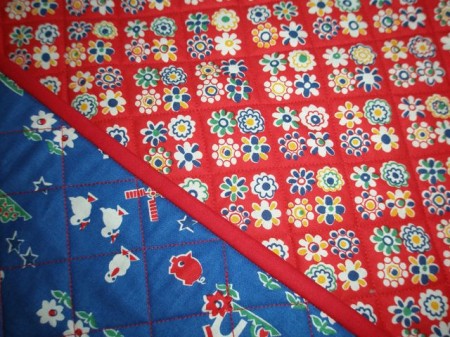
    Note: I used the Four Flowers print for the lining of my sleeve.  When it was time to quilt the fabrics together, I just followed the path between the clusters of flowers.  No marking!

  • 15Sep
    Categories: brilliant ideas, Everything!, musings, quilting Comments Off on New Block Challenge – Hour Glass

    We had so much fun with the Summer Bow Tie blocks that people are clamoring (well, at least asking) if we’re going to do another block for fall.  Well, of course we are!

    What was the Summer Bow Tie Block Challenge all about?  It was about making a quilt block a day.  It was about getting into your sewing room if even for just a few minutes.  It was about using up some scraps!

    If you’d made one quilt block each day from the beginning of summer until the end of summer, you would have made 94 blocks!  I’m not sure anyone managed the one-a-day approach, but it still kept many people sewing.  Lots of people are finishing up their quilts now and posting them on the Facebook page.  Here’s Toni’s that she posted today.  There are lots of photos on the Facebook page.  Feel free to check them out.

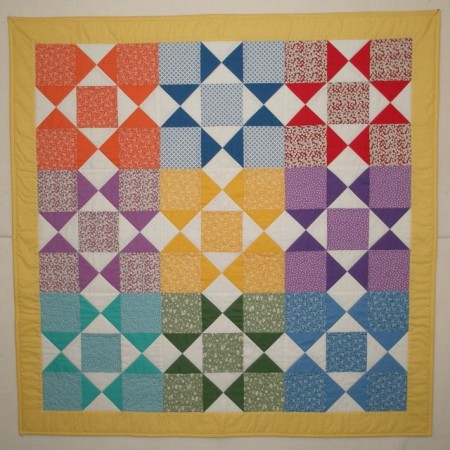
    Ready for the next challenge?  How about Hour Glass blocks for fall?  Did I hear a moan?  Really, they’re easy.  It’s just a twice sewn half-square triangle–kind of like biscotti–twice baked cookies!  If you make one block each day during fall, you will have 91 blocks made before the first day of winter even sets in!  Here’s what an Hour Glass block looks like.

    A few minutes ago I decided to make a few blocks and takes photos so I could post this tutorial  Since I have shelves full of fabric bolts, it’s really tempting to just pull a few down and start cutting.  But, I really need to do something with all my scraps.  So, I pulled out one of my scrap bins.

    I cut a bunch of 4-1/4″ squares.  These will make a 3″ unfinished Hour Glass block.  Note: You can make any size blocks.  The formula is this–add 1-1/4″ to the finished size you desire.

    I cut some cream solid to go with them.  You can get ten 4-1/4″  squares from a strip.  Mark a diagonal line on the solid squares.

    Pair a solid square with a print square, right sides together.  I used two matching solids and two matching prints.  This will yield four Hour Glass blocks.

    Stitch 1/4″ on each side of the drawn line.

    Cut apart on the drawn line.

    Press to the print fabric.  (Yes, I have an orange iron!)  You’ve made a half-square triangle–and you’re half way finished!

    Now take two of your half-square triangles and put them together, light against dark, dark against light.  Snug up the center seam.

    Draw a diagonal line that passes through your stitched seam.

    Stitch 1/4″ on either side of the line and cut apart.

    Voila!  An Hour Glass block.  Wasn’t that easy?

    Here’s a little pressing tip.  Wiggle the intersection a bit to loosen a stitch or two.

    Finger press seams in opposite directions.  This really eliminates bulk in you seams.  A teeny tiny four patch will show up in the middle if you do this correctly.  Your seams will press to the light, but that’s okay.

    Turn it over and give it a press.  Trim away the dog ears.  There it is–your first Hour Glass block.  Actually, you’ll get two blocks from each pair of fabric.

    Since I did two pair, I ended up with four blocks.  This is a very traditional way to put Hour Glass blocks together, but there are lots of possibilities with this block.

    Use two different prints when sewing your half-square triangles together.

    Much more scrappy.

    If you put your four blocks together with all the browns facing in, it forms a pinwheel.  Magic!

    Or you can just mix them up for a scrappy effect.

    You don’t even have to use a solid if you want to go totally scrappy, like this.

    I hope you’ll join in the fun.  Come to the new Facebook Page, A Quilt Block A Day.  Even if you don’t make blocks, it’s fun to watch everyone’s progress.
     

  • 19Jun
    Categories: brilliant ideas, quilting Comments Off on Summer Bow Tie Quilt Blocks

    Last summer, we had such fun making a Nine-Patch block everyday.  Well, summer is upon us again.  This summer, let’s do Bow Tie blocks! These are soooo simple.  It’s basically a four-patch.  What could be easier?!?

    I’ve set up a Facebook page so you can share your progress, post photos and get more ideas on what to do with your blocks.  CLICK HERE to become a fan!

    Now for a quick tutorial for a 6″ Bow Tie block

    For each block you will need:

    1) 3-1/2″ x 7″ light fabric

    1) 3-1/2″ x 8-1/2″ dark fabric

    Cut the light fabric into 2) 3-1/2″ squares.

    Cut the dark fabric into 2) 3-1/2″ squares and 2) 1-1/2″ squares.

    Put the two small dark squares on a corner of the light squares.

    Sew diagonally from corner to corner on the dark squares.  These are so small, you don’t really need to mark them.  If you’re not comfortable eyeballing them, you can finger press the small squares in half and sew down the crease.

    Trim 1/4″ away from the stitching.

    Press the little dark squares over.  Now, all you have to do is piece your four-patch!

    Stitch along the vertical seams.  Press toward the dark fabric.

    Join the horizontal seams and you’re done!

    I do like to press the last seam open to reduce bulk in the center.

    If you want to make 3″ finished blocks, cut your “large” squares 2″ and your “small” squares 1″.  In fact, you might want to make some of both sizes.  They can be very cute in the same quilt!

  • 05May
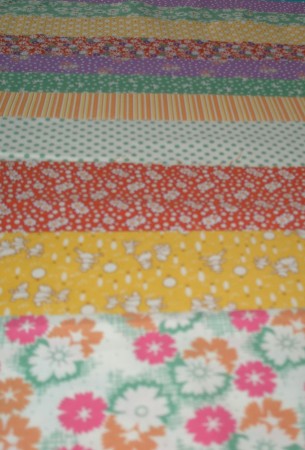
    Categories: brilliant ideas Comments Off on Kids Quilt for Japan

    I got this email this morning, and I think it speaks for itself!

    Hi, Karen,

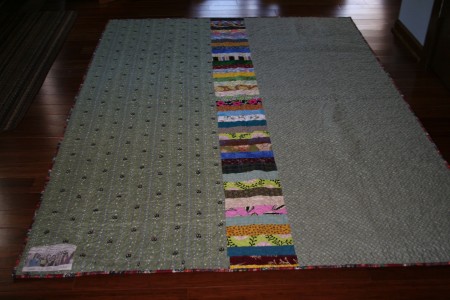
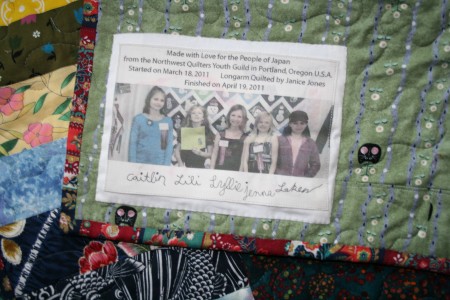
    It’s been several days since I’ve read your blog, but I caught up this morning and saw some of the pics from the quilt show.  I went there with a couple of friends and their 9YO granddaughter.  She is a member of the Northwest Quilters Youth group, along with 4 other 9- and 10-YOs.  We saw an easy strippy quilt there, done in scraps plus solid blue, and were taken with how easy it would be to teach the girls.

    Just a few days later was the call for Quilts for Japan.  In one session, the five girls sewed all the strips and assembled the front, plus the long strip for the backing.  I thought you might like to see.  It turned out really beautiful, as almost all scrappy quilts do.

    The hardest part for the girls: Just Use The Next Strip You Pull From The Bag!  (and, oh yes, the continuing quest for a quarter-inch seam allowance!)

    Thanks for the inspiration,
    Maureen in Portland

    The only thing I can add is a big CONGRATULATIONS, GIRLS!!!

  • 15Feb
    Categories: brilliant ideas, Everything! Comments Off on Guild Baby Quilts

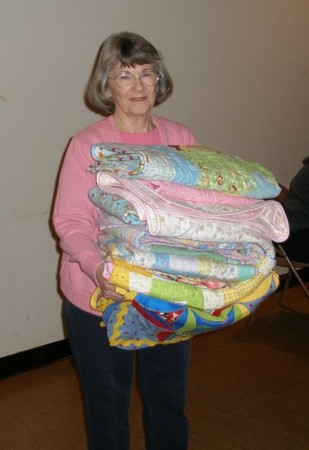
    The Peninsula Quilt Guild is my local guild.  I’m proud to say I’m a charter member of this guild.  Over the last 15 years, our membership has grown to 55 women.  Maybe that doesn’t sound like a lot by city standards, but I live in a very small community.  One of the guild projects is making baby quilts for at risk new moms in our county.  This is Bev.  She’s the driving force behind this project–and many others!

    Yesterday was another “bring your baby quilts” day.  Twenty-two quilts were donated, and I’d like to share them with you.  I don’t know who made them all, but I’ll give credit where I do know.  Please email me or leave a comment if you know who made any of the others, and I’ll add that information.

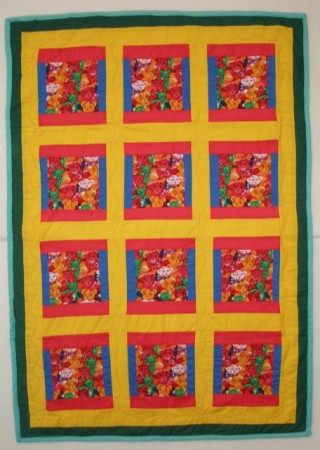
    Bev made this one.  I think it’s particularly nice because it’s all made with fabrics I’ve designed!  Of course, Bev could make a great looking quilt out of anything!

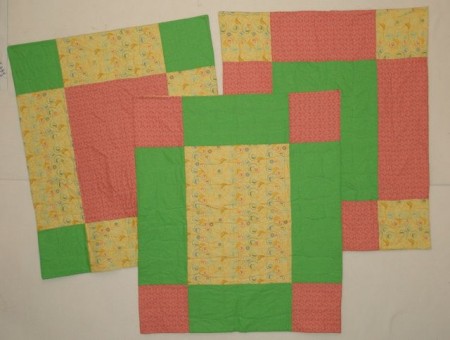
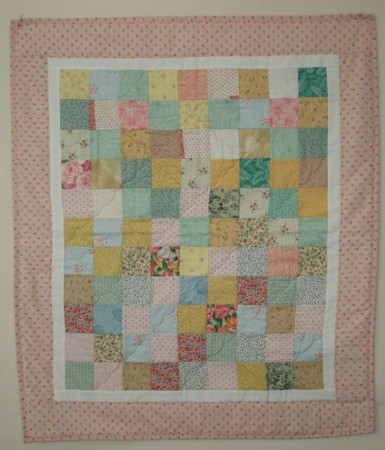
    Glennys made these three quilts.  She found this pattern in a magazine.  You buy three yards of fabric, do some quick rotary cutting and some stitching and, voila!, you have three baby quilts!

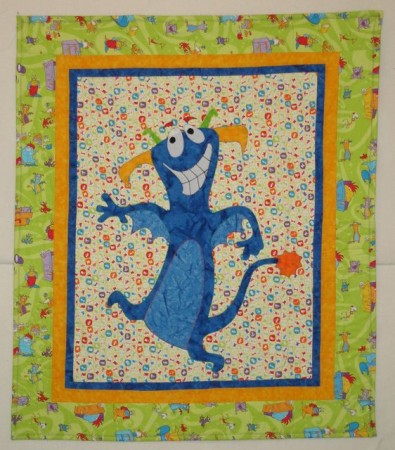
    Andi made this great monster quilt and machine quilted it on her new long arm.  The quilting outlining the monster looks great on the back!

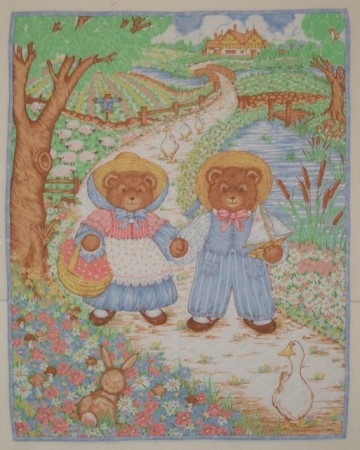
    This is a pre-quilted panel that just needed a binding and it’s ready to comfort a new baby.

    I think Andi also made this quilt with a packed bears print.

    This quilt has cute monkey fabric in it and a print that says, “I love Mommy” and “I love Daddy.”  How perfect is that?

    These two panels are flannel and oh-so-cuddly.

    Quilts From The Heart is another local group that makes charity quilts, and they donated several yesterday, including this one.

    This sweet quilt with its pink and plaid is just the right size for a receiving blanket.

    Ann S. has been in her log cabin period and made these two quilts.  One has a polka dot binding and the other an orange stripe binding.

    Here’s another comfy Quilts From The Heart quilt.

    This is a great, graphic design.  This one is quilted with a variegated thread, which looks so nice on this quilt.

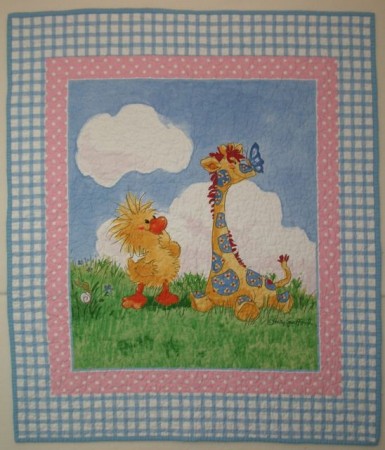
    Nellie turned this Suzi’s Zoo panel into a baby quilt.  She said she’d had it in her stash since the Anna Lena store days!

    Quilts From The Heart made this sweet quilt with a packed teddy bear fabric.

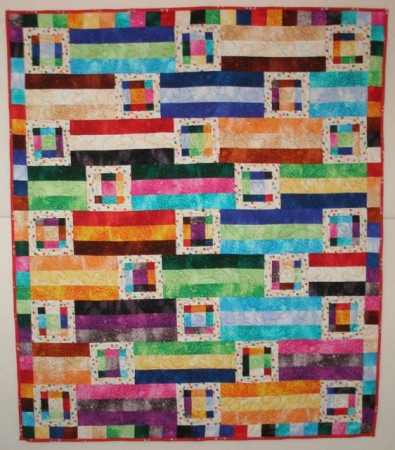
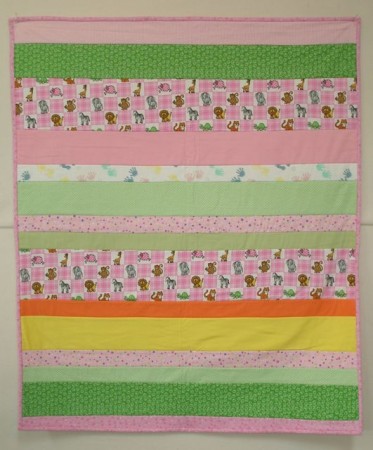
    This strippy quilt made by Ann J. will keep some baby nice and warm.  It’s made with flannel.

    Lynda made this nice bright quilt with an even brighter back and binding!

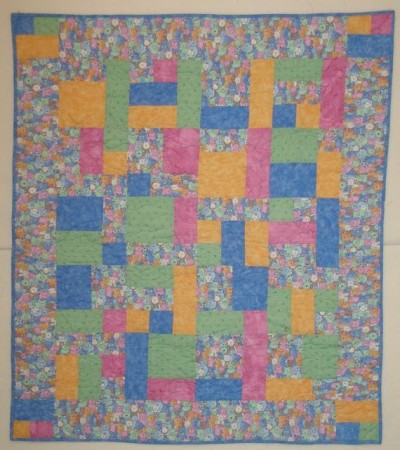
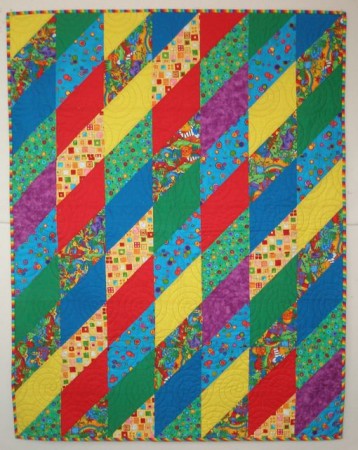
    Isn’t this a great looking quilt with a very modern feel?  Renee made this one.  I love the colors!

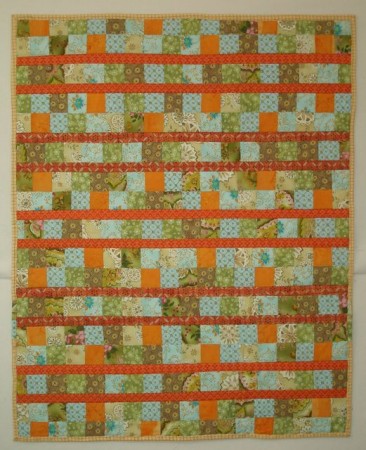
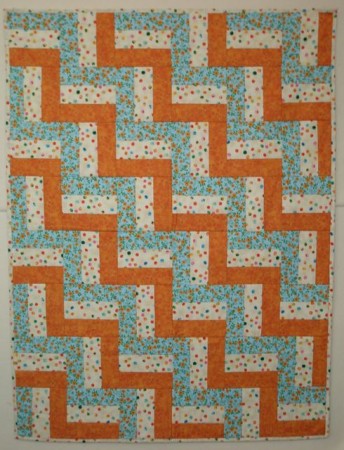
    And the same with this rail fence.  Orange and aqua–what a great combination!  This quilt was made by Mary H.

    I think there will be some happy new moms and comfy babies, thanks to the work of the wonderful ladies of the Peninsula Quilt Guild.

    Tags:
  • 18Jan
    Categories: brilliant ideas, Everything!, quilting Comments Off on Summer Fun

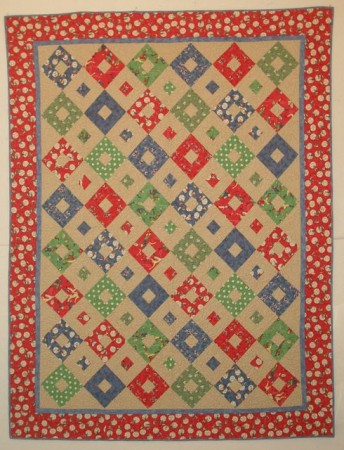
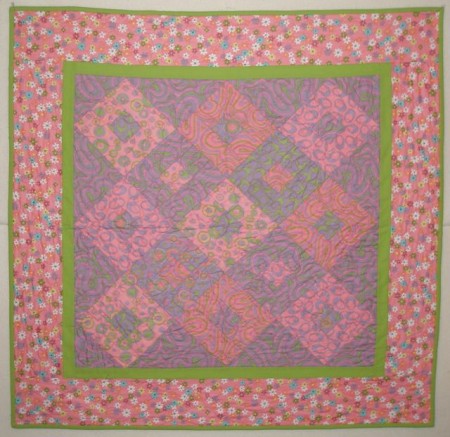
    This is a quilt I designed called Summer Fun.

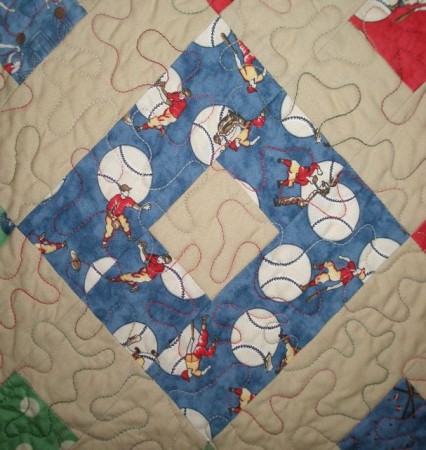
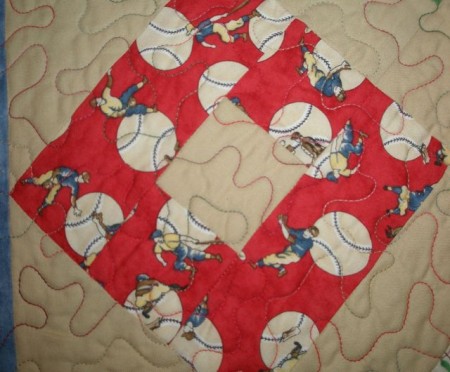
    The name came more from the fabric than the design.  I had this cute baseball fabric that I used in it.

    The quilt uses nine fat quarters and a background.

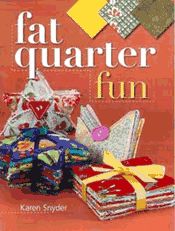
    This pattern is in my second book, Fat Quarter Fun.

    In the book I also sho it in a little sample with just two colors and not much contrast.  Very sweet!  I just love to see how different the same pattern can look in different fabrics.  Sometimes it’s hard to believe they even are the same pattern.

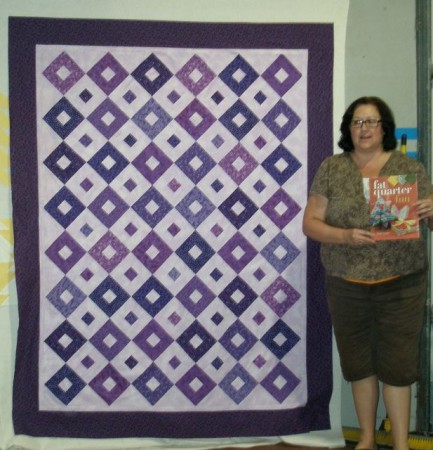
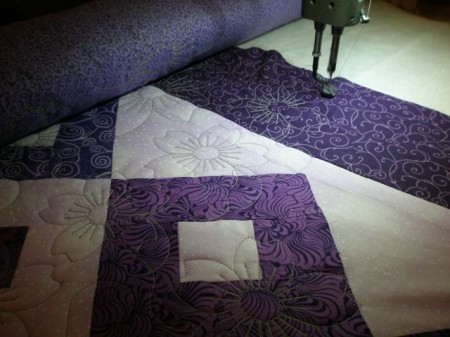
    At our last Quilt Retreat, Sue made one with purple and lavender.  Isn’t is stunning!?!  And don’t you love the blatant advertising, with her holding up the book!  She is a former Anna Lena’s employee, after all.

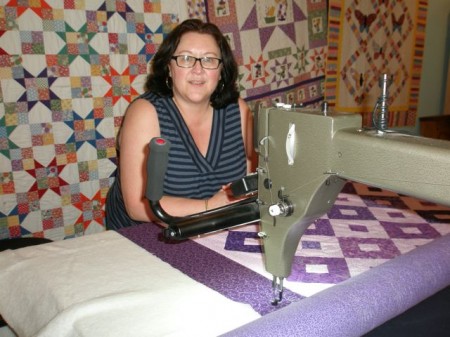
    She stopped by today to use my long arm to quilt it.

    I think the Daisy Pano is looking great on it.

    If you’ve made quilts from my books or patterns, I’d love it if you’d send me photos.

    Tags:
  • 14Dec
    Categories: brilliant ideas, Everything!, musings Comments Off on Lost in the Clouds

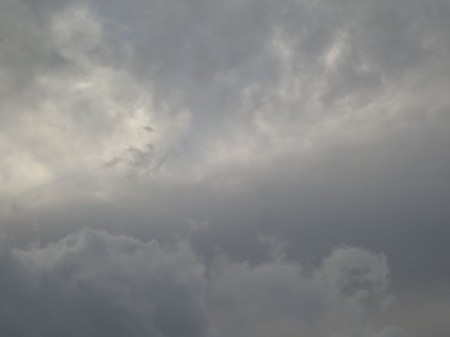
    On my recent flight home from Houston, the clouds were so lovely.

    I couldn’t keep from staring out the window.

    They were ever changing.

    I thought how nice it would be to capture their beauty.

    But in my experience…

    …taking photos through airplane windows isn’t usually very successful.

    However, I had my camera in my purse.

    So I pulled it out.

    I thought I’d give it a try.

    My camera is a very basic point-and-shoot.

    So, I pointed…

    …and I shot.

    I was amazed!

    They turned out.

    They really turned out!!

    Then the sun went down.

    Tags:
  • 18Nov
    Categories: brilliant ideas, Everything!, fabric design, quilting Comments Off on …We Have A Winner

    Wow!  445 people left comments on my blog for the Giveaway.  I was blown away!

    The Random Number Generator picked number 47.  That means our lucky winner is Susan H.  Congratulations.  And thanks to everyone who played along.

    Tags: